
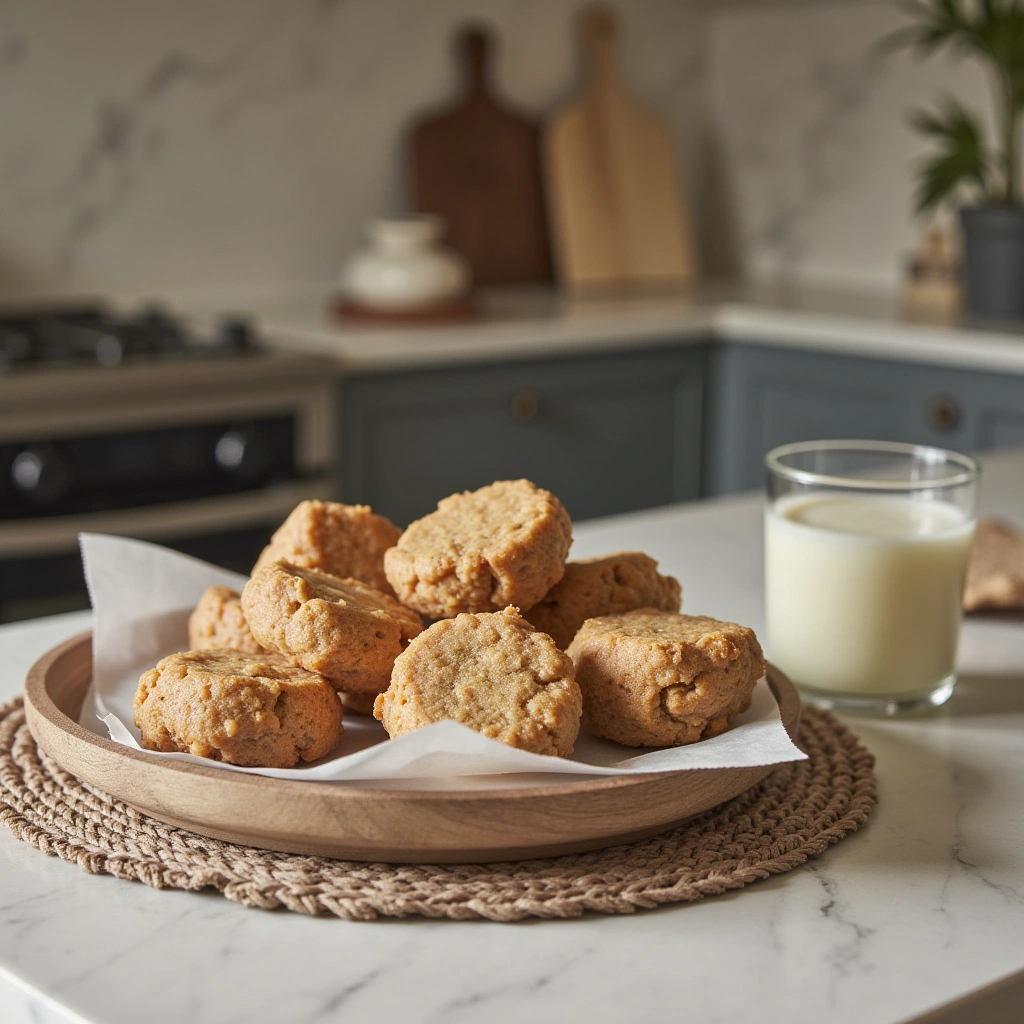
Are you tired of searching for dog treats that are both safe and simple to whip up? Want to spoil your furry friend with homemade goodies without turning on the oven? Well, you’re in luck! No-bake dog treats are a fantastic way to create nutritious, tasty snacks for your pup with minimal effort. They’re perfect for busy pet parents, and your dog will love the fresh flavors and textures.
In this comprehensive guide, I’ll walk you through everything you need to know about making no-bake dog treats — from ingredients and materials needed to step-by-step instructions, tips for success, common mistakes to avoid, and even some creative variations. Let’s get started!
What Are No-Bake Dog Treats?
No-bake dog treats are homemade snacks prepared without using an oven or heat source. Instead, they rely on ingredients that can be combined, shaped, and set in the fridge or freezer. These treats are ideal for quick prep, preserving the freshness of ingredients, and offering a healthy alternative to store-bought treats filled with preservatives and additives.
Why Choose No-Bake Dog Treats?
- Quick and Easy: No oven needed! Just mix, shape, and chill.
- Healthy Ingredients: Use natural, dog-safe ingredients.
- Customizable: Tailor treats to your dog’s tastes and dietary needs.
- Fun for Kids and Pet Owners: Making treats becomes a bonding activity.
Materials Needed for Making No-Bake Dog Treats
Before diving into recipes, let’s gather the essential tools and ingredients. Having everything ready makes the process smoother.
Materials Needed
| Item | Description | Quantity | Notes |
|---|---|---|---|
| Mixing Bowl | For blending ingredients | 1 | Preferably non-reactive (stainless steel or glass) |
| Measuring Cups & Spoons | For accurate ingredient measurement | Set | Essential for consistency |
| Silicone Mold or Baking Sheet | To shape treats | 1 | Silicone molds are flexible and easy to use |
| Spatula | For mixing and transferring | 1 | Silicone or rubber |
| Parchment Paper | For lining or easy removal | As needed | Optional but helpful |
| Refrigerator or Freezer | To set treats | 1 | For chilling and hardening |
Ingredients (Example for Basic No-Bake Dog Treats)
| Ingredient | Quantity | Purpose | Safe for Dogs? | Notes |
|---|---|---|---|---|
| Peanut Butter | 1 cup | Binding & flavor | Yes, xylitol-free | Natural, unsweetened preferred |
| Rolled Oats | 2 cups | Texture & nutrition | Yes | Use gluten-free if needed |
| Banana | 1 ripe | Natural sweetness | Yes | Adds flavor and moisture |
| Honey | 2 tbsp | Natural sweetener | Yes, in moderation | Check for allergies |
| Carrots | ½ cup | Crunch & nutrients | Yes | Finely grated |
| Coconut Oil | 2 tbsp | Moisture & fat | Yes | Optional |
Note: Always verify ingredients are free from harmful additives, sweeteners like xylitol, or ingredients toxic to dogs.
Step-by-Step Guide to Making No-Bake Dog Treats
Let’s walk through the process step by step. Remember, patience and attention to detail will give you the best results.
Step 1: Prepare Your Workspace and Ingredients
- Gather all materials and ingredients.
- Measure each ingredient carefully.
- If using fresh produce like carrots or bananas, chop or mash as needed.
Step 2: Mix the Base Ingredients
- In your mixing bowl, combine the peanut butter, honey, and coconut oil.
- Use a spatula to blend until smooth.
- Add the bananas and mash or mix thoroughly.
- Incorporate the oats, grated carrots, and any other mix-ins.
- Mix until a thick, uniform dough forms. It should be pliable but not sticky.
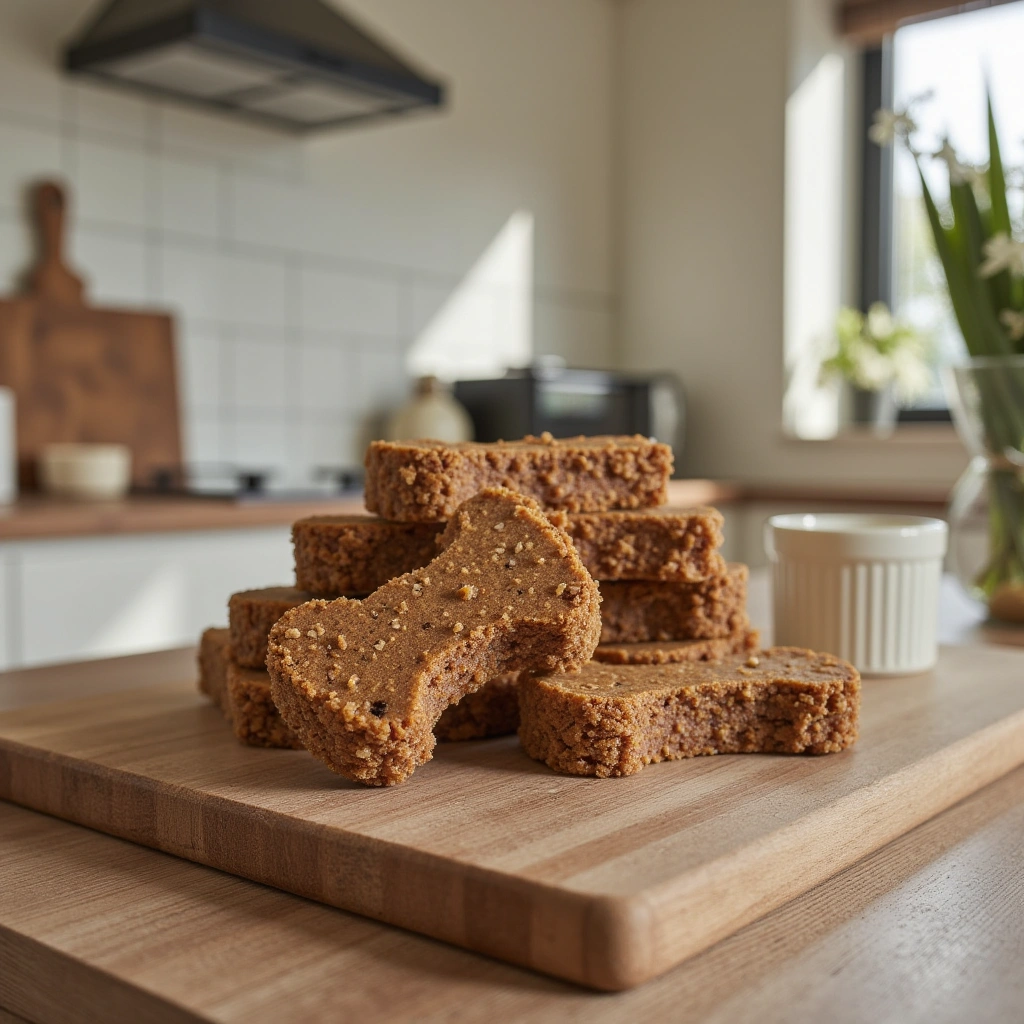
Step 3: Shape the Treats
- Using molds: Spoon the mixture into silicone molds, pressing down firmly.
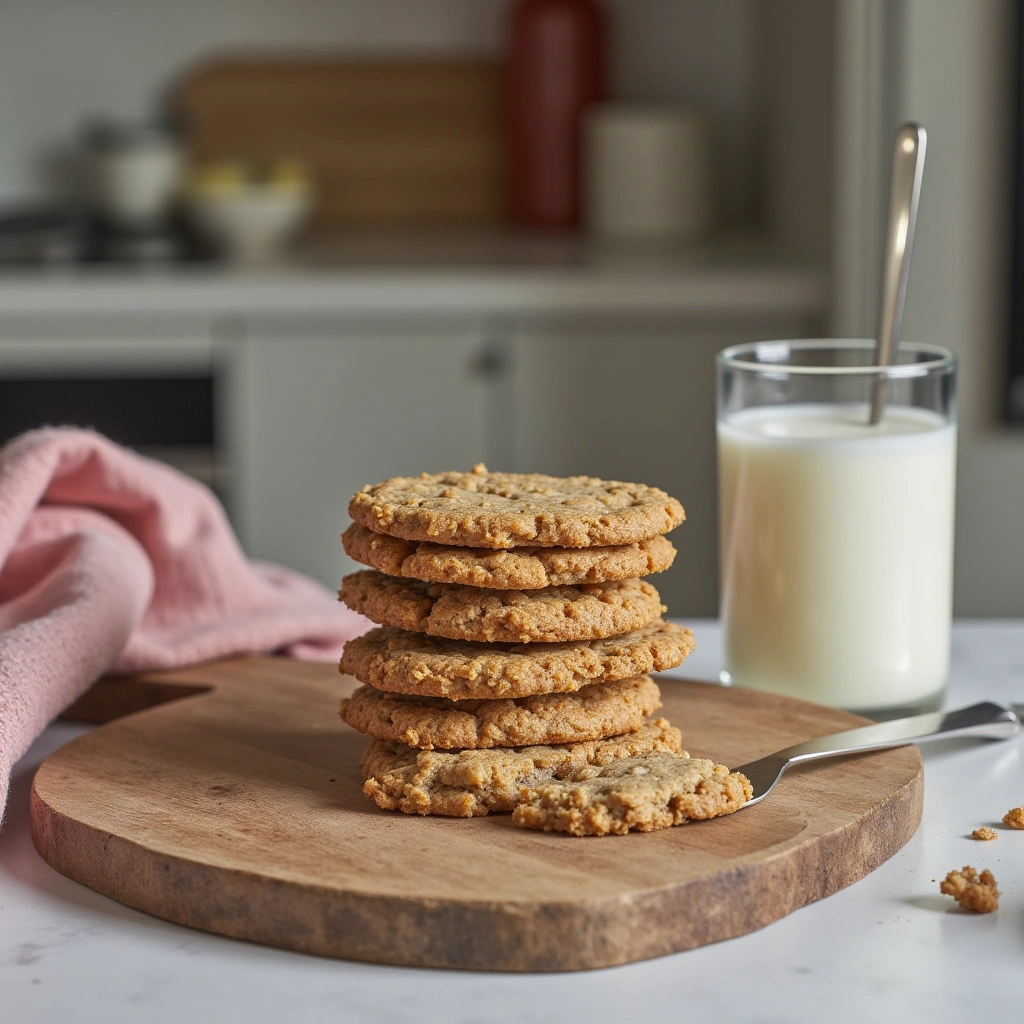
- Without molds: Roll into small balls or flatten into cookie shapes and place on parchment-lined trays.
- Ensure treats are uniform in size for even chilling.
Step 4: Chill and Set
- Place the shaped treats in the fridge for at least 30 minutes.
- For firmer treats, or if your mixture is softer, transfer to the freezer for 15–20 minutes.
- Once set, remove from molds or trays.
Step 5: Serve and Store
- Serve treats at room temperature.
- Store leftovers in an airtight container in the fridge for up to a week.
- For longer storage, freeze treats for up to 3 months.
Tips for Success
- Choose dog-safe ingredients: Always double-check that all ingredients are safe and free from harmful additives.
- Adjust textures: If your mixture is too dry, add a tiny bit of water or broth. Too sticky? Mix in more oats.
- Flavor variations: Add dog-friendly herbs like parsley or turmeric for extra health benefits.
- Portion control: Make treats small enough to prevent overeating, especially if your dog is prone to weight gain.
- Use natural ingredients: Opt for organic, unsweetened, and unflavored options whenever possible.
Common Mistakes and How to Avoid Them
| Mistake | How to Avoid | Explanation |
|---|---|---|
| Using ingredients toxic to dogs | Double-check ingredients | Avoid xylitol, grapes, raisins, onions, garlic, chocolate, etc. |
| Not measuring ingredients accurately | Use measuring tools | Ensures consistent texture and flavor |
| Overmixing or undermixing | Mix until well combined | Prevents treats from falling apart or being uneven |
| Not chilling long enough | Chill for recommended time | Helps treats firm up for easy handling |
| Using hot ingredients | Let ingredients cool | Prevents melting or misshaping treats |
Creative Variations to Try
Want to mix things up? Here are some fun, healthy variations:
- Pumpkin No-Bake Treats: Replace banana with canned pumpkin for extra fiber.
- Berry Bliss: Add freeze-dried blueberries or strawberries.
- Sweet Potato: Use mashed cooked sweet potato instead of banana.
- Herb Infused: Mix in chopped parsley or basil for fresh flavor.
- Cheesy Treats: Incorporate a small amount of shredded low-fat cheese.
Remember: Always verify that new ingredients are safe for your dog.
Summary & Final Thoughts
Making no-bake dog treats is a fantastic way to pamper your pup with healthy, homemade snacks that require minimal effort. With the right ingredients, tools, and a little creativity, you can create delicious treats tailored to your dog’s tastes and dietary needs. Not only are these treats free from harmful preservatives, but they also strengthen the bond between you and your furry friend.
So next time you’re craving a quick, nutritious snack for your dog, try this easy method. Your pup will thank you with wagging tails and happy barks! Remember, always prioritize safety and quality ingredients to ensure your dog’s health and happiness.
Happy Treat Making!


