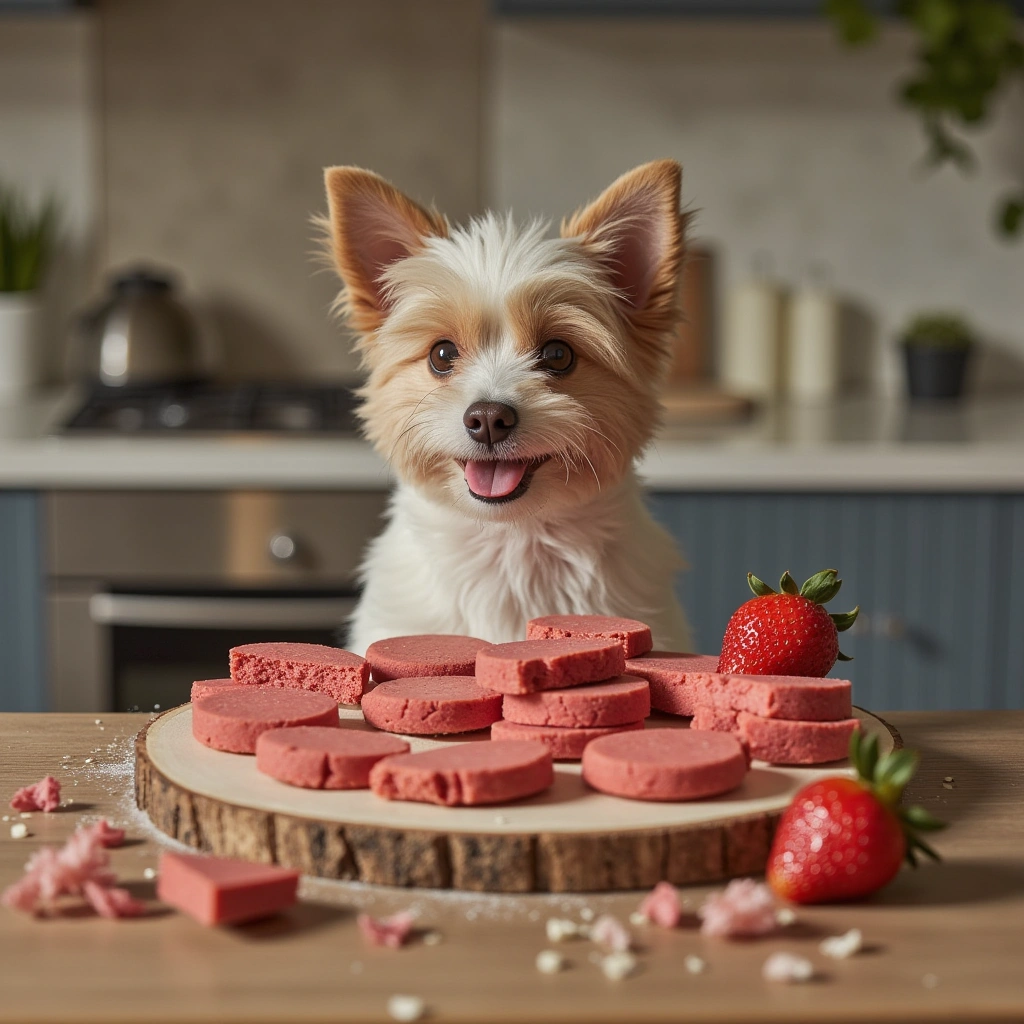
Hey there, fellow dog lovers! Are you looking for a fun, healthy way to spoil your furry friend? Today, I’m going to walk you through everything you need to know about making homemade strawberry dog treats. Not only are these treats super tasty and packed with antioxidants from fresh strawberries, but they’re also free from artificial ingredients and preservatives. Plus, I’ll share some expert tips, common pitfalls to avoid, and creative variations to keep your pup excited for snack time.
Whether your dog has allergies or just loves fruity flavors, these strawberry treats are a fantastic addition to their diet. Let’s dive in and learn how to whip up these delightful, nutritious snacks at home.
Why Choose Homemade Strawberry Dog Treats?
Homemade dog treats are a fantastic way to control what your pup eats. Store-bought treats often contain fillers, artificial flavors, and preservatives that aren’t great for your dog’s health. Making your own treats ensures you use wholesome ingredients and tailor the flavors to your dog’s preferences.
Key Benefits of Strawberry Dog Treats:
- Rich in antioxidants, vitamin C, and fiber
- Low in calories and fat
- Free from preservatives and artificial additives
- Customizable to suit dietary needs or allergies
- Fun to make together!
What Are Strawberry Dog Treats?
Strawberry dog treats are snacks made primarily from strawberries and other dog-safe ingredients. They can be baked, frozen, or dehydrated, depending on your preferred texture. The natural sweetness of strawberries makes them especially appealing to dogs, and they also provide health benefits like boosting immunity and supporting digestion.
Definition List:
| Term | Definition |
|---|---|
| Homemade dog treats | Snacks made from ingredients safe for dogs, prepared at home instead of store-bought. |
| Dehydrated treats | Treats that are dried out to extend shelf life and provide a chewy texture. |
| Frozen treats | Snacks frozen to serve as cool, hydrating snacks, especially in hot weather. |
| Antioxidants | Compounds that help reduce oxidative stress and support immune health. |
Materials Needed
To make these strawberry dog treats, you’ll need the following supplies and ingredients. I’ve put together a detailed table to help you gather everything easily.
Ingredients
| Ingredient | Quantity | Notes |
|---|---|---|
| Fresh strawberries | 1 cup (about 150g) | Ripe and organic preferred |
| Whole wheat flour | 1 ½ cups (180g) | Can substitute with oat or rice flour for gluten-free options |
| Rolled oats | ½ cup (40g) | Optional, for added texture and fiber |
| Eggs | 1 large | Acts as a binder |
| Honey | 1 tablespoon | Optional, for a touch of sweetness (use sparingly) |
| Water | As needed | To adjust dough consistency |
Tools
| Tool | Purpose |
|---|---|
| Blender or food processor | Puree strawberries and mix ingredients |
| Baking sheet | For baking treats |
| Parchment paper or silicone baking mat | Prevent sticking |
| Cookie cutter | To shape treats (optional) |
| Rolling pin | To flatten dough (optional) |
| Cooling rack | To cool treats after baking |
Step-by-Step Guide to Making Strawberry Dog Treats

Now that you’ve gathered your materials, let’s walk through the process step-by-step. Remember, patience and precision will give you the best results!
Step 1: Prepare the Strawberries
- Wash the strawberries thoroughly under cold water.
- Remove the stems and cut into smaller pieces.
- Place the strawberries into a blender or food processor and puree until smooth.
Step 2: Mix the Ingredients
- In a large mixing bowl, combine the strawberry puree, eggs, honey, and water.
- Gradually add the flour and oats, mixing well until you form a dough. The dough should be firm but pliable. If it’s too sticky, add a bit more flour; if too dry, add a splash more water.
Step 3: Roll Out the Dough
- Lightly flour your work surface.
- Roll out the dough to about ¼-inch thickness.
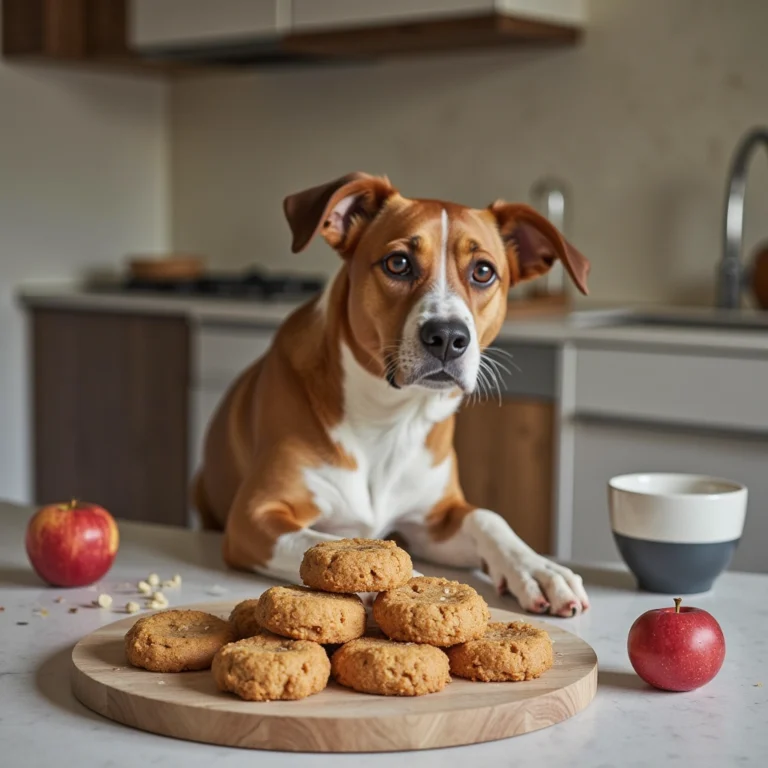
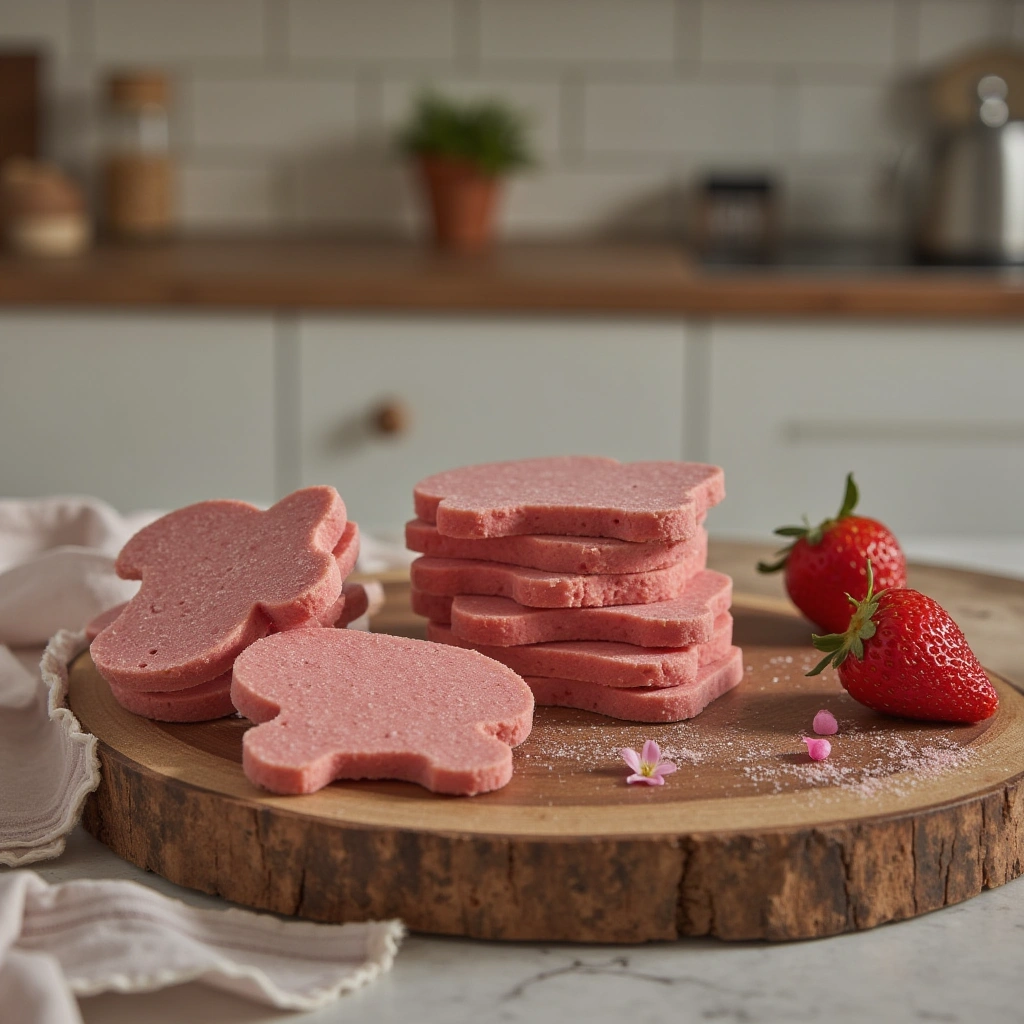
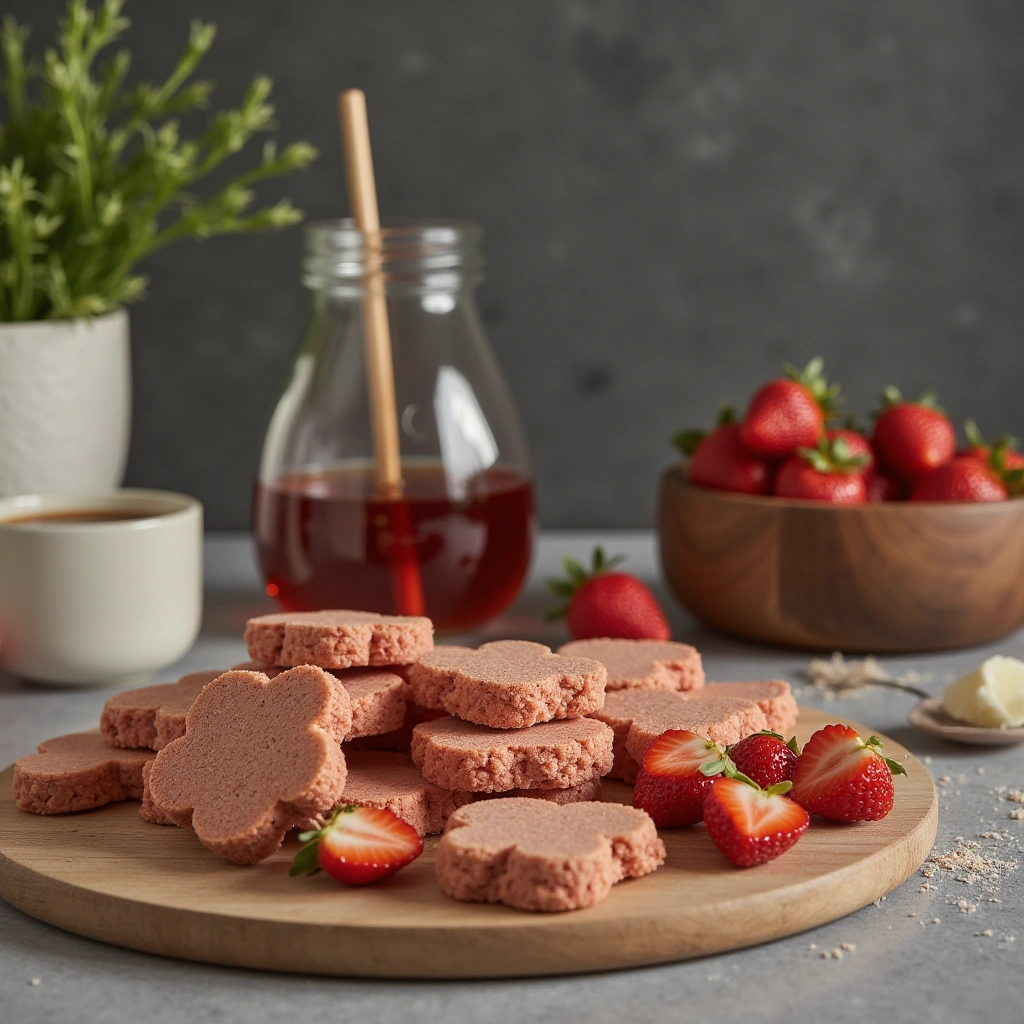
- Use cookie cutters to shape your treats or cut into small squares with a knife.
Step 4: Bake the Treats
- Preheat your oven to 350°F (175°C).
- Line your baking sheet with parchment paper or a silicone mat.
- Place the treats on the baking sheet, spaced apart.
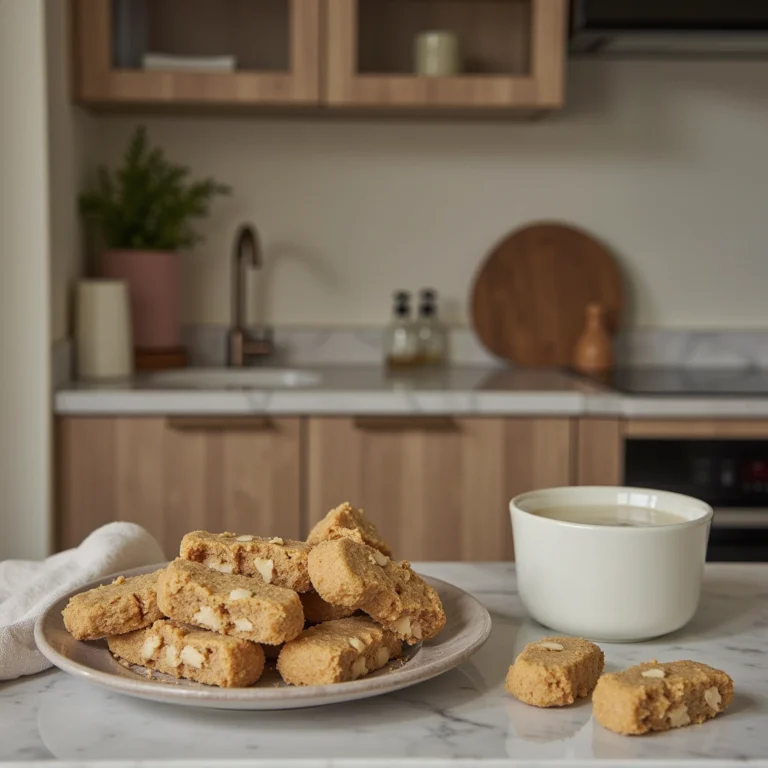
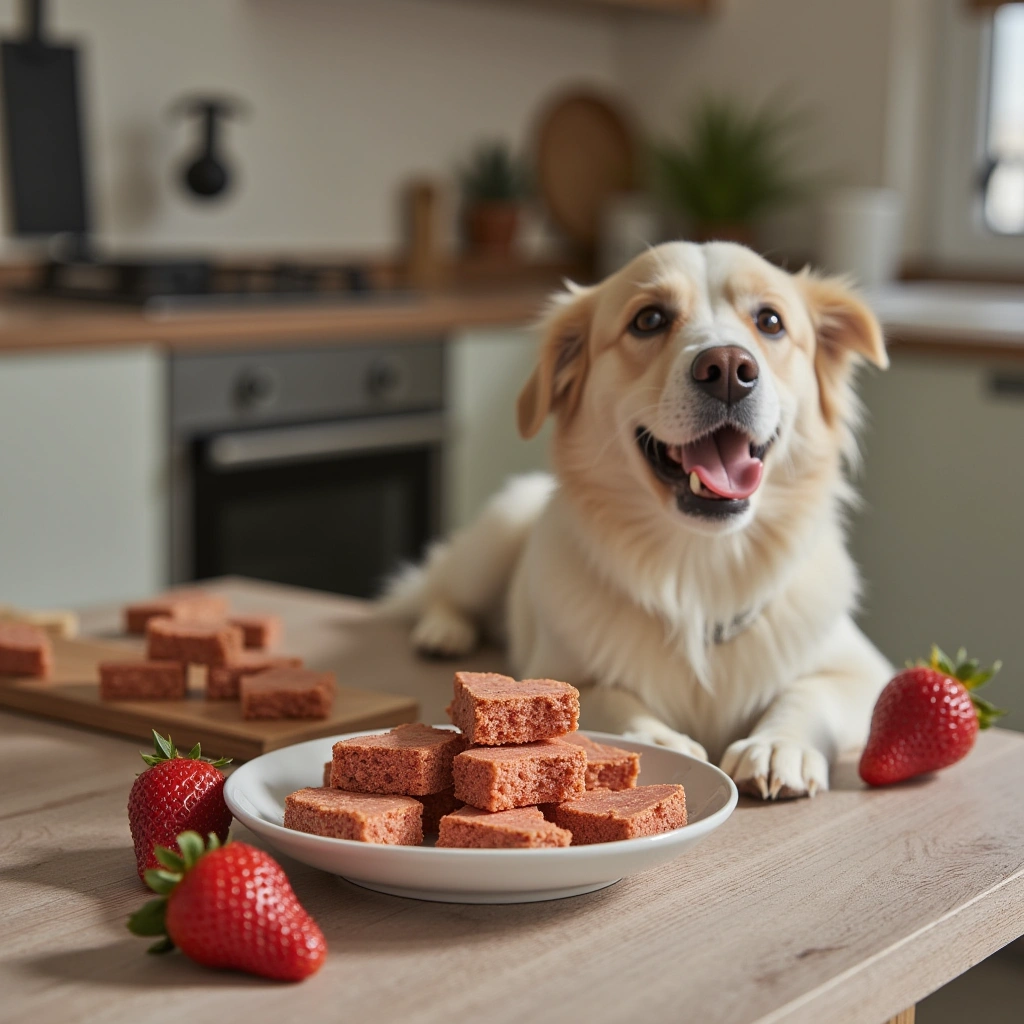
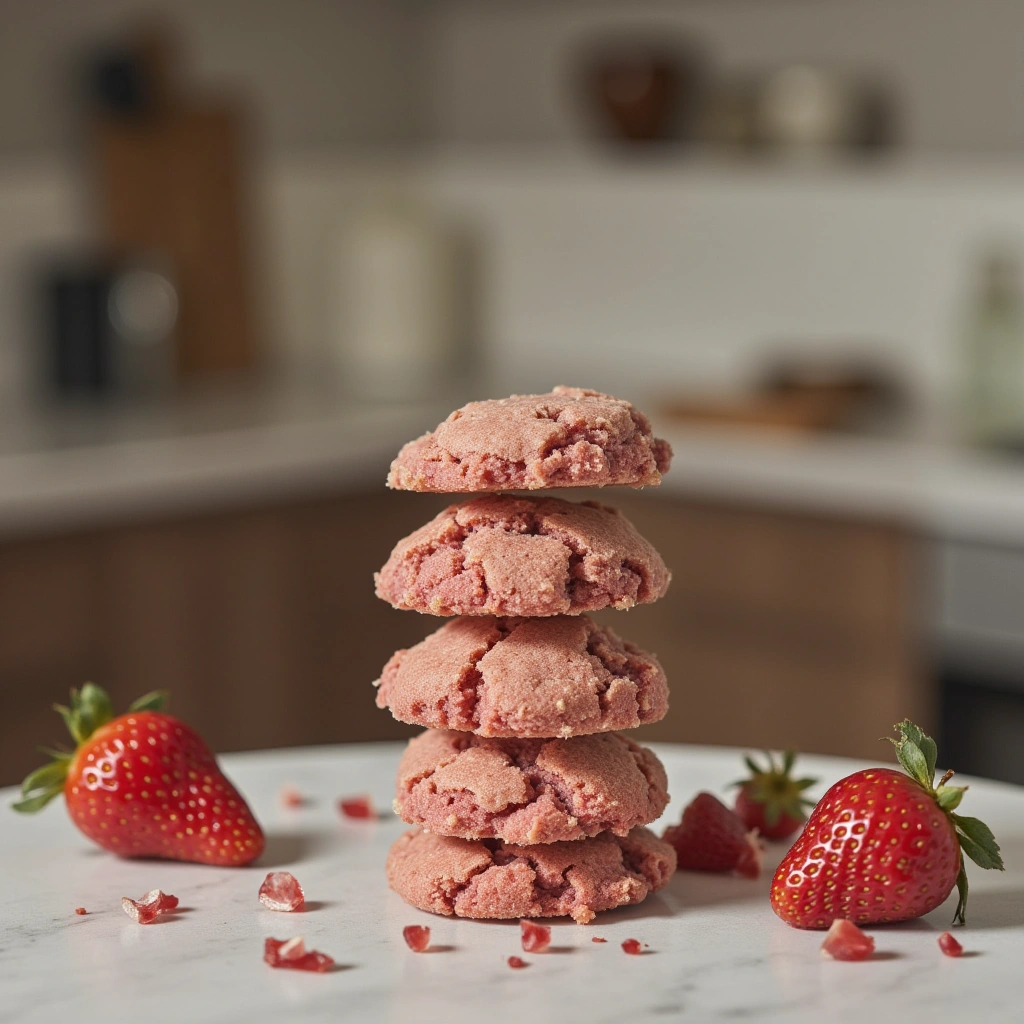
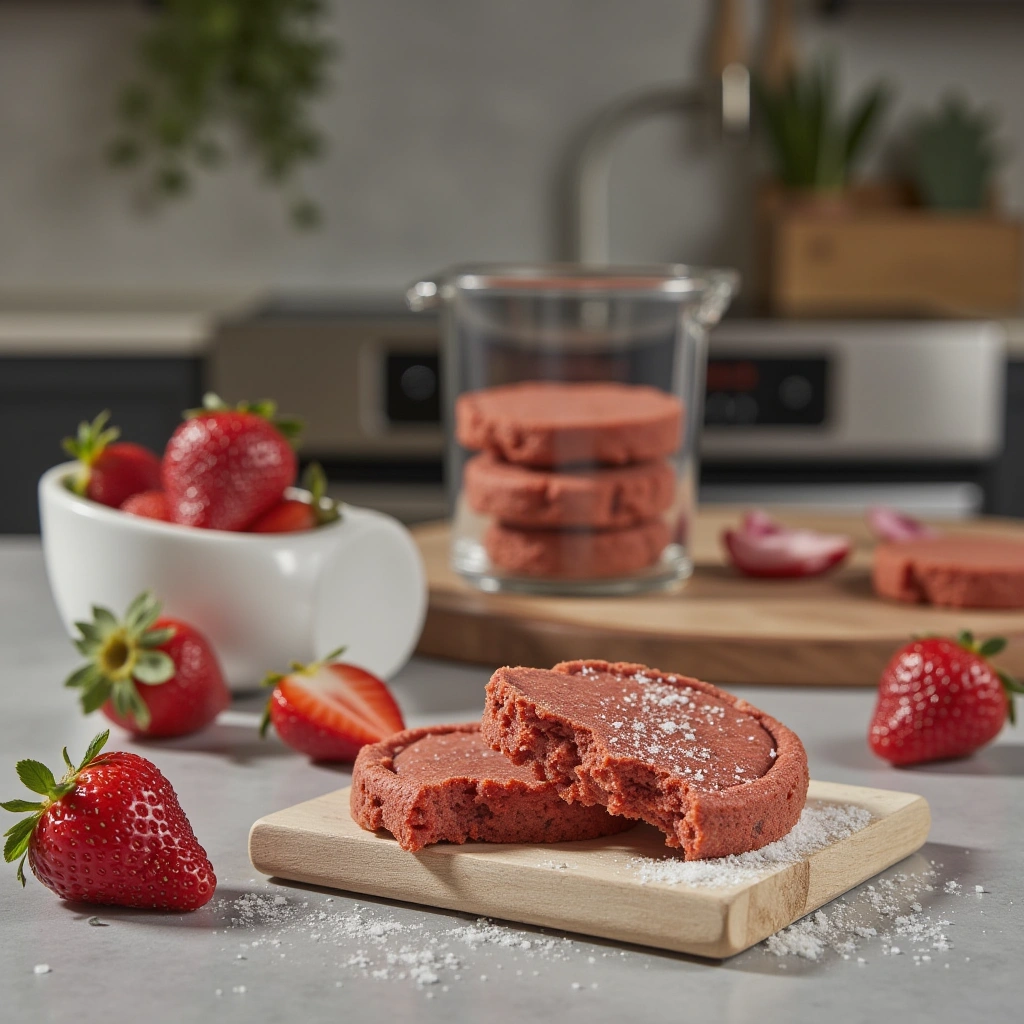
- Bake for 15-20 minutes, or until golden brown and firm.
Step 5: Cool and Store
- Remove treats from the oven and let them cool completely on a wire rack.
- Once cooled, store in an airtight container at room temperature for up to a week or freeze for longer storage.
Tips for Success
- Choose ripe strawberries for the best flavor and natural sweetness.
- Use dog-safe ingredients: Avoid using sugar, salt, or artificial flavorings.
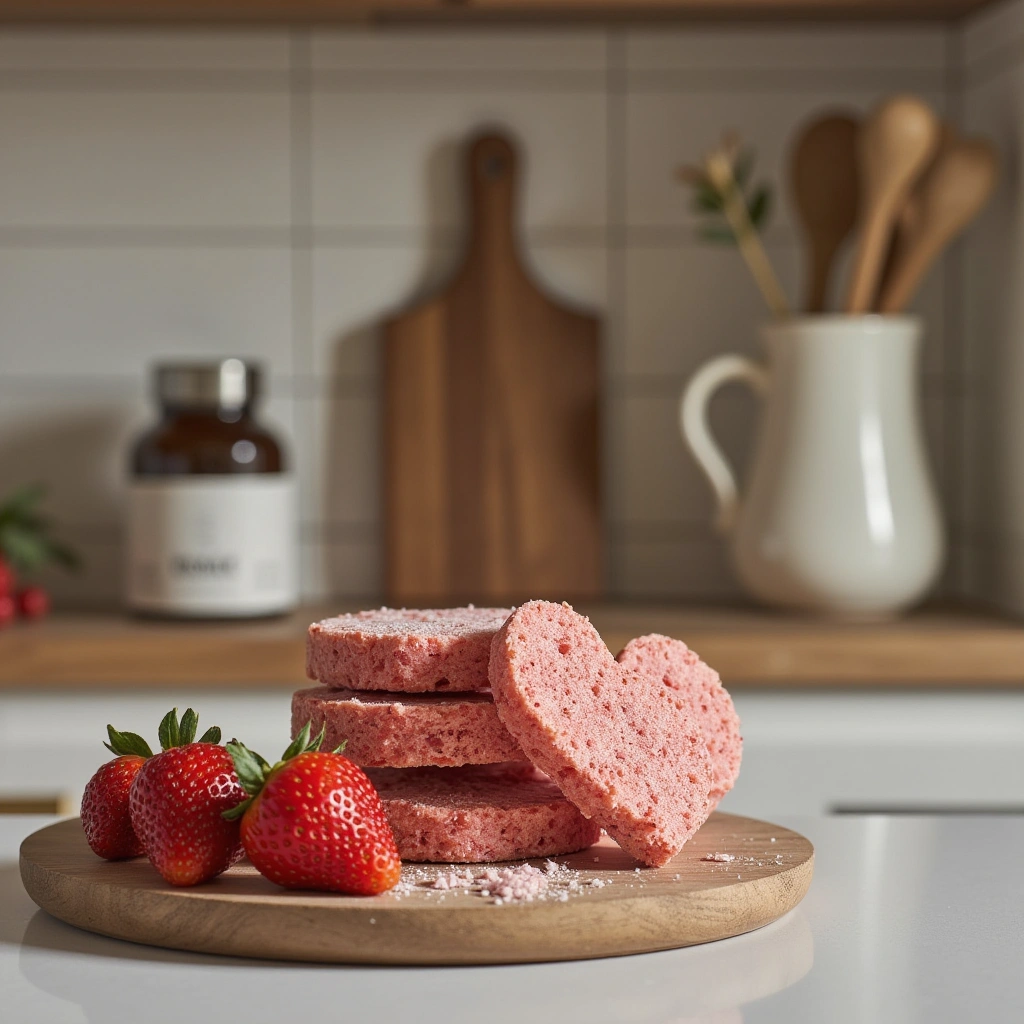
- Experiment with shapes: Use cookie cutters to make fun shapes that your dog will love.
- Adjust the dough consistency as needed; it should be easy to roll but not sticky.
- Test the treats for doneness by pressing gently; they should be firm and dry.
Common Mistakes and How to Avoid Them
| Mistake | How to Avoid |
|---|---|
| Overly sticky dough | Add more flour gradually until manageable |
| Underbaked treats | Bake until golden and firm; underbaked treats are crumbly and less durable |
| Using unsafe ingredients | Always double-check that all ingredients are dog-safe (avoid chocolate, xylitol, etc.) |
| Not cooling completely | Treats can be crumbly when warm; let them cool to firm up |
Variations and Creative Twists
Want to spice things up? Here are some tasty variations:
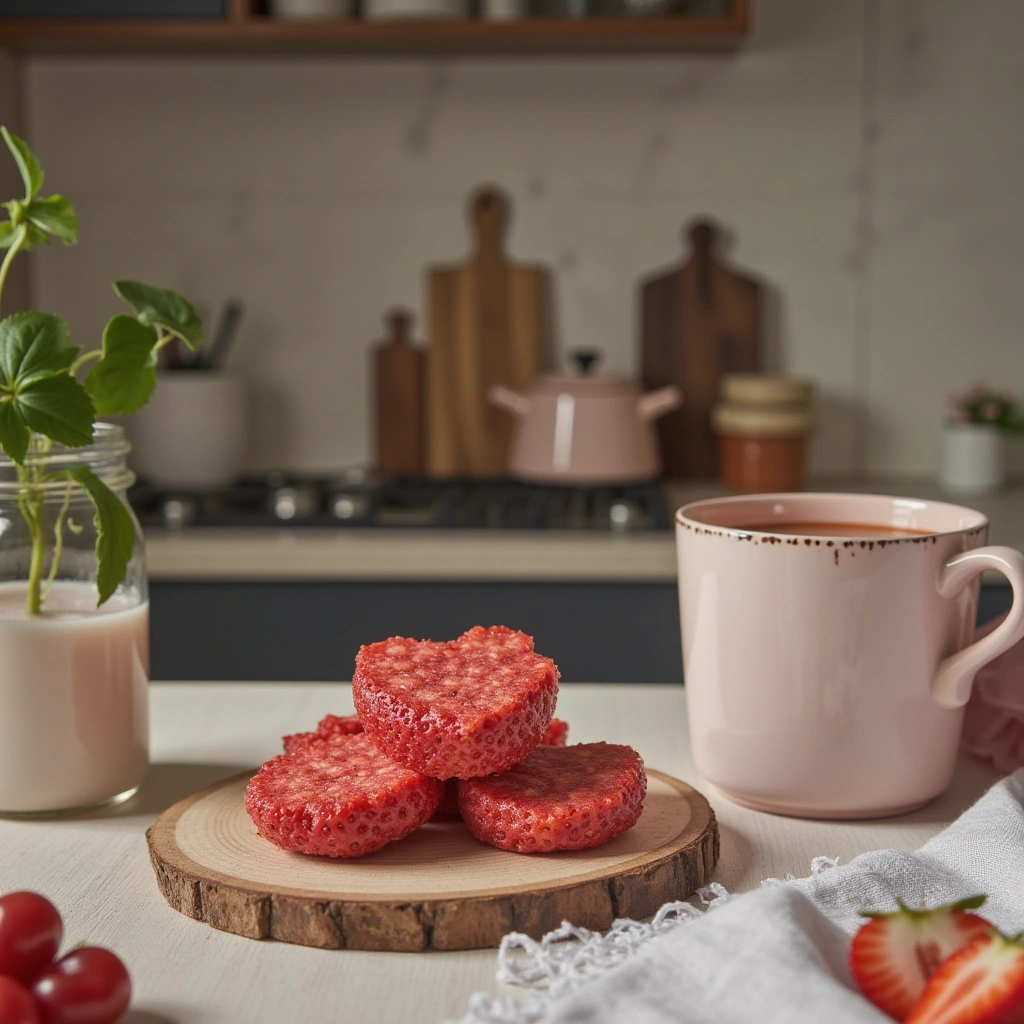
- Frozen strawberry bites: Pour the mixture into silicone molds and freeze for a refreshing summer treat.
- Add blueberries or banana: Mix in small amounts of other dog-safe fruits for extra flavor.
- Pumpkin strawberry treats: Incorporate pureed pumpkin for added fiber and nutrients.
- Dehydrated treats: Use a dehydrator or oven on low heat (around 200°F/93°C) to make chewy, long-lasting snacks.
Summary and Final Thoughts
Making strawberry dog treats at home is a simple, rewarding way to pamper your pup with healthy, tasty snacks. Not only do you get control over the ingredients, but you also bond with your dog during the process. Remember to choose fresh, safe ingredients, follow the steps carefully, and store your treats properly.
By incorporating strawberries into your dog’s diet, you’re offering a boost of antioxidants and vitamins that support their overall health. Plus, these treats are versatile—bake, freeze, or dehydrate them to suit your pup’s taste and your convenience.
So, next time you’re craving a fun DIY project, give these strawberry dog treats a try! Your furry friend will thank you with wagging tails and happy paws. Happy baking!
Remember: Homemade treats are a delightful way to show your dog love and care. Keep experimenting with flavors and shapes, and enjoy the process of making healthy snacks for your best friend!