Have you ever looked at your pup and wondered, “How do I help with that not-so-fresh doggy breath?” You’re not alone! Bad breath in dogs is common and can be caused by various factors, from dental issues to diet. While store-bought breath fresheners are convenient, they often contain artificial ingredients or preservatives that aren’t ideal for your furry friend. That’s where homemade dog breath mints come in—a safe, natural, and tasty way to keep your dog’s breath fresh and healthy.
In this comprehensive guide, I’ll walk you through everything you need to know about making your own dog-friendly breath mints. From understanding what ingredients are safe to use, to step-by-step instructions, tips for success, common mistakes to avoid, and fun variations. Let’s get started on creating a natural, effective, and paw-sitively delightful treat for your pup!
Why Make Your Own Dog Breath Mints?
Homemade dog breath mints aren’t just about freshening breath—they’re about supporting your dog’s overall oral health. Commercial options can contain artificial flavors, sweeteners, and chemicals that might upset sensitive stomachs or contribute to long-term health issues. Making your own mints allows you to control what goes into the treat, ensuring it’s 100% natural and tailored to your dog’s needs.
Plus, these mints are a fun way to bond with your pet! They’re easy to make, customizable, and can be incorporated into your regular grooming routine.
What Are Dog Breath Mints?

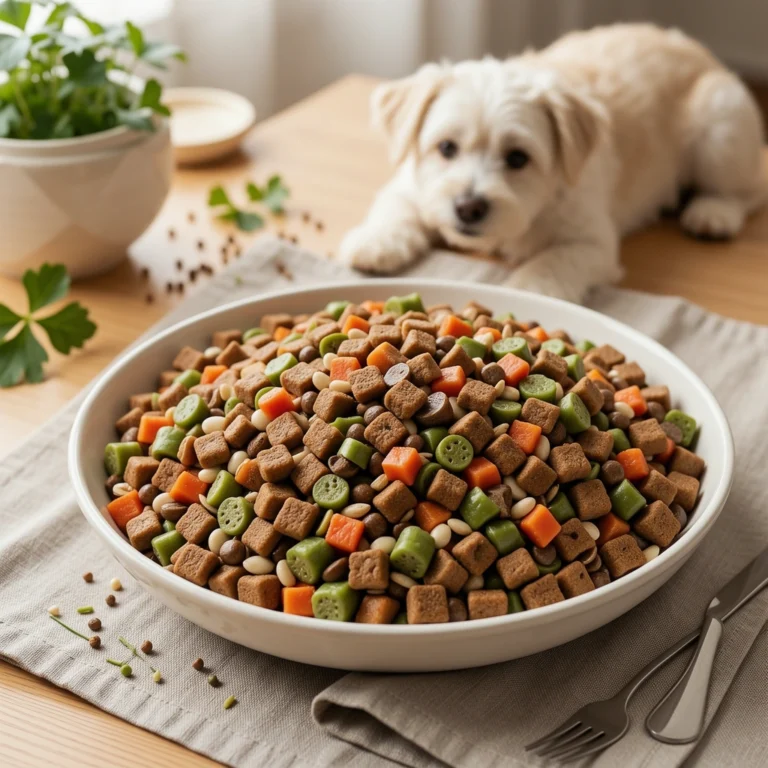
Dog breath mints are small, chewable treats designed specifically to combat bad breath. Unlike humans, dogs need treats that are safe to swallow, gentle on teeth, and free of harmful ingredients.
Key Features of Good Dog Breath Mints:
- Natural ingredients: No artificial flavors or preservatives.
- Dental-friendly: Help reduce plaque and tartar buildup.
- Safe for consumption: Made with ingredients that are non-toxic for dogs.
- Flavorful yet subtle: Tastes good but doesn’t upset sensitive stomachs.
Materials Needed
Before diving into the recipe, let’s gather all the essentials. Here’s a detailed table of the ingredients and tools you’ll need:
| Materials | Details / Options | Notes |
|---|---|---|
| Ingredients | ||
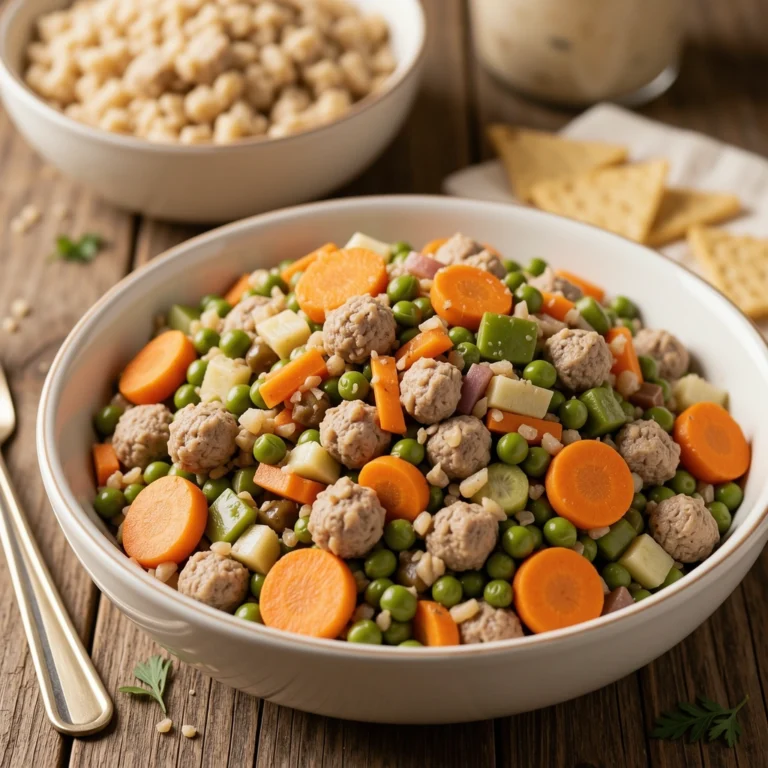
| Fresh parsley | 2 tablespoons, finely chopped | Natural deodorizer, freshens breath |
| Cinnamon powder | 1 teaspoon | Antimicrobial properties, flavor enhancer |
| Coconut oil | 2 tablespoons | Natural moisturizer, binding agent |
| Baking soda | 1 teaspoon | Helps neutralize odors |
| Whole wheat flour | 1 cup | Base for the treats, optional for grain-free version (see variations) |
| Egg | 1 large | Binds ingredients together |
| Water | As needed | Adjusts dough consistency |
| Tools | ||
| Mixing bowls | 2 | For combining ingredients |
| Baking sheet | 1 | For baking the mints |
| Parchment paper | 1 sheet | Prevents sticking |
| Cookie cutter or knife | 1 | To shape the mints |
| Rolling pin | 1 | To flatten the dough |
| Measuring spoons and cups | As needed | For accuracy |
Step-by-Step Recipe for Homemade Dog Breath Mints

Let’s get into the fun part—making these freshening mints! Follow these steps carefully for the best results.
Step 1: Prepare Your Workspace
- Clean your surfaces and gather all ingredients and tools.
- Preheat your oven to 350°F (175°C).
- Line your baking sheet with parchment paper.
Step 2: Mix the Dry Ingredients
- In a large bowl, combine the whole wheat flour, baking soda, and cinnamon powder.
- Mix thoroughly to ensure even distribution.
Step 3: Add Wet Ingredients
- In a separate bowl, whisk the egg and coconut oil until well combined.
- Stir in the chopped parsley.
- Gradually add the wet mixture to the dry ingredients, stirring continuously.
- Add water a tablespoon at a time until the dough comes together into a firm but pliable ball. The dough should not be sticky.
Step 4: Roll Out the Dough
- Lightly flour a clean surface.
- Roll the dough out to about 1/4 inch thickness.
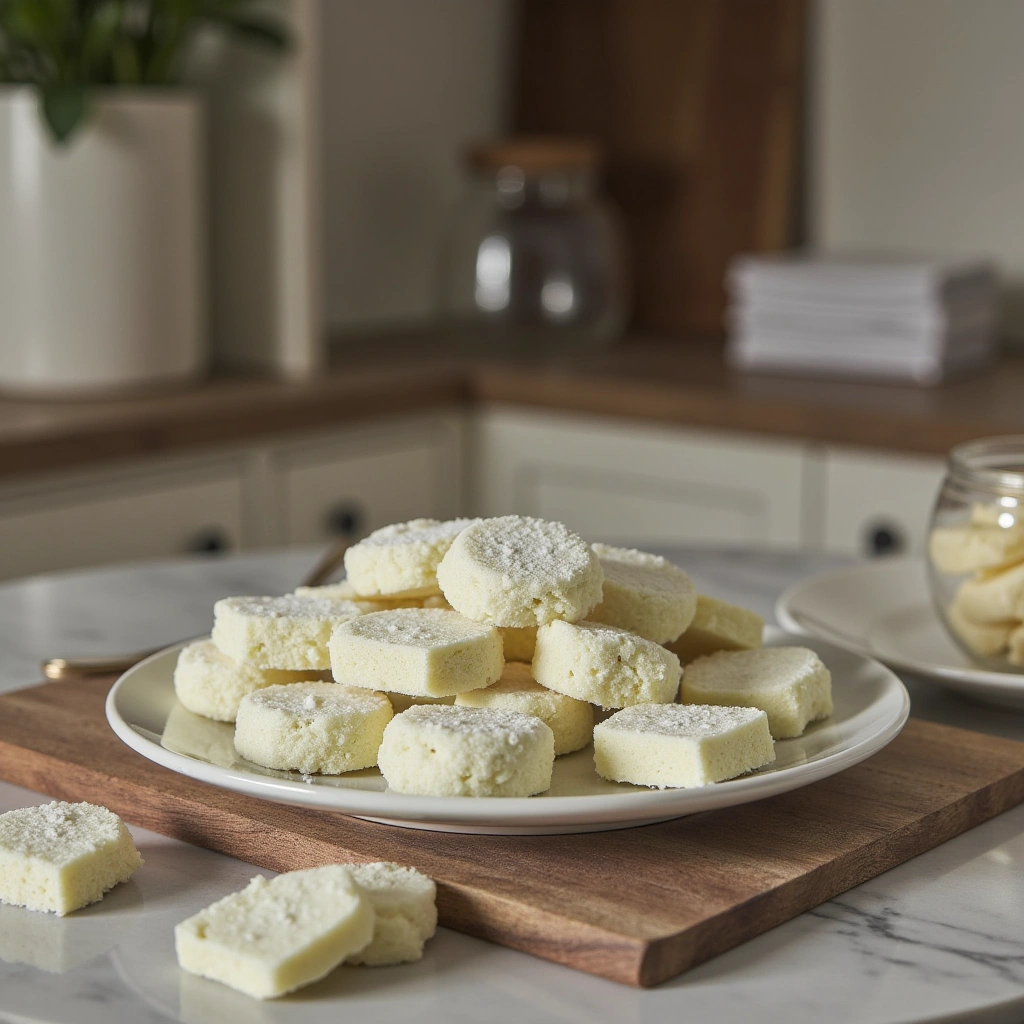
- Use a cookie cutter or knife to cut out small treat shapes—circles, bones, or paws work well.
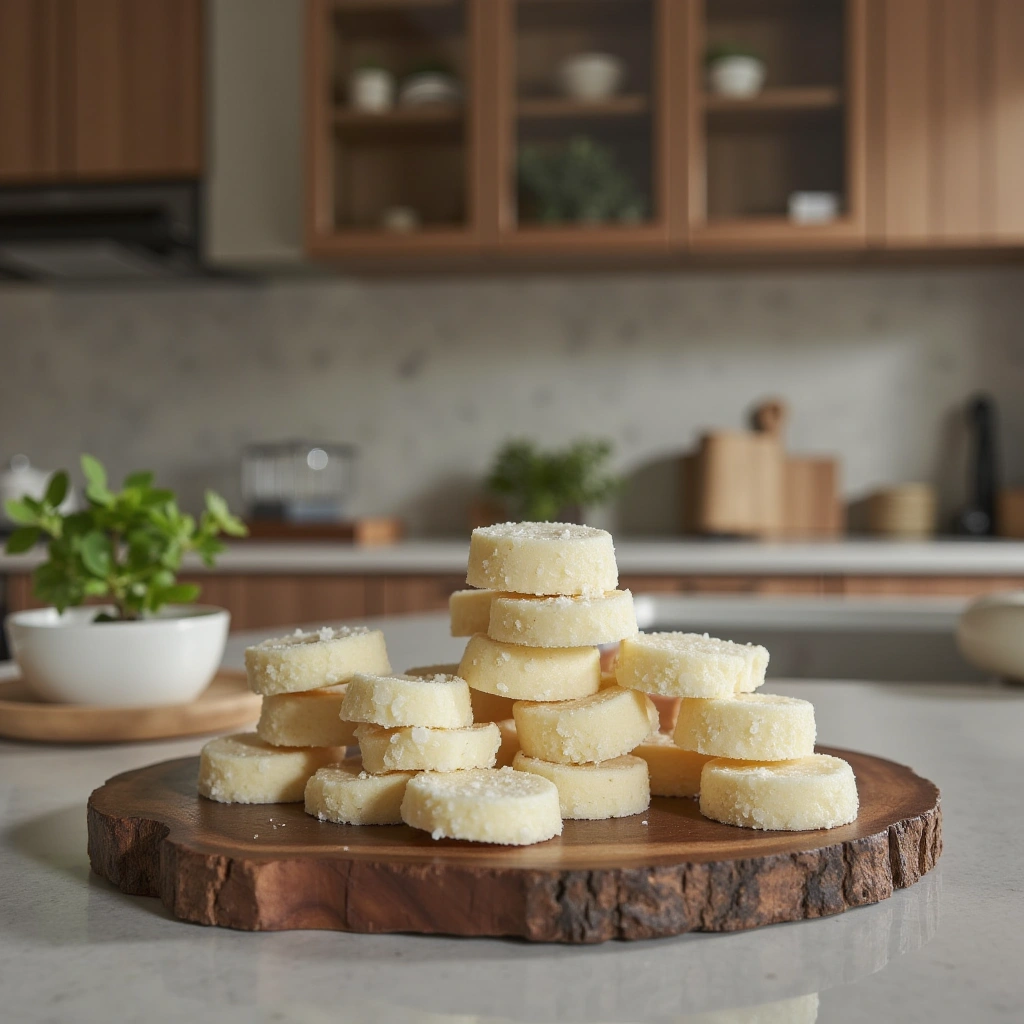
Step 5: Bake the Mints
- Place the cutouts onto the prepared baking sheet.
- Bake for 15–20 minutes, or until the edges are golden brown.
- Remove from oven and allow the mints to cool completely on a wire rack.
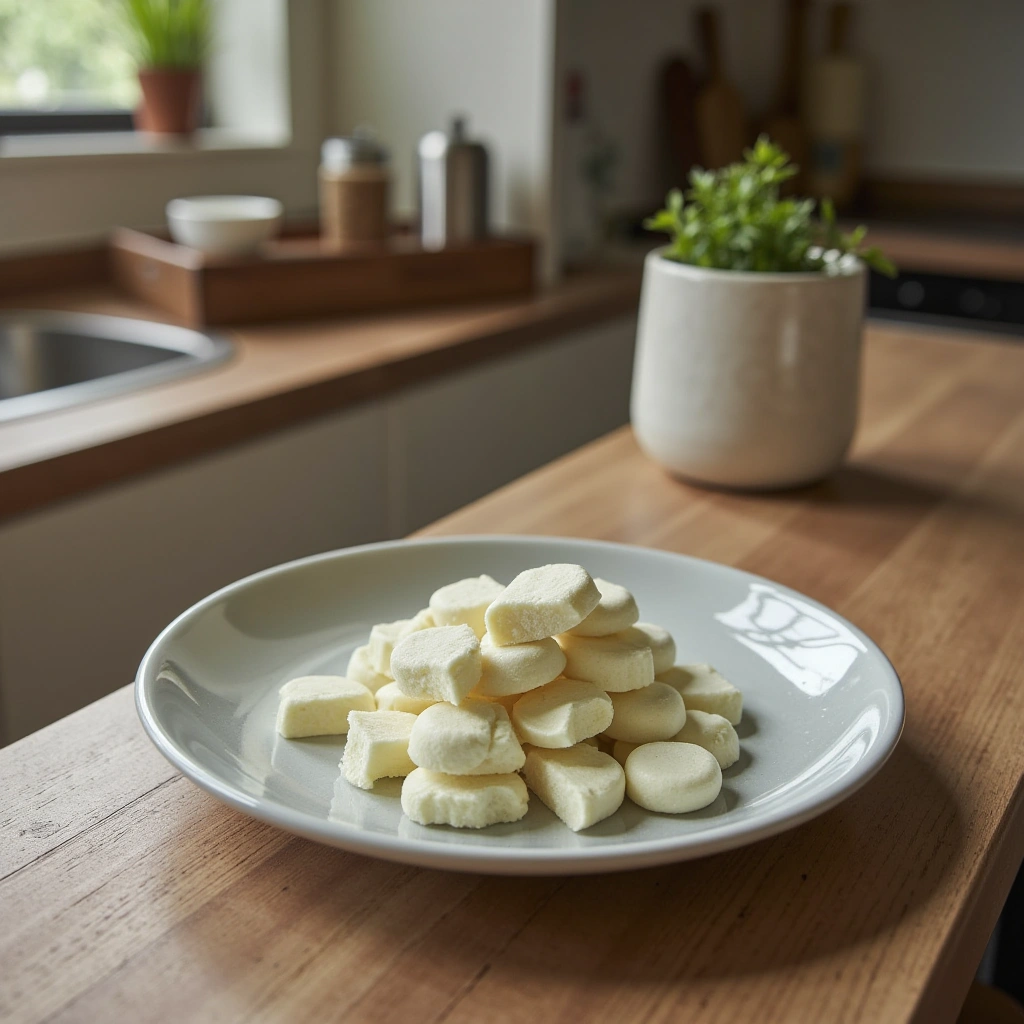
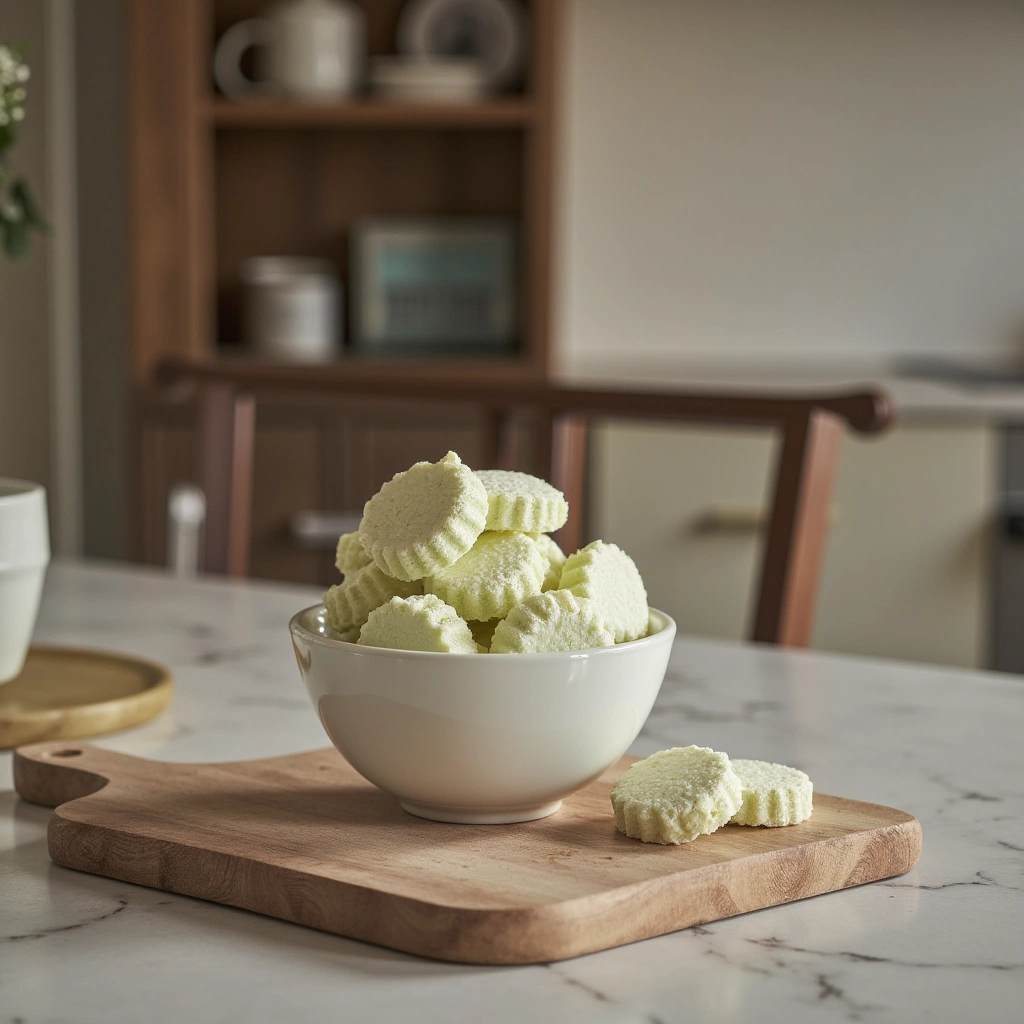
Step 6: Store Properly
- Once cooled, store the mints in an airtight container.
- Keep them in a cool, dry place or in the refrigerator for longer shelf life.
Tips for Success
- Use fresh herbs: Fresh parsley is more potent and effective than dried.
- Adjust water cautiously: Add water gradually to prevent the dough from becoming too sticky.
- Shape uniformly: Smaller, uniform mints ensure even baking.
- Test for safety: Always introduce new treats gradually and observe for any adverse reactions.
- Customize flavors: You can add a splash of dog-safe broth for extra flavor.
Common Mistakes and How to Avoid Them
| Mistake | Solution |
|---|---|
| Using ingredients toxic to dogs (e.g., onions, garlic, artificial sweeteners) | Stick to safe ingredients listed in the recipe |
| Overbaking or underbaking | Keep an eye on baking time; treats should be golden and firm |
| Making treats too thick or large | Keep treats small for easy chewing and digestion |
| Not storing properly | Always store in airtight containers; refrigerate if needed |
Variations and Customizations

Want to spice things up? Here are some fun variations:
- Grain-Free Version: Use almond flour or coconut flour instead of whole wheat.
- Flavor Boosters: Add a pinch of turmeric, ginger, or peppermint (dog-safe) for added health benefits.
- Chewy Mints: Incorporate a small amount of unsweetened applesauce or mashed banana.
- Dental Chews: Add small, dog-safe dental sticks or rawhide bits into the dough before baking.
Summary and Final Tips
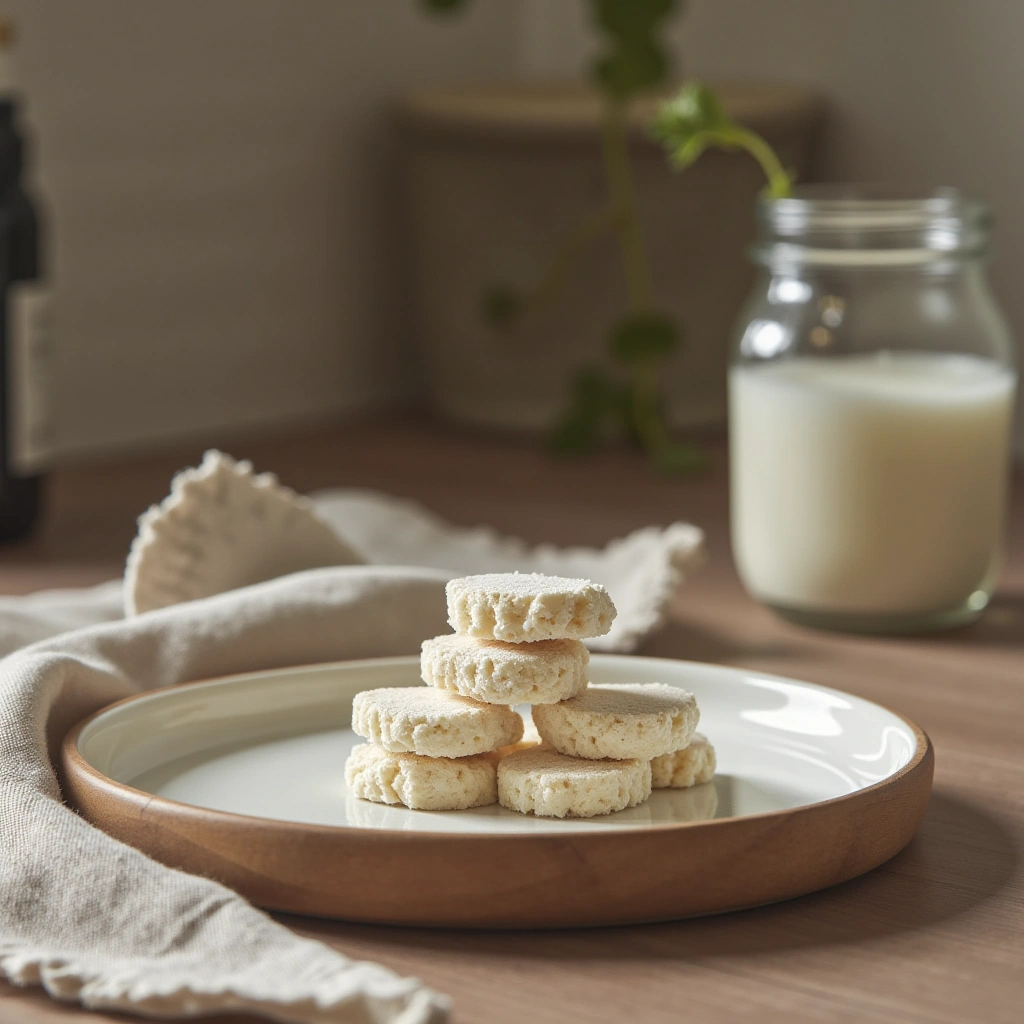
Homemade dog breath mints are a fantastic way to promote fresh breath and dental health naturally. With simple ingredients and easy steps, you can create a tasty treat that your dog will love—and you’ll feel good about giving. Remember, consistency is key—regularly offering these mints, combined with good dental hygiene, can make a real difference.
Always monitor your dog’s response to new treats, and consult your veterinarian if you notice any adverse reactions or if your dog has specific health issues. Now that you have the complete recipe and tips, why not give it a try? Your pup’s breath—and their overall health—will thank you!
Freshening your dog’s breath naturally is easy with homemade mints. Happy baking and wagging tails!