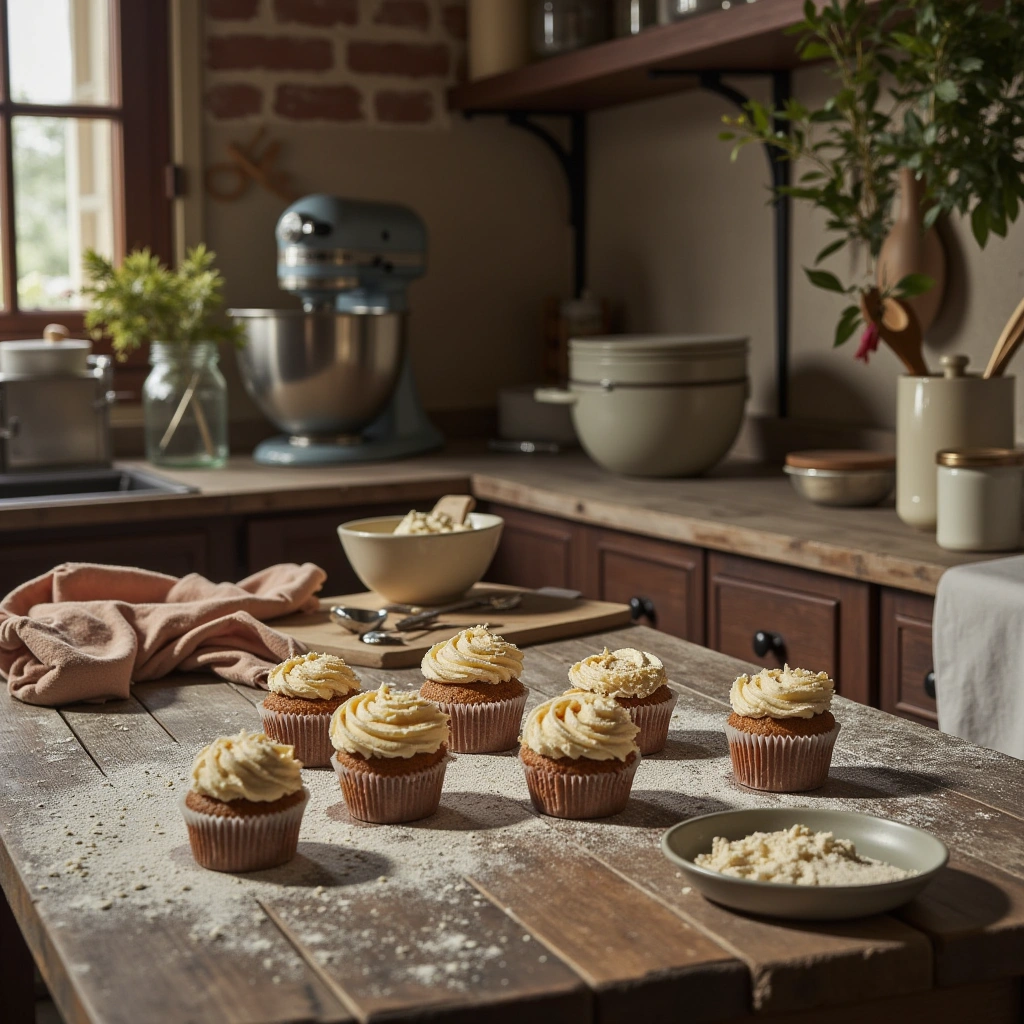
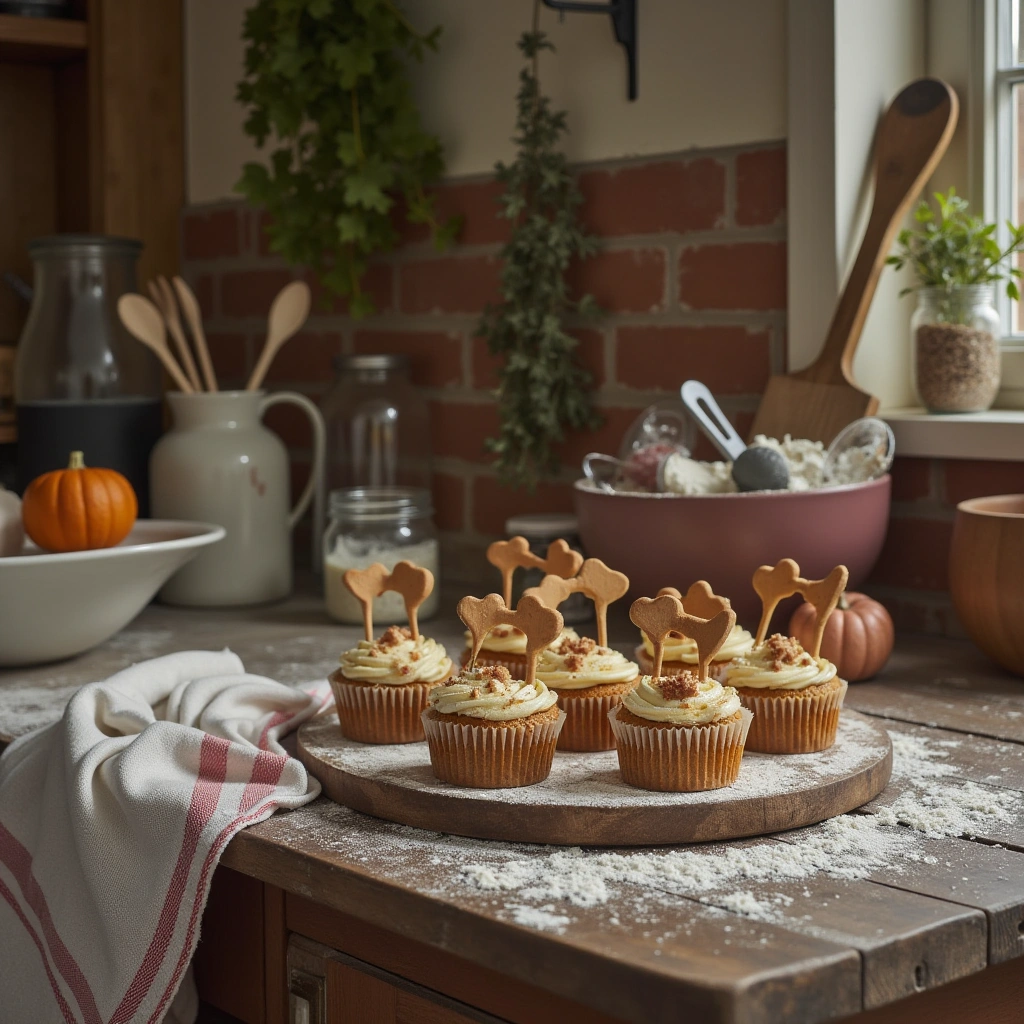
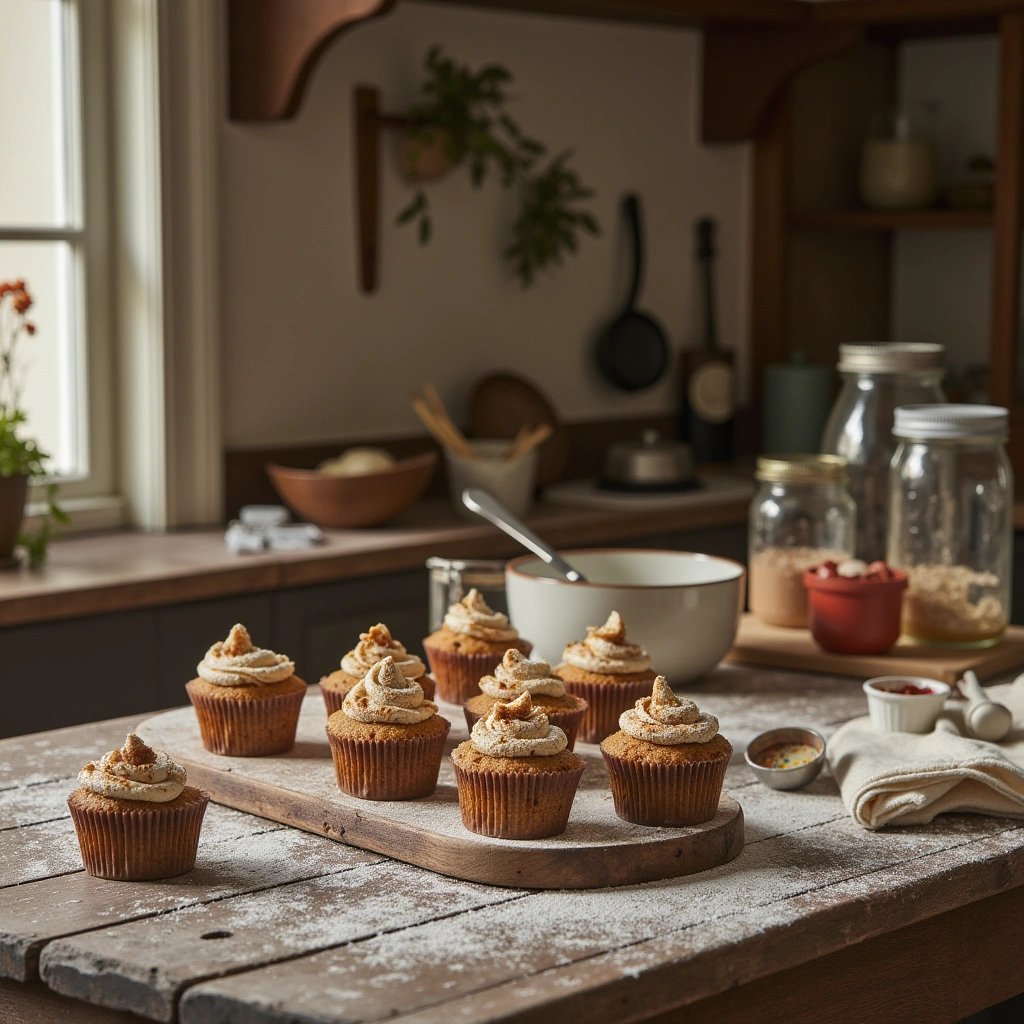
Ever wondered how to spoil your pup with a delightful, healthy snack? If you’re looking for a fun, easy, and nutritious way to treat your dog, homemade pumpkin dog cupcakes are the perfect choice! Not only are they super simple to whip up, but they also pack a punch of health benefits thanks to pumpkin’s fiber, vitamins, and antioxidants. Plus, your pup will love the tasty, cupcake-style presentation. Today, I’ll guide you through creating these delightful treats from scratch, with detailed tips and variations to make them perfect for your furry friend.
Why Choose Homemade Pumpkin Dog Cupcakes?
Homemade dog treats are a fantastic way to ensure your pet gets wholesome ingredients without additives or preservatives often found in commercial treats. Pumpkin, a key ingredient in this recipe, is especially beneficial:
- Rich in fiber: Supports healthy digestion.
- Packed with vitamins: Vitamins A, C, and E boost immunity.
- Low in calories: Great for weight management.
- Contains antioxidants: Helps fight free radicals.
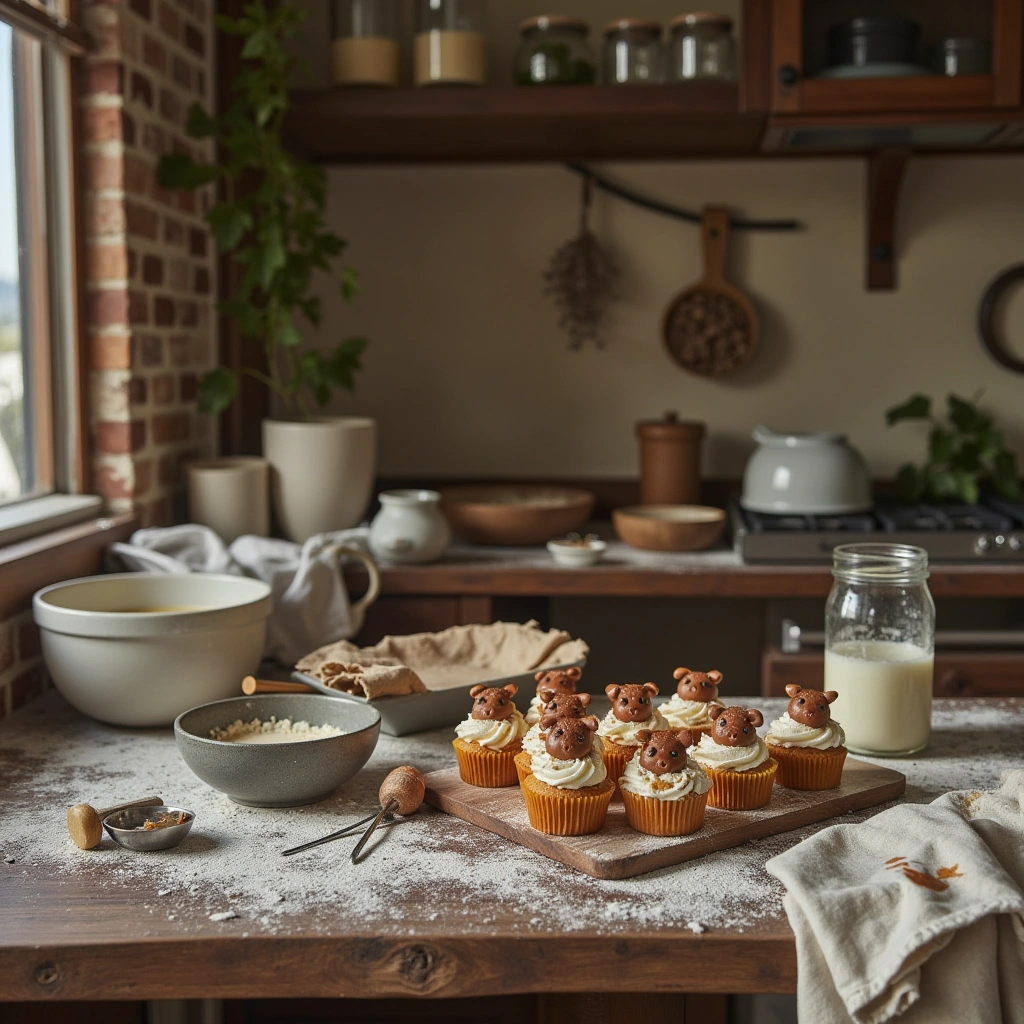
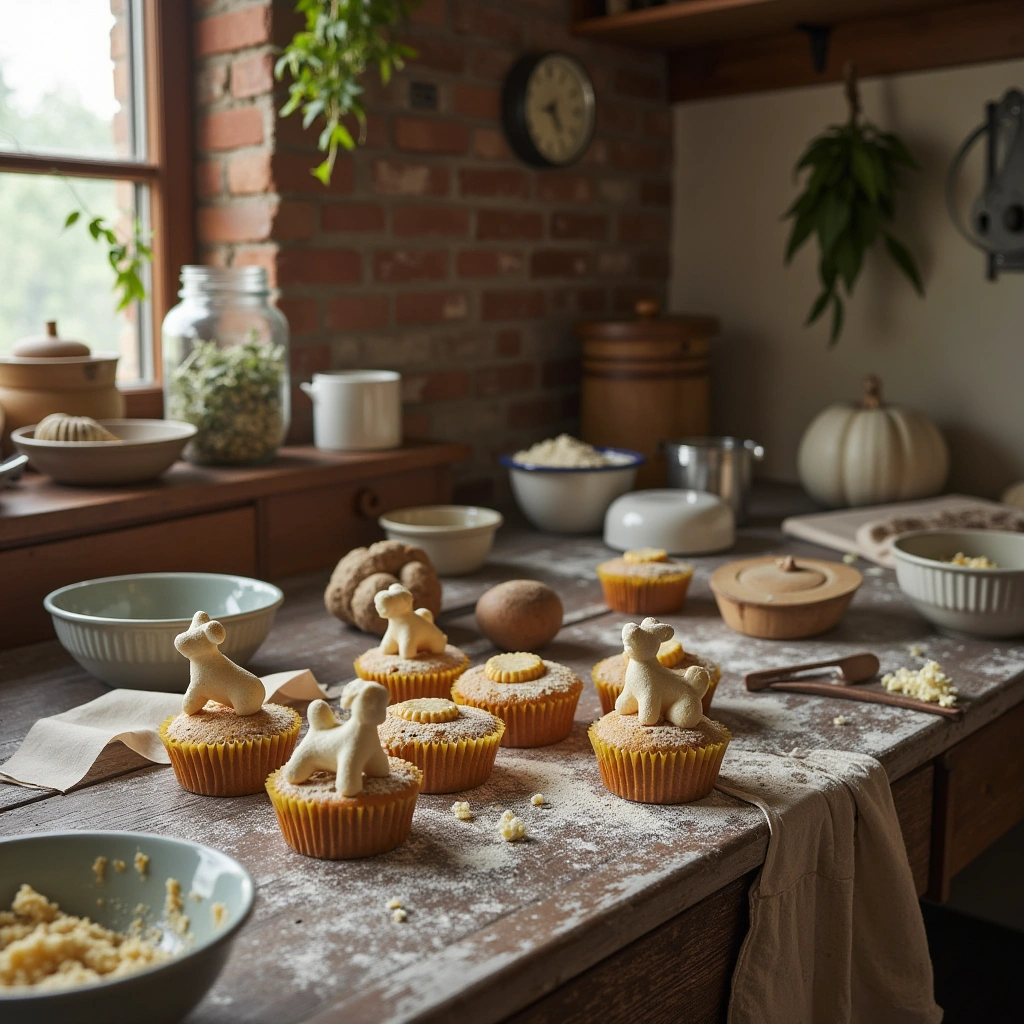
Making cupcakes at home allows customization—adding ingredients your dog loves or avoiding allergens. Plus, they’re adorable! Imagine serving your pup a cupcake—who wouldn’t want that?
Ingredients and Materials Needed
Before diving into the baking process, let’s gather everything you need. Here’s a detailed list with measurements and descriptions to make your shopping and prep smoother.
Materials Needed
| Item | Quantity | Description |
|---|---|---|
| Canned Pumpkin | 1 cup | Unsweetened, pure pumpkin (not pie filling) |
| Whole Wheat Flour | 2 cups | For fiber and nutrients (can substitute with oat or rice flour for allergies) |
| Oats | ½ cup | Rolled oats, for texture and fiber |
| Eggs | 2 large | Protein source and binding agent |
| Peanut Butter | ¼ cup | Natural, xylitol-free (check label) for flavor and healthy fats |
| Carrots | ½ cup | Finely grated (optional, adds crunch and nutrients) |
| Baking Powder | 1 teaspoon | Helps cupcakes rise |
| Coconut Oil | 2 tablespoons | Healthy fats, optional but recommended |
| Dog-Friendly Frosting | Optional | Made from Greek yogurt or cream cheese (xylitol-free) |
Additional Tools
- Muffin tin or cupcake liners
- Mixing bowls
- Whisk or spoon
- Grater (for carrots)
- Measuring cups and spoons
- Cooling rack
Step-by-Step Guide to Making Pumpkin Dog Cupcakes
Follow these detailed steps to bake healthy, tasty cupcakes your pup will adore!
Step 1: Preparation
- Preheat your oven to 350°F (175°C).
- Line a muffin tin with paper liners or lightly grease it to prevent sticking.
- Gather all ingredients and tools to streamline the process.
Step 2: Mix the Dry Ingredients
- In a large mixing bowl, combine 2 cups of whole wheat flour, ½ cup of oats, 1 teaspoon of baking powder.
- Stir until evenly distributed.
Step 3: Prepare the Wet Ingredients
-
In a separate bowl, whisk together:
- 1 cup of canned pumpkin
- 2 eggs
- ¼ cup of peanut butter
- 2 tablespoons of coconut oil
- ½ cup of grated carrots (if using)
-
Mix until smooth and well combined.
Step 4: Combine Wet and Dry
- Slowly add the wet mixture into the dry ingredients.
- Stir gently until the batter is uniform. Do not overmix—just combine.
Step 5: Fill the Muffin Tin
- Using a spoon or small scoop, fill each cupcake liner about ¾ full.
- Smooth the tops with the back of the spoon.
Step 6: Bake
- Place the tray in the preheated oven.
- Bake for 20-25 minutes or until a toothpick inserted into the center comes out clean.
- Keep an eye on them; overbaking can dry out treats.
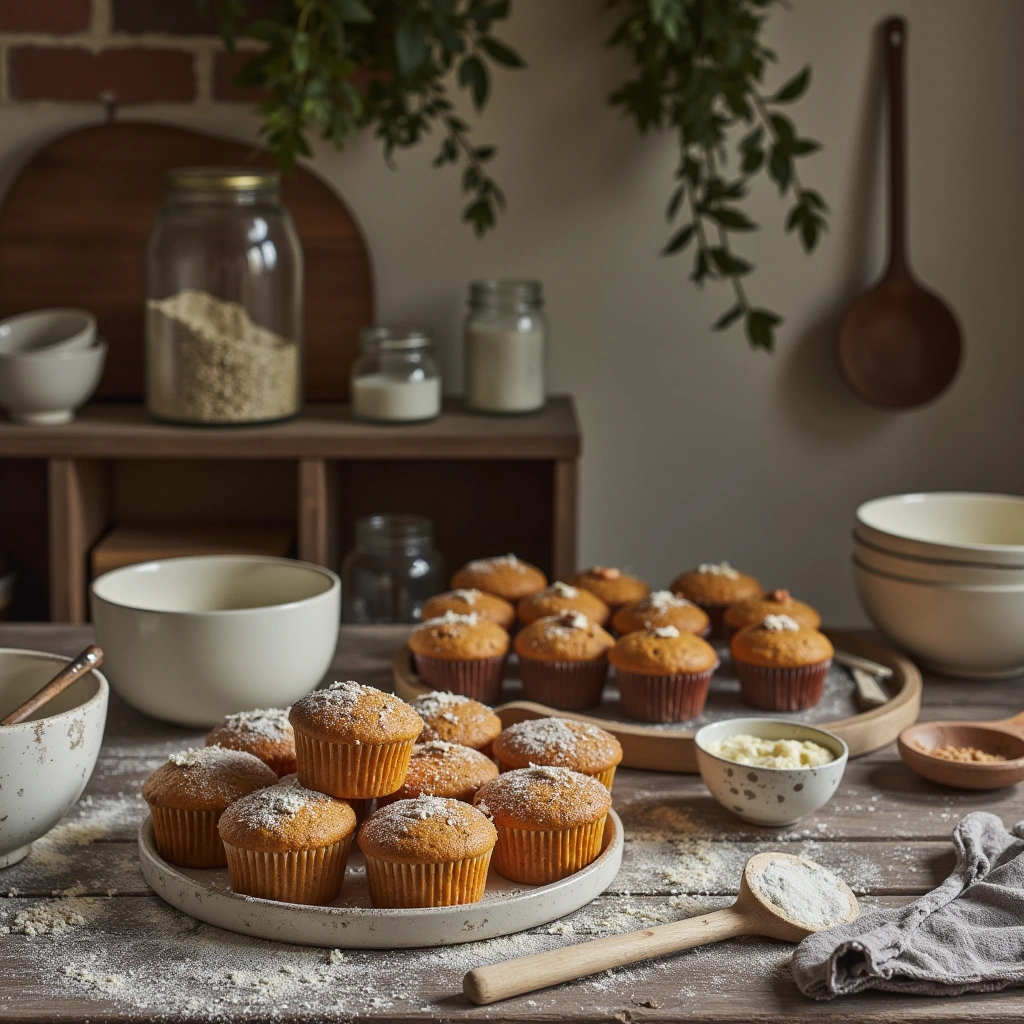
Step 7: Cool and Decorate
- Remove from oven and let cupcakes cool completely on a wire rack.
- If desired, decorate with a dollop of Greek yogurt or cream cheese for an extra treat.
Tips for Success
- Use fresh ingredients: Fresh pumpkin and high-quality peanut butter make a difference.
- Customize ingredients: Add blueberries, apples, or spinach for variety.
- Adjust textures: For a softer treat, reduce baking time slightly.
- Storage: Keep treats in an airtight container in the fridge for up to a week or freeze for longer shelf life.
- Portion control: Serve appropriate sizes based on your dog’s weight and size.
Common Mistakes and How to Avoid Them
| Mistake | Solution |
|---|---|
| Using pie filling instead of pure pumpkin | Always check labels; pie filling is sweetened and contains added spices like nutmeg, which are harmful to dogs. |
| Overmixing batter | Overmixing can make treats tough; stir just until combined. |
| Baking at incorrect temperature | Follow the recommended temperature to ensure proper rising and texture. |
| Using xylitol-containing peanut butter | Always verify labels—xylitol is toxic to dogs. Use natural, unsweetened peanut butter. |
| Not cooling cupcakes properly | Hot cupcakes can crumble or become soggy; let them cool completely before serving. |
Variations and Creative Twists

Looking to spice things up? Here are some fun variations:
- Sweet Potato Cupcakes: Substitute pumpkin with mashed sweet potato.
- Add Protein: Mix in cooked chicken or turkey bits.
- Frosting Fun: Top with mashed banana or a thin layer of peanut butter.
- Cheesy Delight: Add shredded cheese for a savory twist.
- Different Flours: Use oat, rice, or chickpea flour for allergies or gluten intolerance.
Summary and Final Thoughts
Making homemade pumpkin dog cupcakes is a rewarding way to treat your furry friend with healthy, tasty snacks. By carefully selecting quality ingredients and following simple steps, you ensure your pup gets a nutritious delight without any artificial additives. Remember to personalize recipes based on your dog’s dietary needs and preferences, and always monitor for any allergies or sensitivities.
So, next time you’re thinking of baking, whip up a batch of these delightful cupcakes. Your pup will thank you with wagging tails and happy paws! Enjoy baking and nourishing your four-legged friend with love and care.
Ready to give your pup a treat that’s both delicious and wholesome? Try this pumpkin cupcake recipe today—happy baking and even happier pups!