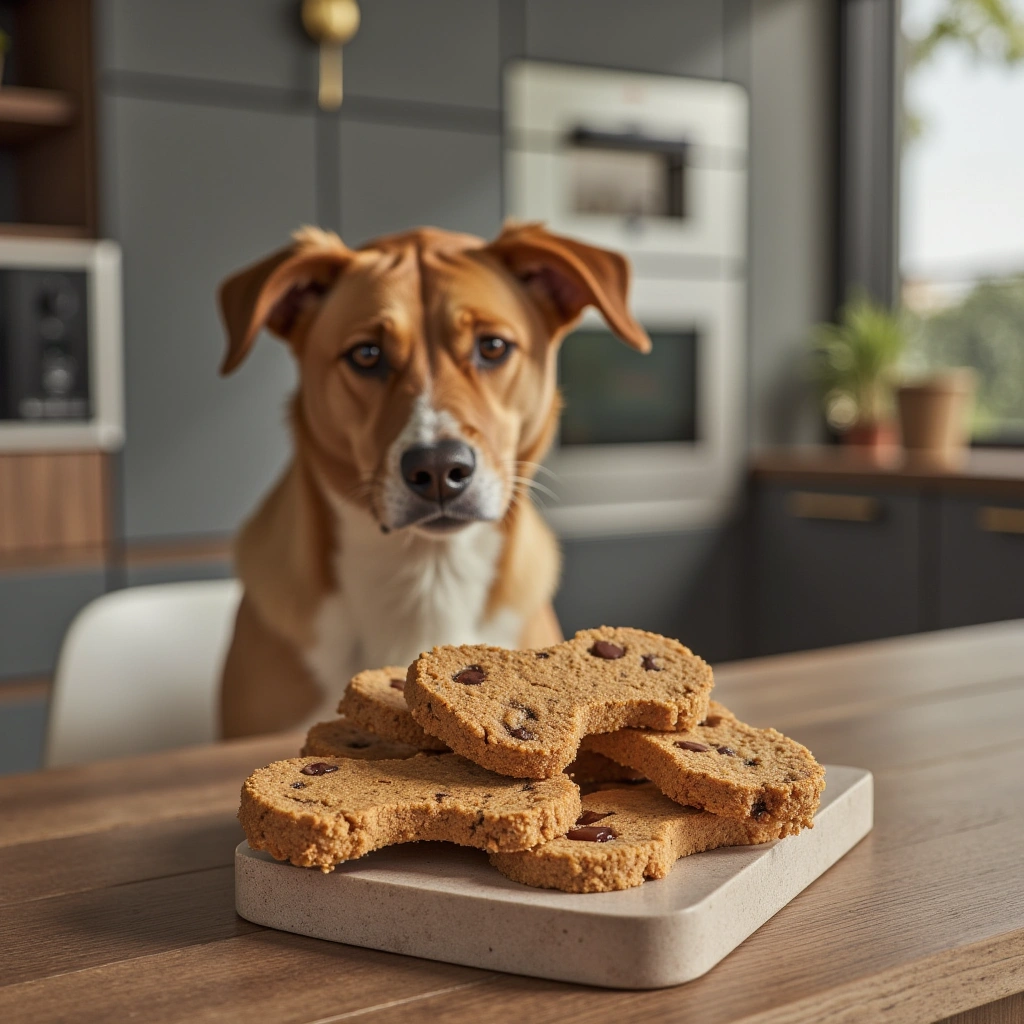
Hey friends! If you’re like me, you want your pup to enjoy tasty treats without worrying about gluten allergies or sensitivities. Gluten-free dog treats are a fantastic way to keep your furry friend happy and healthy, especially if they have sensitivities or allergies to wheat, barley, or rye. Today, I’ll walk you through everything you need to know about making safe, nutritious, and easy gluten-free dog treats at home. From ingredients to step-by-step instructions, I’ve got you covered. Let’s dive in!
Why Choose Gluten-Free Dog Treats?
Many dogs develop food sensitivities over time, with gluten being a common culprit. Gluten is a protein found in wheat, barley, and rye, which can cause digestive upset, itching, or even behavioral issues in some pups. Making your own gluten-free treats ensures you control what goes into your dog’s snacks—no preservatives, additives, or hidden allergens. Plus, homemade treats are often more affordable and can be tailored to your dog’s taste preferences.
Benefits of Gluten-Free Dog Treats:
- Reduces risk of allergies and sensitivities
- Supports digestive health
- Allows customization for dietary needs
- Ensures ingredient transparency
- Offers fresh, preservative-free options
Essential Materials Needed for Gluten-Free Dog Treats
Before jumping into the recipe, let’s review the materials and ingredients you’ll need. Having everything ready makes the process smoother!
| Materials / Ingredients | Quantity / Details | Notes |
|---|---|---|
| Gluten-free flour (see options below) | 2 cups | Almond, oat, rice, or coconut flour |
| Eggs | 2 large | Acts as a binder |
| Unsweetened applesauce | ½ cup | Adds moisture and flavor |
| Peanut butter (xylitol-free) | ¼ cup | For taste and healthy fats |
| Water or broth | ¼ cup | Adjust for dough consistency |
| Baking sheet | 1 | For baking treats |
| Parchment paper | 1 sheet | To prevent sticking |
| Rolling pin | 1 | Optional, for shaping |
| Cookie cutters (optional) | Various sizes | For fun shapes |
Key Gluten-Free Flours Explained:
- Almond Flour: Rich in healthy fats, low carb, adds a nutty flavor.
- Oat Flour: Made from gluten-free oats, high in fiber.
- Rice Flour: Neutral flavor, good for light treats.
- Coconut Flour: High in fiber, absorbs a lot of liquid, so adjust recipes accordingly.
Note: Always check labels to ensure flours are certified gluten-free to avoid cross-contamination.
Step-by-Step Guide to Making Gluten-Free Dog Treats
Now, let’s get baking! Follow these simple steps to whip up a batch of wholesome treats your pup will love.
Step 1: Prepare Your Ingredients
- Gather all materials listed above.
- Preheat your oven to 350°F (175°C).
- Line your baking sheet with parchment paper.
Step 2: Mix the Wet Ingredients
- In a large bowl, whisk the eggs until well combined.
- Add applesauce and peanut butter, stirring until smooth.
- Gradually incorporate water or broth to loosen the mixture.
Step 3: Add the Dry Ingredients
- In a separate bowl, combine your chosen gluten-free flour.
- Slowly add the flour mix to the wet ingredients.
- Mix until a dough forms. If the dough is too sticky, add a little more flour; if too dry, add a splash more water.
Step 4: Roll Out the Dough
- Lightly flour a clean surface with gluten-free flour.
- Roll out the dough to about ¼ inch thickness.
- Use cookie cutters to cut out fun shapes or simply slice into squares.
Step 5: Bake
- Place the cutouts on the prepared baking sheet.
- Bake for 15-20 minutes, or until golden brown.
- Let the treats cool completely before offering to your pup.
Step 6: Store Properly
- Store in an airtight container at room temperature for up to a week.
- For longer storage, refrigerate or freeze.
Tips for Success
- Choose the right flour: Experiment with different gluten-free flours to find the flavor and texture your dog prefers.
- Adjust moisture levels: Coconut flour absorbs more liquid, so you might need to tweak the recipe.
- Add natural flavorings: Small amounts of turmeric, cinnamon, or pumpkin puree can boost flavor and health benefits.
- Test for allergies: Always introduce new treats gradually and watch for reactions.
Common Mistakes and How to Avoid Them

| Mistake | Solution |
|---|---|
| Using non-gluten-free flours | Always check labels for gluten-free certification |
| Overbaking treats | Keep an eye on baking time; treats can burn quickly |
| Dough too sticky or dry | Adjust with small amounts of water or flour as needed |
| Not cooling treats properly | Let treats cool completely to avoid crumble or sogginess |
Variations You Can Try
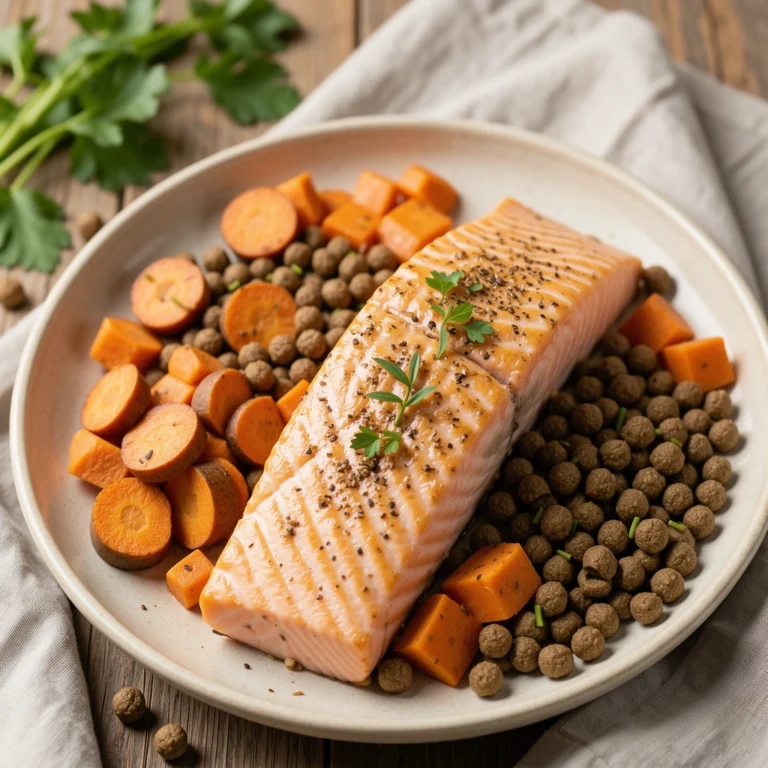
- Sweet Potato Treats: Add mashed cooked sweet potato for extra flavor.
- Cheesy Treats: Mix in shredded cheese (if tolerated).
- Herb-Infused: Incorporate parsley or rosemary for added freshness.
- Training Bites: Make smaller, bite-sized pieces for training sessions.
Final Thoughts
Making gluten-free dog treats at home is a rewarding way to spoil your pup while keeping their health in check. With a handful of simple ingredients and a little bit of love, you can create tasty, nutritious snacks that cater to your dog’s dietary needs. Feel free to experiment with flavors and shapes—your furry friend will thank you!
Remember: Always consult your veterinarian before introducing new treats into your dog’s diet, especially if they have known allergies or sensitivities. Happy baking, and here’s to many tail-wagging moments ahead!
Ready to give it a try? Gather your ingredients, follow these steps, and enjoy watching your dog delight in these homemade gluten-free goodies!