Ever wondered how to whip up healthy, tasty treats for your furry friend without using flour? You’re in the right place! Many dog owners want safe, nutritious snacks that avoid common allergens or ingredients they prefer to skip, like flour. Luckily, making homemade dog treats without flour is simple, fun, and allows you to control exactly what your pup is munching on. Today, I’ll guide you through everything you need to know—from ingredients to tips—so you can craft delicious, wholesome treats your dog will love.
Why Make Dog Treats Without Flour?
Before diving into recipes, let’s chat about why you might want to skip flour altogether. Common reasons include:
- Food allergies or sensitivities: Some dogs are allergic to wheat, grains, or gluten-containing flours.
- Special diets: Dogs on grain-free or low-carb diets benefit from treats made without traditional flours.
- Health considerations: Reducing processed ingredients can promote better digestion and overall health.
By making treats at home, you control the ingredients, ensuring they’re nutritious and safe.
Key Ingredients for Flour-Free Dog Treats
Let’s explore the main ingredients you’ll often find in flour-free dog treats, along with their benefits:
| Ingredient | Description | Benefits |
|---|---|---|
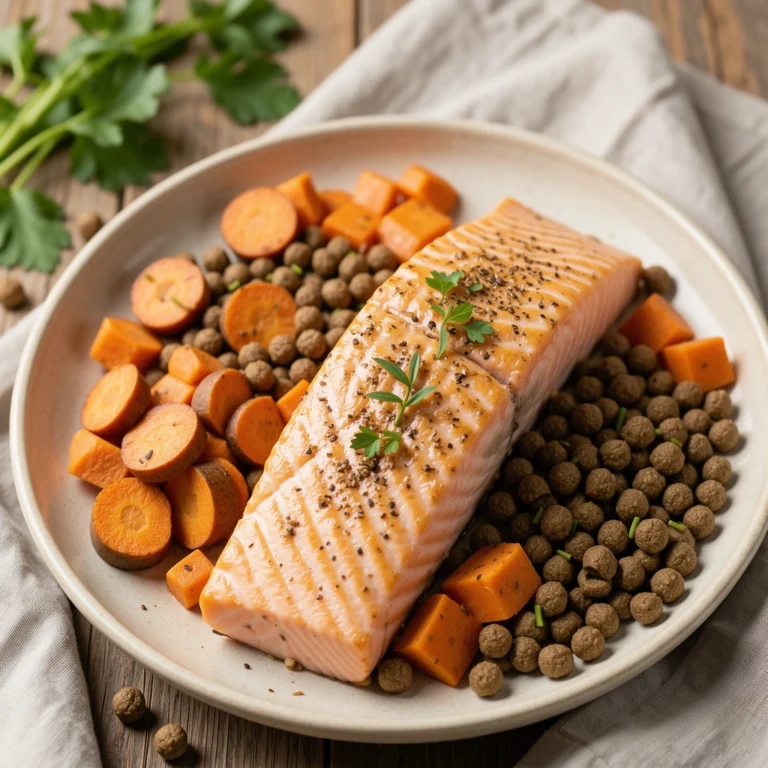
| Sweet Potatoes | Nutritious root vegetables naturally sweet and soft | High in fiber, vitamins A & C, antioxidants |
| Pumpkin | Canned or fresh, rich in fiber and beta-carotene | Supports digestion, low in calories |
| Bananas | Naturally sweet fruit | Rich in potassium, vitamins, and fiber |
| Eggs | Protein-rich binder | Adds moisture, protein, and binds ingredients |
| Peanut Butter | Natural, unsweetened, unsalted | Protein source, adds flavor, healthy fats |
| Oats (gluten-free if needed) | Rolled oats or oat flour | Good source of fiber, helps with digestion |
| Carrots | Crunchy, sweet vegetable | Low calorie, rich in beta-carotene |
| Coconut Flour | Made from dried coconut meat | Gluten-free, adds fiber, healthy fats |
Note: Always choose ingredients free of added sugars, salt, or artificial flavorings.
Materials Needed
| Item | Quantity | Purpose |
|---|---|---|
| Food processor or blender | 1 | To blend ingredients into dough |
| Baking sheet | 1 | To bake treats |
| Parchment paper | 1 roll | Prevents sticking during baking |
| Rolling pin | 1 | To flatten dough (optional) |
| Cookie cutters | As desired | To shape treats |
| Cooling rack | 1 | To cool treats properly |
Step-by-Step Guide to Making Flour-Free Dog Treats
Step 1: Gather Your Ingredients
Start by collecting all your ingredients. Fresh, high-quality produce and natural products ensure the best flavor and nutrition for your pup.
Step 2: Prepare Ingredients
- Sweet potatoes or pumpkin: Roast or boil until soft. For sweet potatoes, pierce and microwave or bake at 400°F (200°C) for about 45 minutes until tender. Let cool before handling.
- Bananas: Peel and mash thoroughly.
- Carrots: Shred or finely chop.
- Eggs: Crack and beat lightly.
Step 3: Blend or Mix
- For a smooth dough, combine cooked sweet potatoes, bananas, eggs, and a splash of water or broth in a food processor. Blend until smooth.
- For a chunkier texture, mix ingredients by hand in a bowl, adding shredded carrots or other inclusions.
Step 4: Add Dry Ingredients
- Incorporate oats or coconut flour gradually into the wet mixture.
- Mix until a dough forms. It should be pliable but not sticky; add more oats or coconut flour if needed.
Step 5: Shape the Treats
- Roll out the dough between two sheets of parchment paper to about 1/4 inch thickness.
- Use cookie cutters to cut into shapes your dog will enjoy.
- Alternatively, roll into small balls or flatten with a fork for simple treats.
Step 6: Bake
- Preheat your oven to 350°F (175°C).
- Place treats on a parchment-lined baking sheet.
- Bake for 15-20 minutes or until golden brown.
- For a crunchier treat, bake an extra 5 minutes.
Step 7: Cool and Store
- Transfer treats to a cooling rack.
- Let cool completely before giving to your dog.
- Store in an airtight container for up to a week, or freeze for longer storage.
Tips for Success
- Use fresh, organic ingredients whenever possible for maximum nutrition.
- Adjust moisture levels by adding a little water or broth if the dough is too dry, or more coconut flour if too sticky.
- Shape treats uniformly for even baking.
- Test the treats on your dog—some pups prefer softer treats, so adjust baking time accordingly.
- Incorporate your dog’s favorites like blueberries or apple pieces for variety.
Common Mistakes and How to Avoid Them
| Mistake | How to Avoid |
|---|---|
| Overly sticky dough | Add more oats or coconut flour gradually |
| Treats baking unevenly | Use consistent thickness and space treats evenly |
| Using ingredients with added sugars or salt | Always check labels and opt for natural, unsweetened products |
| Not letting treats cool | Cool treats completely to maintain crunch and prevent burns |
| Baking at wrong temperature | Stick to 350°F (175°C) for optimal results |
Variations and Customizations
- Protein Boost: Mix in shredded chicken or turkey for extra flavor.
- Cheesy Treats: Sprinkle a small amount of grated cheese on top before baking.
- Herbal Touch: Add chopped parsley or basil for added health benefits.
- Different Shapes: Use fun cookie cutters to make treats appealing.
Summary and Final Thoughts
Making homemade dog treats without flour is straightforward, cost-effective, and a fantastic way to spoil your furry friend with healthy snacks. By choosing wholesome ingredients like sweet potatoes, bananas, and eggs, you can create treats that are both nutritious and delicious. Remember to follow the tips for success, avoid common mistakes, and feel free to experiment with flavors and shapes. Your pup will thank you for the extra love and care you put into their snacks!
So, why not gather your ingredients today and start baking? Your dog’s tail will wag with joy, and you’ll love knowing exactly what’s in their treats!
Happy baking, and here’s to many tasty, flour-free treats for your beloved pup!