Are you tired of store-bought dog treats that are filled with preservatives and fillers? Want to spoil your furry friend with something healthy, homemade, and easy? Then making your own dog treats with rolled oats might just be the perfect solution! Not only are these treats delicious and nutritious, but they also allow you to control the ingredients—keeping your pup happy and healthy.
In this comprehensive guide, I’ll walk you through everything you need to know about making homemade dog treats using rolled oats. We’ll cover the benefits, ingredients, step-by-step instructions, tips for success, common mistakes to avoid, and even some fun variations to experiment with. So, let’s get started!
Why Choose Rolled Oats for Dog Treats?
Rolled oats are a fantastic ingredient for homemade dog treats. They’re packed with nutrients, easy to prepare, and generally well-tolerated by dogs. Here’s a quick rundown:
What Are Rolled Oats?
| Term | Definition |
|---|---|
| Rolled Oats | Whole oat groats that have been steamed and flattened into flakes. They retain most of their nutrients and cook quickly. |
| Oat Groats | The whole kernel, including the bran, germ, and endosperm. Less processed than rolled oats. |
Benefits of Using Rolled Oats in Dog Treats
- High in Fiber: Supports healthy digestion.
- Rich in Vitamins and Minerals: Includes manganese, phosphorus, magnesium, and iron.
- Gluten-Free (Check Label): Suitable for dogs with sensitive stomachs, provided oats are certified gluten-free.
- Good Source of Energy: Provides slow-release carbs for sustained energy.
- Gentle on Digestion: Easy to digest for most dogs.
Ingredients & Materials Needed
Before you start making your treats, gather all the necessary ingredients and tools. Here’s a detailed list:
Materials Needed
| Item | Quantity/Size | Notes |
|---|---|---|
| Rolled oats | 1 cup | Use gluten-free if your dog has allergies |
| Peanut butter | 1/2 cup | Ensure it’s xylitol-free, as xylitol is toxic to dogs |
| Eggs | 2 large | Acts as a binder and adds protein |
| Water or chicken broth | 1/4 cup | Adjust for dough consistency |
| Carrots (optional) | 1/4 cup, finely grated | Adds flavor and nutrients |
| Pumpkin puree (optional) | 2 tablespoons | For added fiber and flavor |
| Baking sheet | 1 | For baking the treats |
| Parchment paper | As needed | Prevents sticking |
| Cookie cutter (optional) | 1-2 sizes | For shaping treats |
| Mixing bowls | 2 | For combining ingredients |
| Rolling pin | 1 | To flatten the dough |
| Oven | 1 | Preheated to 350°F (175°C) |
Additional Tips:
- Use natural, unsweetened peanut butter.
- For a softer treat, add more water; for firmer treats, add less.
- Always check ingredient labels for hidden sugars or harmful additives.
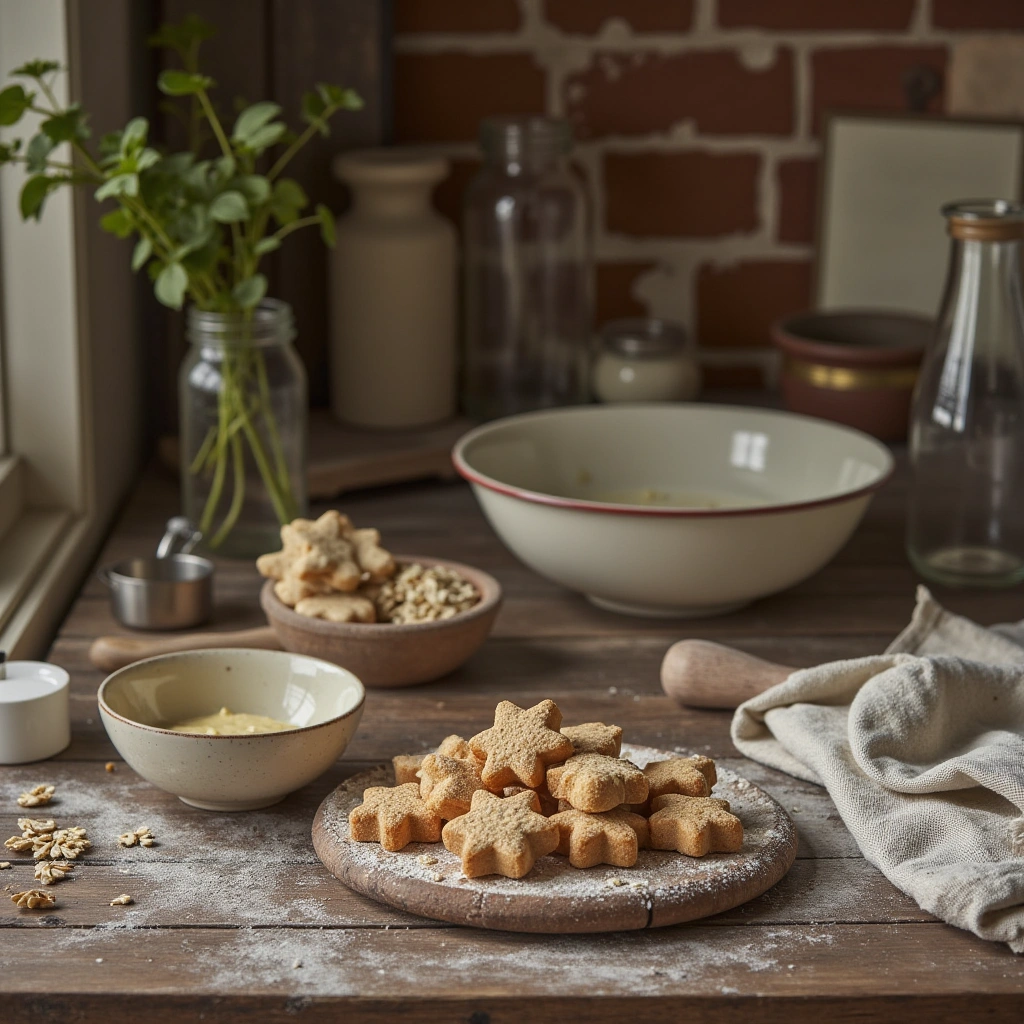
Step-by-Step Guide to Making Rolled Oats Dog Treats
Let’s get into the process! Follow these clear steps to whip up some tasty, healthy treats for your pup.
Step 1: Prepare Your Workspace and Ingredients
- Preheat your oven to 350°F (175°C).
- Line your baking sheet with parchment paper.
- Gather all your ingredients and tools.
Step 2: Mix the Wet Ingredients
- In a large mixing bowl, combine the peanut butter, eggs, and pumpkin puree (if using).
- Mix well until smooth and creamy.
Step 3: Add the Dry Ingredients
- Stir in the rolled oats and grated carrots (if using).
- Gradually add water or chicken broth, a little at a time, until the mixture holds together but isn’t too sticky.
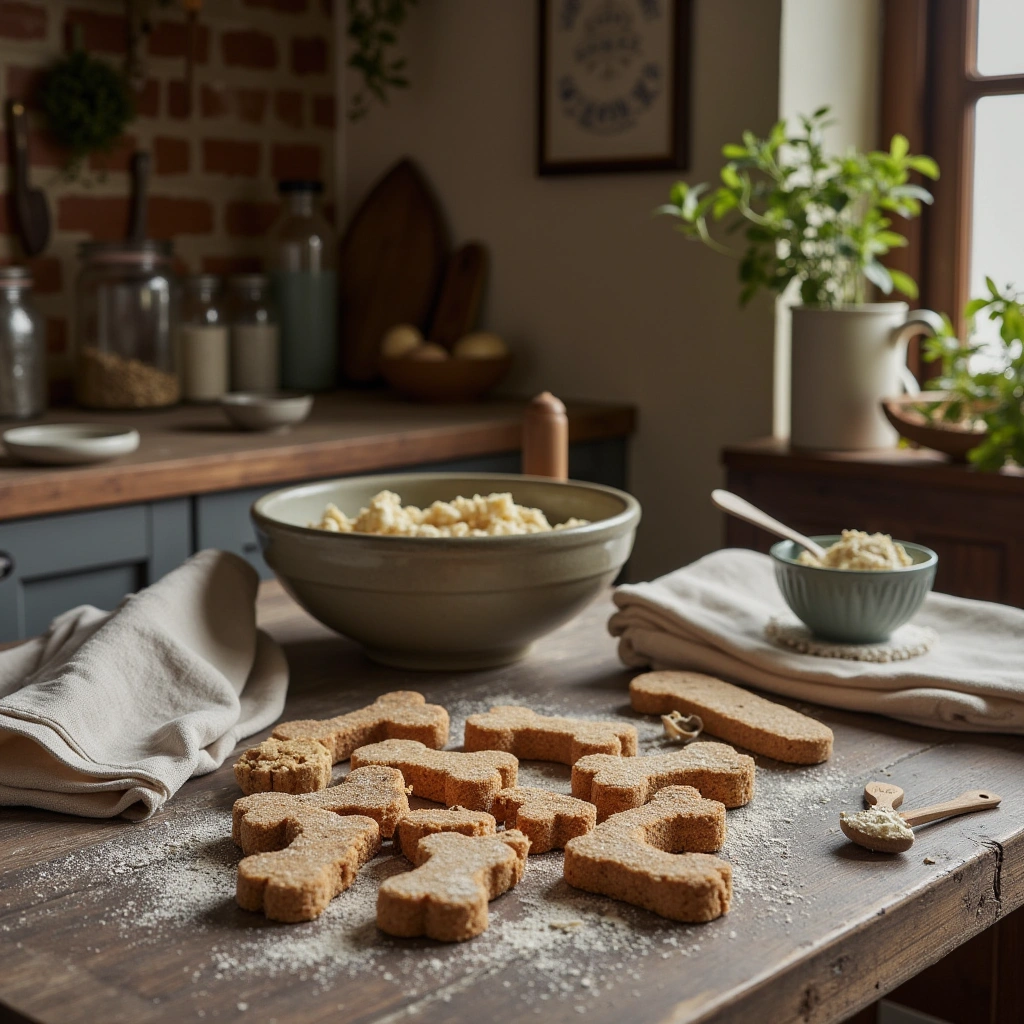
Step 4: Form the Dough
- Knead the mixture lightly with your hands.
- If it’s too sticky, sprinkle a little more oats.
- If it’s too dry, add a bit more water.
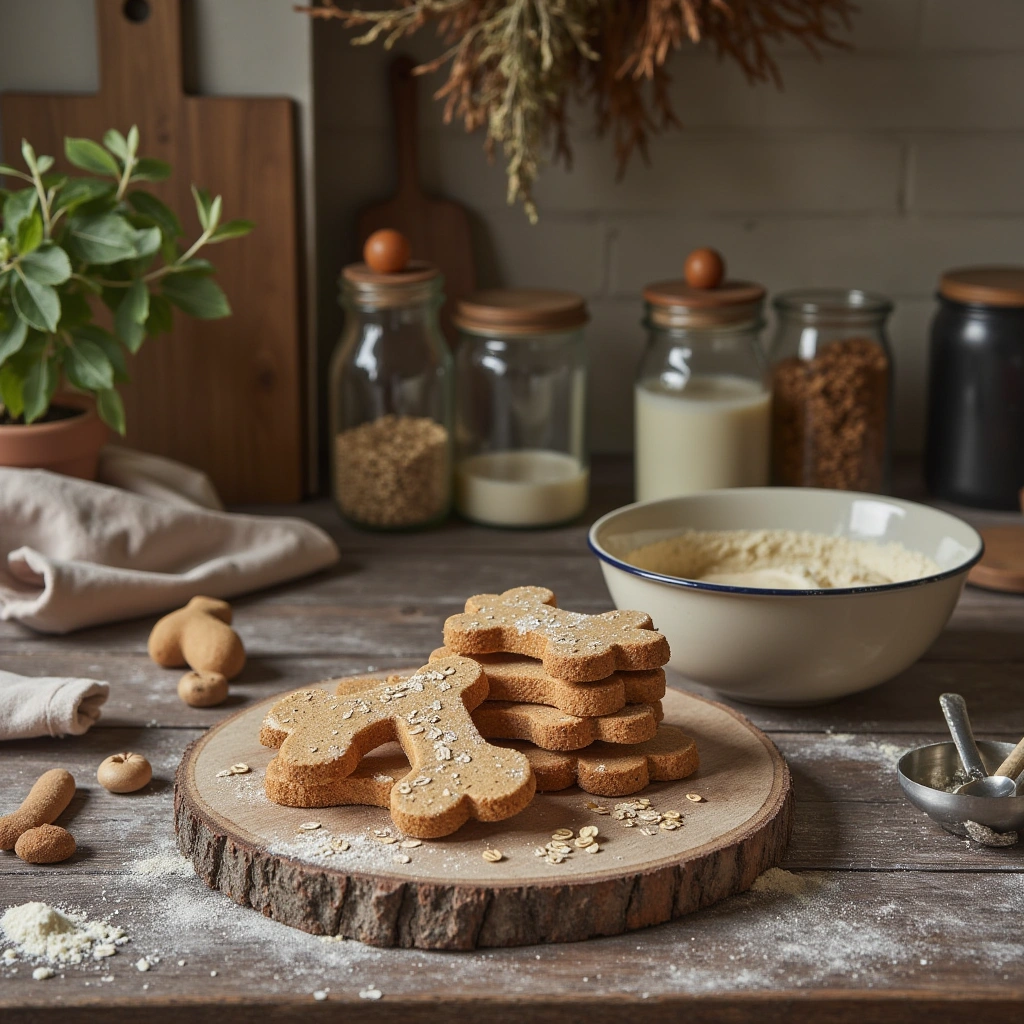
Step 5: Roll Out and Cut
- Place the dough on a floured surface or between two sheets of parchment paper.
- Roll out to about 1/4 inch thickness.
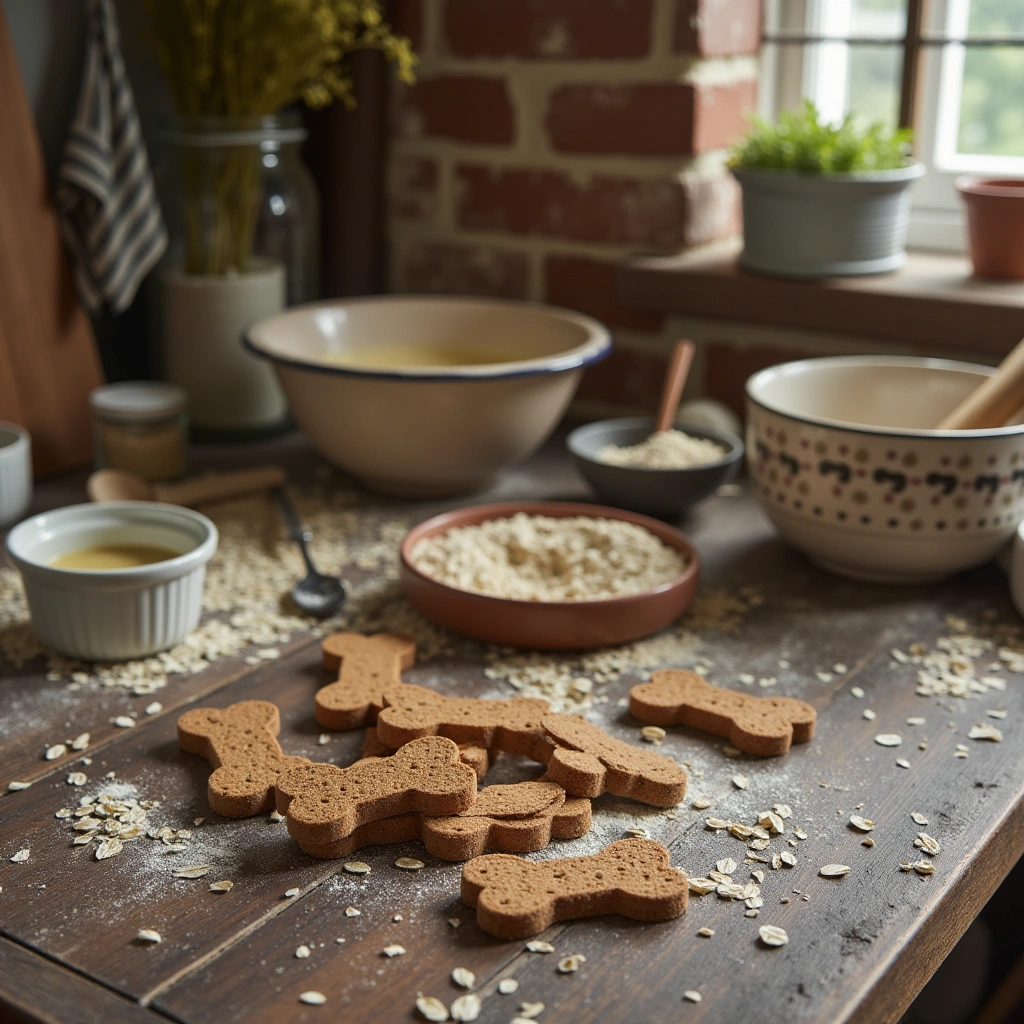
- Use cookie cutters to cut into desired shapes.
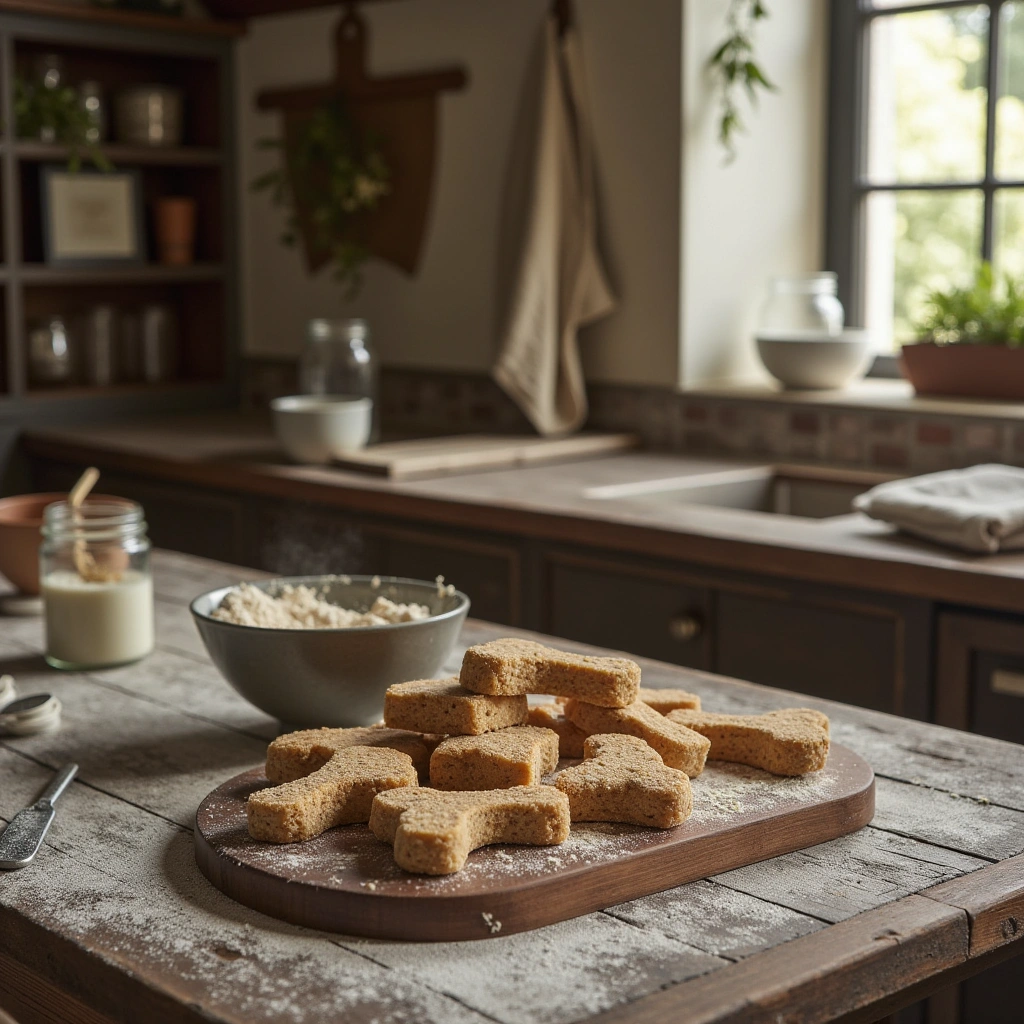
Step 6: Bake
- Arrange the cut treats on the prepared baking sheet.
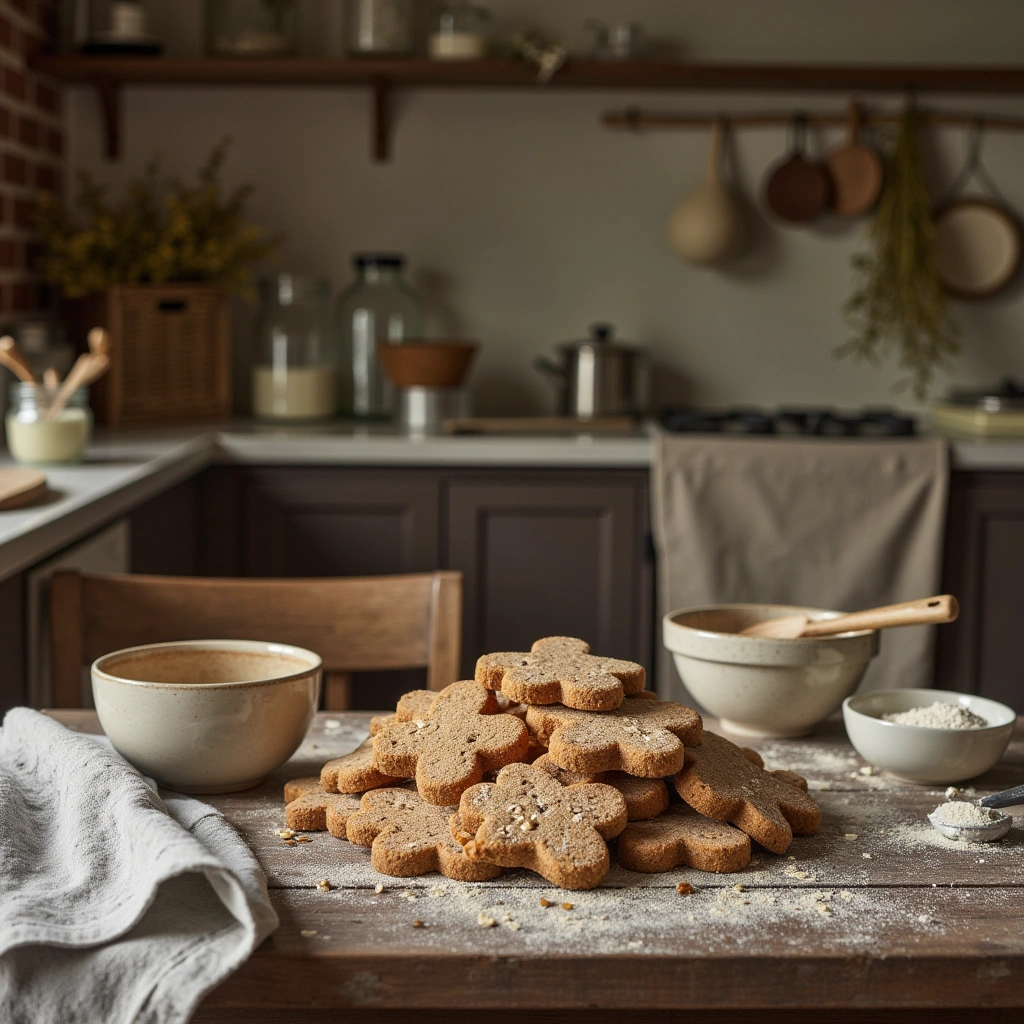
- Bake for 15-20 minutes or until golden brown.
- Let them cool completely before offering to your dog.
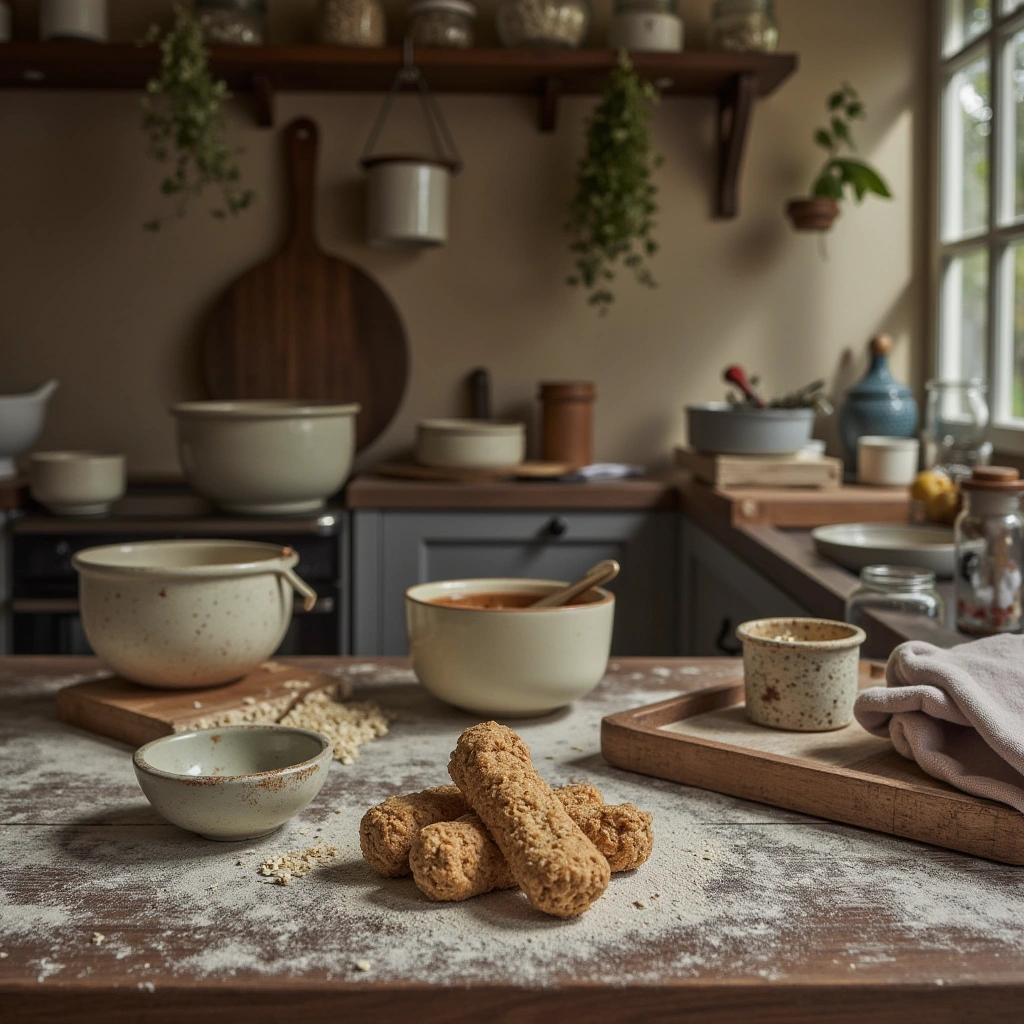
Step 7: Store Properly
- Store treats in an airtight container.
- They stay fresh for up to a week at room temperature or longer in the fridge.
- For longer storage, freeze treats and thaw as needed.
Tips for Success

- Consistency is key: Adjust the water or oats to get the right dough texture.
- Shape creatively: Use different cookie cutters for fun shapes.
- Add variety: Incorporate different vegetables like sweet potatoes or blueberries.
- Test treat hardness: Make a small batch first to ensure treats aren’t too hard or soft for your dog.
- Monitor baking time: Overbaking can make treats too hard; underbaking can make them crumbly.
Common Mistakes and How to Avoid Them
| Mistake | How to Avoid |
|---|---|
| Dough is too sticky | Add more oats gradually until manageable |
| Treats are too hard | Bake at a slightly lower temperature or for less time |
| Not enough flavor | Incorporate dog-safe ingredients like apple slices or blueberries |
| Using ingredients harmful to dogs | Always double-check ingredient labels and avoid artificial sweeteners or additives |
Variations to Keep Things Interesting
Here are some fun and healthy twists to customize your homemade dog treats:
- Sweet Potato Treats: Replace pumpkin with mashed sweet potatoes.
- Cheesy Treats: Mix in a small amount of shredded cheddar (if your dog tolerates dairy).
- Berry Blast: Add chopped blueberries or cranberries.
- Meat Lover’s: Incorporate cooked, shredded chicken or beef bits.
- Herb Infused: Add a pinch of parsley or basil for fresh flavor.
Summary & Final Thoughts
Making homemade dog treats with rolled oats is a simple, cost-effective, and healthy way to pamper your pup. Not only do these treats contain wholesome ingredients, but you also get the satisfaction of knowing exactly what your dog is eating. Remember to customize recipes based on your dog’s preferences and dietary needs, and always introduce new treats gradually.
So, next time you’re looking for a nutritious snack for your furry friend, try these rolled oats dog treats! With a little effort, you’ll create tasty, healthy goodies that your dog will love—and you’ll have peace of mind knowing they’re made with love and care.
Happy baking and wagging tails!