Ever wondered how to create the perfect training treats for your furry friend? Whether you’re teaching your pup new tricks or reinforcing good behavior, the right treats can make all the difference. But store-bought options often contain fillers, preservatives, and questionable ingredients. That’s why making your own dog treats at home is a game-changer—it’s healthier, customizable, and surprisingly simple.
In this guide, I’ll walk you through everything you need to know about crafting wholesome, delicious dog training treats that your pup will love. From selecting ingredients to step-by-step instructions, plus tips for success, you’ll be a homemade treat pro in no time!
Why Make Your Own Dog Training Treats?
Training treats are essential tools for positive reinforcement, but not all treats are created equal. Here are some reasons why homemade treats stand out:
- Control over ingredients: Avoid artificial flavors, preservatives, and fillers.
- Customization: Tailor treats to your dog’s allergies, preferences, and dietary needs.
- Freshness: Homemade treats are fresher and more appealing.
- Cost-effective: Making treats at home often costs less than premium store-bought options.
- Bonding opportunity: Cooking together can be a fun activity for you and your dog.
What Makes a Good Dog Training Treat?

Before diving into recipes, let’s understand what qualities make a treat ideal for training:
- Small and manageable: Treats should be bite-sized to keep training sessions quick and effective.
- High-value: They should be enticing enough to motivate your dog.
- Healthy: Low in sugar, fat, and artificial ingredients.
- Consistent texture: Easy to break into small pieces without crumbling.
- Durability: Should hold up during training without falling apart easily.
Essential Materials and Ingredients for Homemade Dog Training Treats
Creating tasty, nutritious treats requires some basic supplies and ingredients. Here’s a detailed list to get you started:
Materials Needed
| Item | Purpose | Quantity | Notes |
|---|---|---|---|
| Baking sheet | To bake treats | 1 | Preferably non-stick or lined with parchment paper |
| Parchment paper | Prevent sticking | 1 roll | For lining baking sheets |
| Mixing bowls | Combine ingredients | 2-3 | Different sizes for wet and dry ingredients |
| Rolling pin | Flatten dough | 1 | Optional, if making cutouts |
| Cookie cutters | Shape treats | Various | Heart, bone, circle shapes, etc. |
| Sharp knife | Cut dough into small pieces | 1 | For irregular shapes |
| Cooling rack | Cool treats evenly | 1 | Prevent sogginess |
| Airtight container | Store treats | 1 | Keep treats fresh for longer |
Ingredients
| Ingredient | Purpose | Typical Amount | Notes |
|---|---|---|---|
| Whole wheat flour | Base for dough | 2 cups | Substitute with oat or rice flour for allergies |
| Rolled oats | Add texture and fiber | 1 cup | Ensure oats are plain, not instant |
| Peanut butter | Flavor and binding | ½ cup | Unsweetened, xylitol-free |
| Eggs | Bind ingredients | 2 large | Adds moisture and protein |
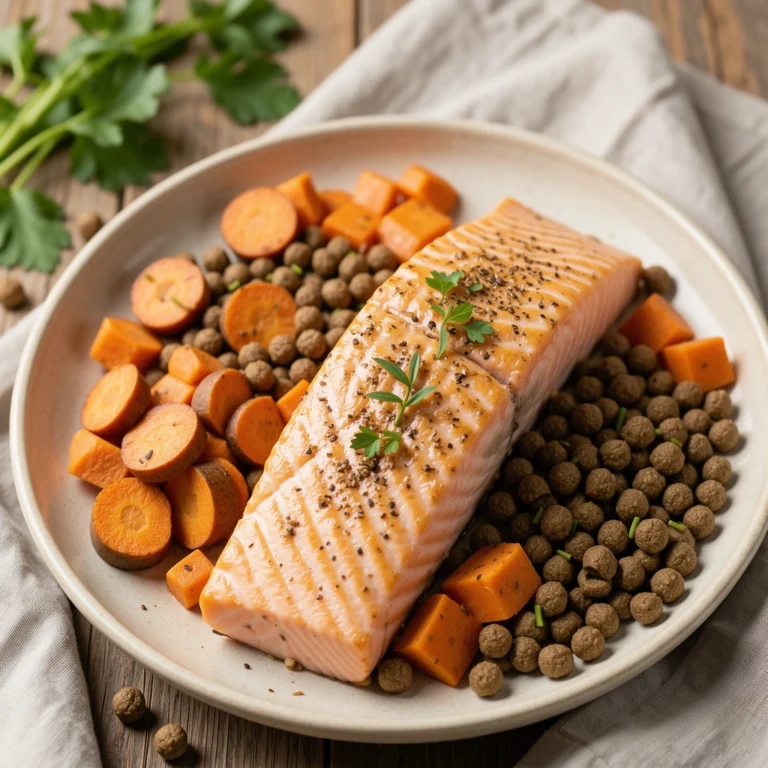
| Carrots or sweet potatoes | Natural sweetness & nutrients | ½ cup (mashed) | Optional, for flavor and vitamins |
| Chicken or beef broth | Moisture & flavor | ¼ cup | Low sodium, no onions or garlic |
| Parsley or mint | Freshens breath | 1 tbsp | Optional, for added flavor |
Step-by-Step Guide: How to Make Homemade Dog Training Treats
Follow these simple steps to create your own delicious dog treats from scratch.
Step 1: Prepare Your Ingredients
- Measure out all ingredients before starting.
- Mash sweet potatoes or carrots if using.
- Preheat your oven to 350°F (175°C).
- Line your baking sheet with parchment paper to prevent sticking.
Step 2: Mix the Dry Ingredients
- In a large mixing bowl, combine 2 cups of whole wheat flour and 1 cup of rolled oats.
- Mix thoroughly to ensure even distribution.
Step 3: Incorporate the Wet Ingredients
- In a separate bowl, beat 2 eggs.
- Add ½ cup of natural peanut butter and ¼ cup of low-sodium broth.
- Mix until smooth.
- Pour the wet mixture into the dry ingredients.
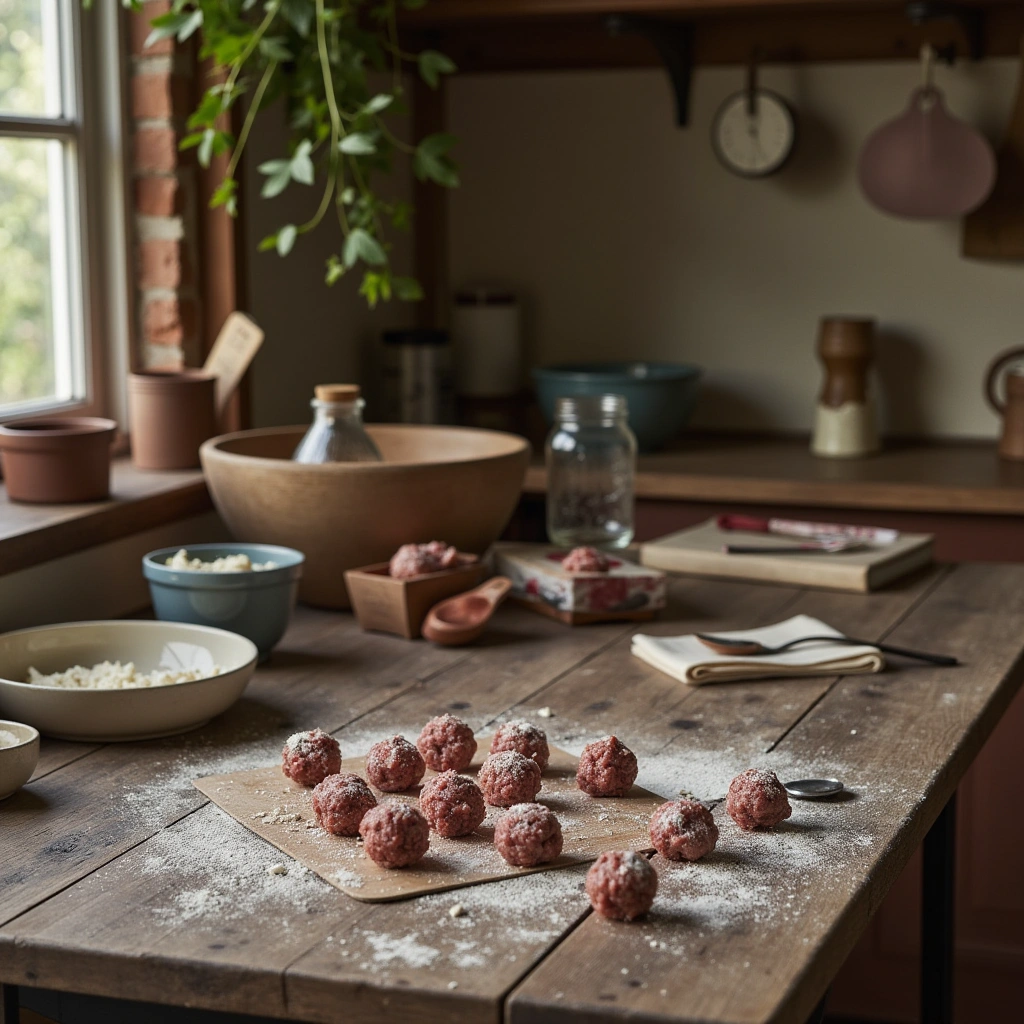
Step 4: Form the Dough
- Stir together until a dough forms. If it’s too sticky, add a little more flour; if too dry, add a splash more broth.
- Knead gently with your hands until all ingredients are well combined.
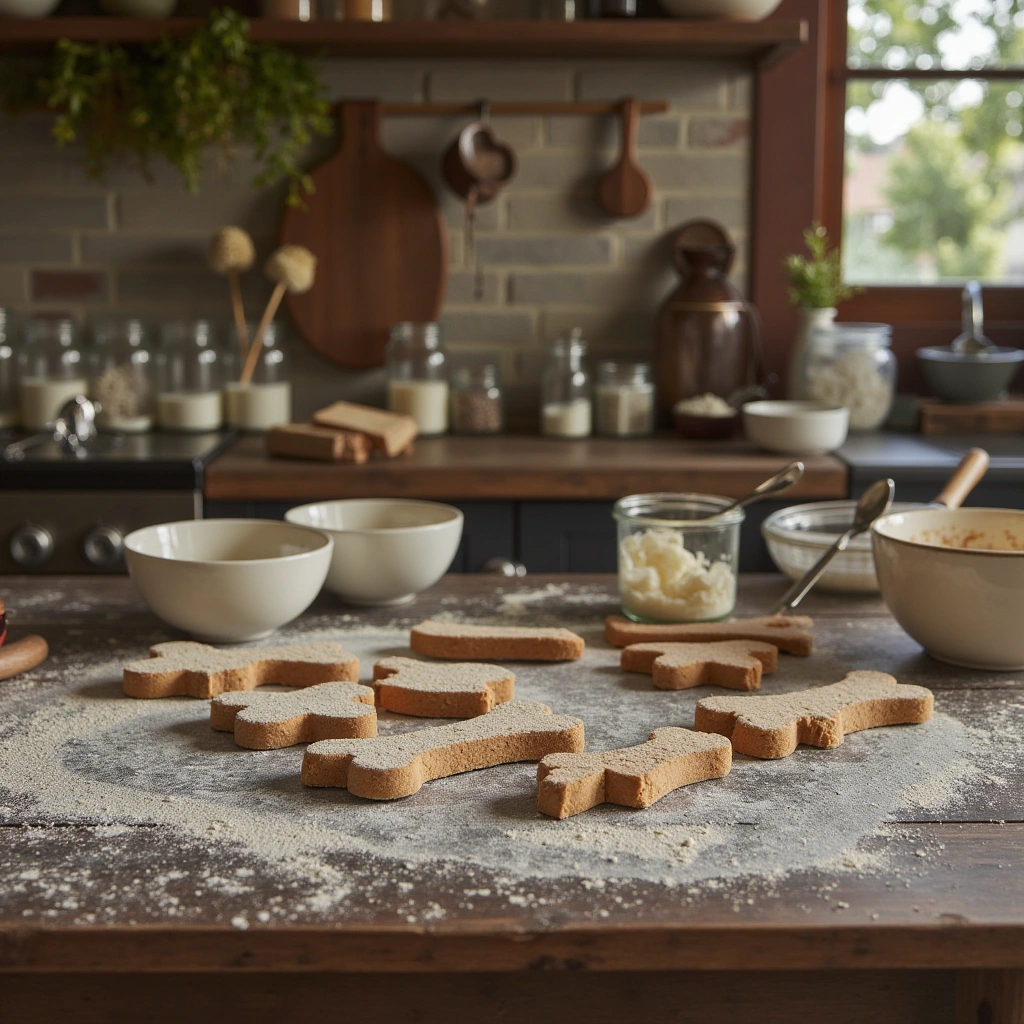
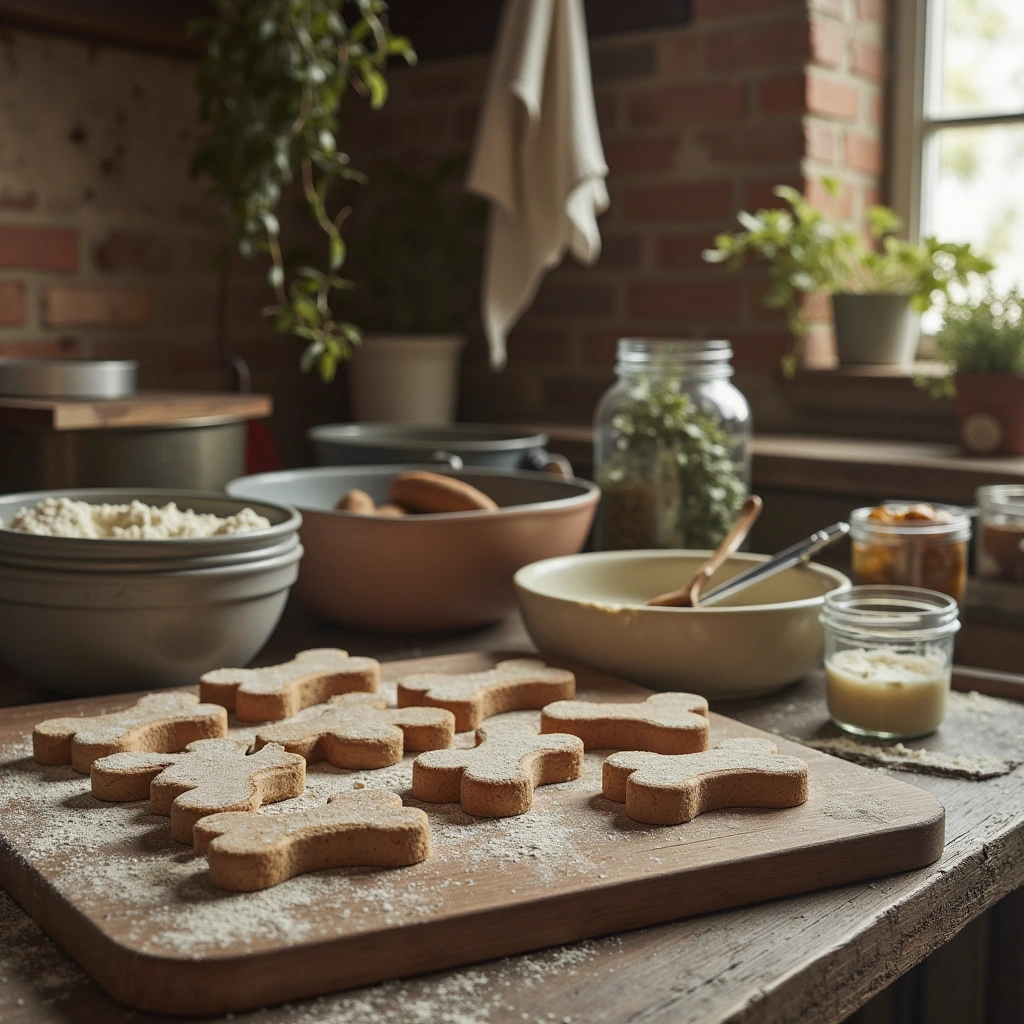
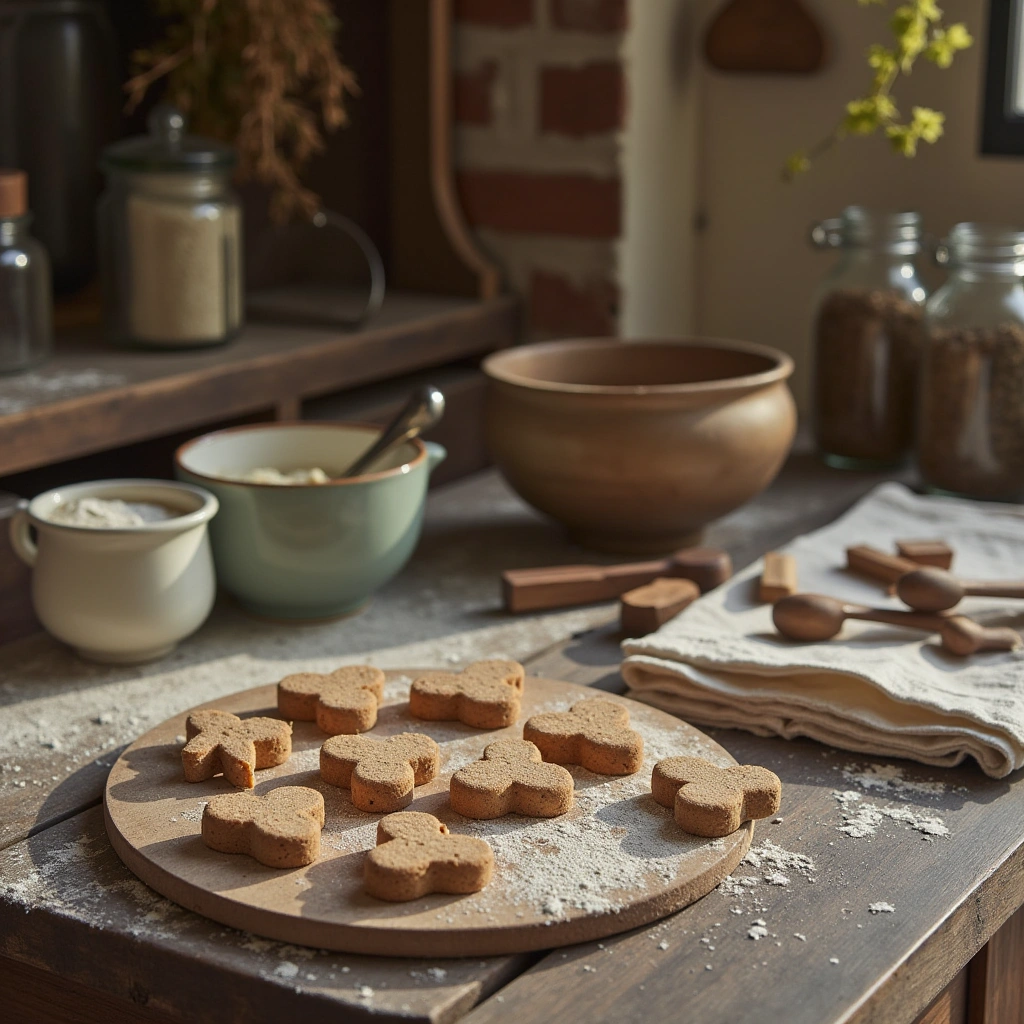
Step 5: Shape the Treats
- Roll out the dough on a lightly floured surface to about ¼ inch thickness.
- Use cookie cutters to cut out shapes, or simply cut into small squares with a knife.
- Place treats on the prepared baking sheet.
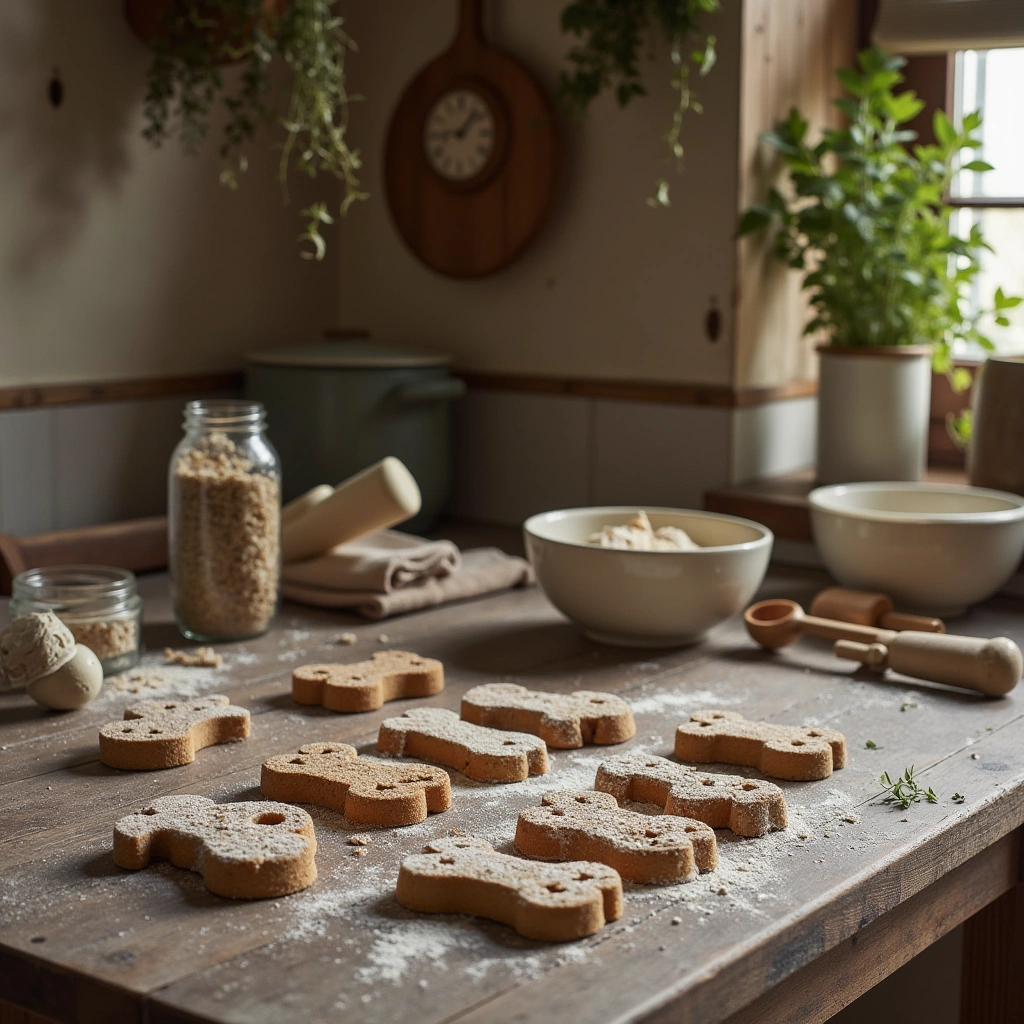
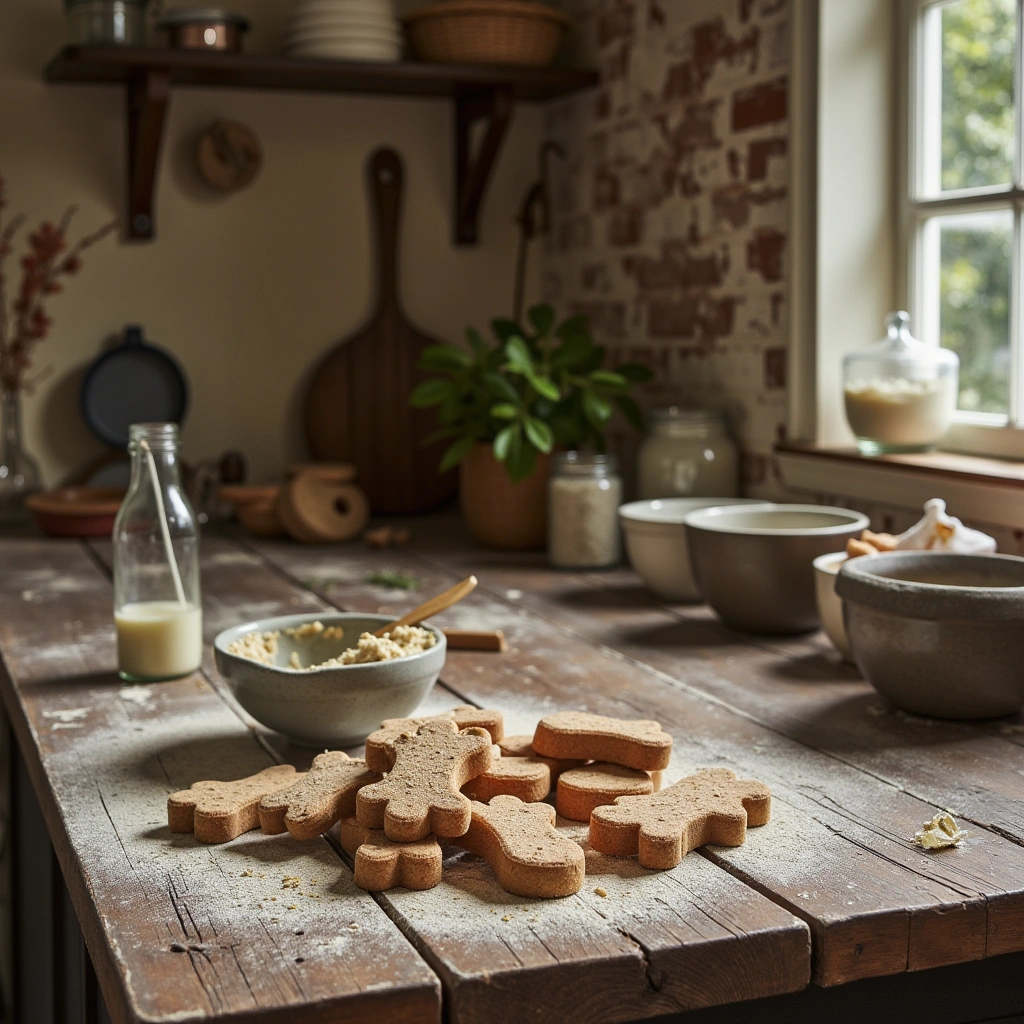
Step 6: Bake
- Bake in the preheated oven for 15–20 minutes.
- Treats should be golden brown and firm to the touch.
- Remove from oven and let cool on a wire rack.
Step 7: Store and Serve
- Once cooled, break treats into smaller pieces suitable for training sessions.
- Store in an airtight container at room temperature for up to a week, or refrigerate for longer freshness.
Tips for Success
- Adjust ingredients: Feel free to swap out ingredients based on your dog’s preferences or allergies.
- Test for hardness: Treats should be firm but not brittle.
- Keep treats small: Perfect for quick rewards, about the size of a pea.
- Use natural flavorings: Herbs like parsley or mint can freshen breath and add aroma.
- Consistency is key: Uniform-sized treats ensure even baking.
Common Mistakes and How to Avoid Them

| Mistake | How to Avoid | Why It Matters |
|---|---|---|
| Overbaking treats | Keep an eye on the timer and check for golden color | Prevents treats from becoming too hard or burnt |
| Using low-quality ingredients | Choose fresh, natural ingredients | Ensures treats are nutritious and safe |
| Making treats too big | Cut treats into small, training-appropriate sizes | Keeps training sessions effective and safe |
| Not storing properly | Use airtight containers and refrigerate if needed | Maintains freshness and prevents mold |
Variations and Creative Ideas
- Sweet potato and apple treats: Add mashed cooked apple for extra sweetness.
- Cheesy treats: Mix in a bit of grated cheese for dogs that love dairy.
- Protein-packed treats: Incorporate cooked chicken or turkey pieces into the dough.
- Freeze treats: Make mini ice cube treats with broth and veggies for hot days.
- Grain-free options: Use almond or coconut flour instead of wheat for grain allergies.
Summary and Final Thoughts
Making your own dog training treats at home is a simple, rewarding process that guarantees healthier, tastier rewards for your pup. By choosing quality ingredients and following these clear steps, you can create treats tailored to your dog’s needs and preferences. Remember to keep treats small, store them properly, and have fun experimenting with different flavors.
Next time you hit the training session, surprise your dog with these homemade goodies—your furry friend will thank you with their best behavior and wagging tail! Happy baking!
By crafting your own dog treats, you ensure your pet enjoys safe, nutritious rewards that support training and bonding. Ready to get started? Your pup’s new favorite treats are just a few steps away!