Are you tired of giving your pup the same old treats? Want to cool them down on a hot day while giving them something healthy and delicious? Enter frozen dog treats — a fun, nutritious, and easy way to spoil your furry friend. Not only do these treats keep your pup cool, but they also provide hydration, vitamins, and a tasty distraction when needed.
In this comprehensive guide, I’ll walk you through everything you need to know about making the best frozen dog treats at home. We’ll cover ingredients, techniques, tips for success, common pitfalls, and creative variations. By the end, you’ll be ready to whip up a batch of delightful frozen goodies that your dog will love!
What Are Frozen Dog Treats?
Frozen dog treats are simply treats made from dog-safe ingredients that are frozen to create a cool, refreshing snack. These treats are often made from natural ingredients like fruits, vegetables, or plain yogurt, ensuring they’re healthy and free from artificial additives.
Why choose frozen treats?
- They help keep your dog cool during hot weather.
- They provide hydration, especially when made with water or broth.
- They serve as a healthy alternative to store-bought treats loaded with preservatives.
- They can be customized to your dog’s tastes and dietary needs.
Why Make Your Own Frozen Dog Treats?
While commercial frozen dog treats are available, making your own offers several advantages:
- Control over ingredients: No hidden preservatives or artificial flavors.
- Customization: Tailor treats to your dog’s preferences and dietary restrictions.
- Cost-effective: Save money by using simple ingredients you already have.
- Fun bonding activity: Making treats together can be a delightful bonding experience.
Materials Needed for Homemade Frozen Dog Treats
Before diving into recipes, let’s gather the essentials. Here’s a detailed table of materials you’ll need:
| Material | Description | Quantity/Size |
|---|---|---|
| Silicone molds or ice cube trays | To shape and freeze the treats effectively. | 1-2 sets, depending on size |
| Blender or food processor | For blending ingredients smoothly. | 1 |
| Measuring cups and spoons | Ensures accurate ingredient portions. | Set of various sizes |
| Mixing bowls | For combining ingredients. | 2-3 |
| Freezer | To freeze the treats. | Standard household freezer |
| Sharp knife | For cutting ingredients if needed. | 1 |
| Paper towels or cleaning cloth | For clean-up and prep space. | As needed |
Key Ingredients (for reference):
- Fruits: Blueberries, bananas, strawberries, watermelon
- Vegetables: Carrots, peas, cucumber
- Dairy: Plain Greek yogurt, cottage cheese
- Broth or Water: Chicken, beef, or veggie broth (unsalted, dog-safe)
- Optional Add-ins: Peanut butter (xylitol-free), honey (in moderation)
Step-by-Step Guide to Making Frozen Dog Treats
Now, let’s get into the heart of the matter — how to create these treats easily and effectively.
Step 1: Choose Your Base and Ingredients
Decide what kind of treat you want to make. Some popular options include:
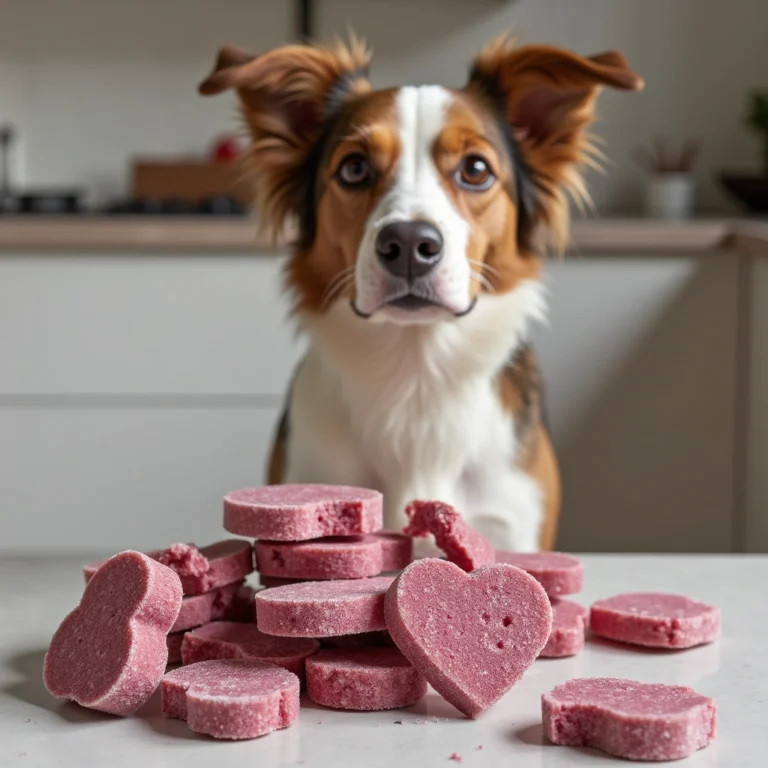
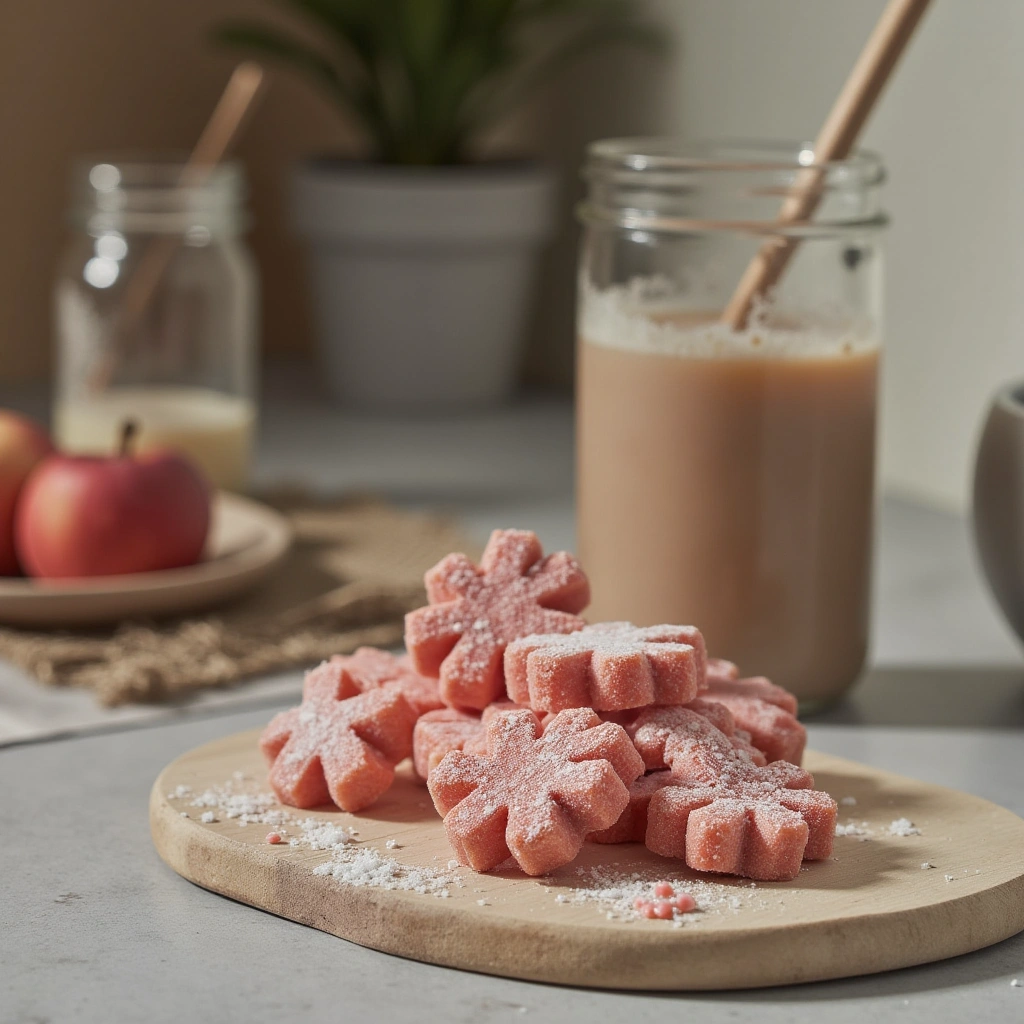
- Yogurt and Fruit Cubes: Great for hydration and probiotics.
- Veggie and Broth Pops: Ideal for picky eaters or veggies lovers.
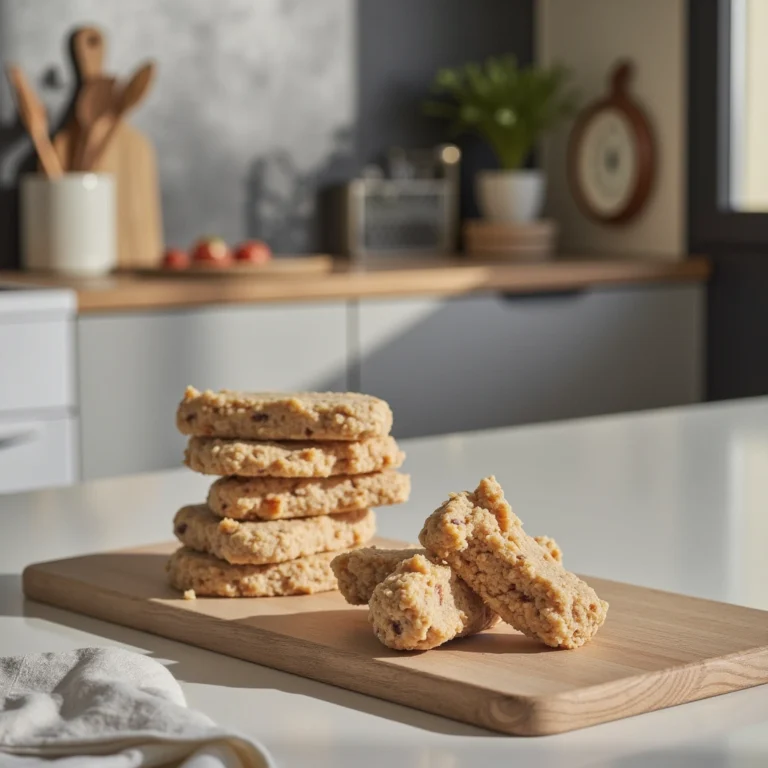
- Peanut Butter and Banana Bites: A classic, flavorful combo.
Tip: Always ensure all ingredients are safe for dogs and free from xylitol, artificial sweeteners, or added sugars.
Step 2: Prepare Your Ingredients
- Wash and chop fruits and vegetables into small pieces.
- Measure out your dairy or broth.
- If using peanut butter, opt for natural, unsweetened varieties.
Step 3: Blend or Mix Ingredients
Depending on your recipe:
- For smoothies or liquid-based treats, blend fruits, veggies, yogurt, and broth until smooth.
- For chunkier treats, mix ingredients in a bowl without blending.
Step 4: Pour Mixture into Molds
- Use a spoon or pour carefully into silicone molds or ice cube trays.
- Fill each cavity to the top, leaving a little space if expanding.
Step 5: Freeze
- Place molds on a flat surface in the freezer.
- Freeze for at least 4-6 hours, or overnight for best results.
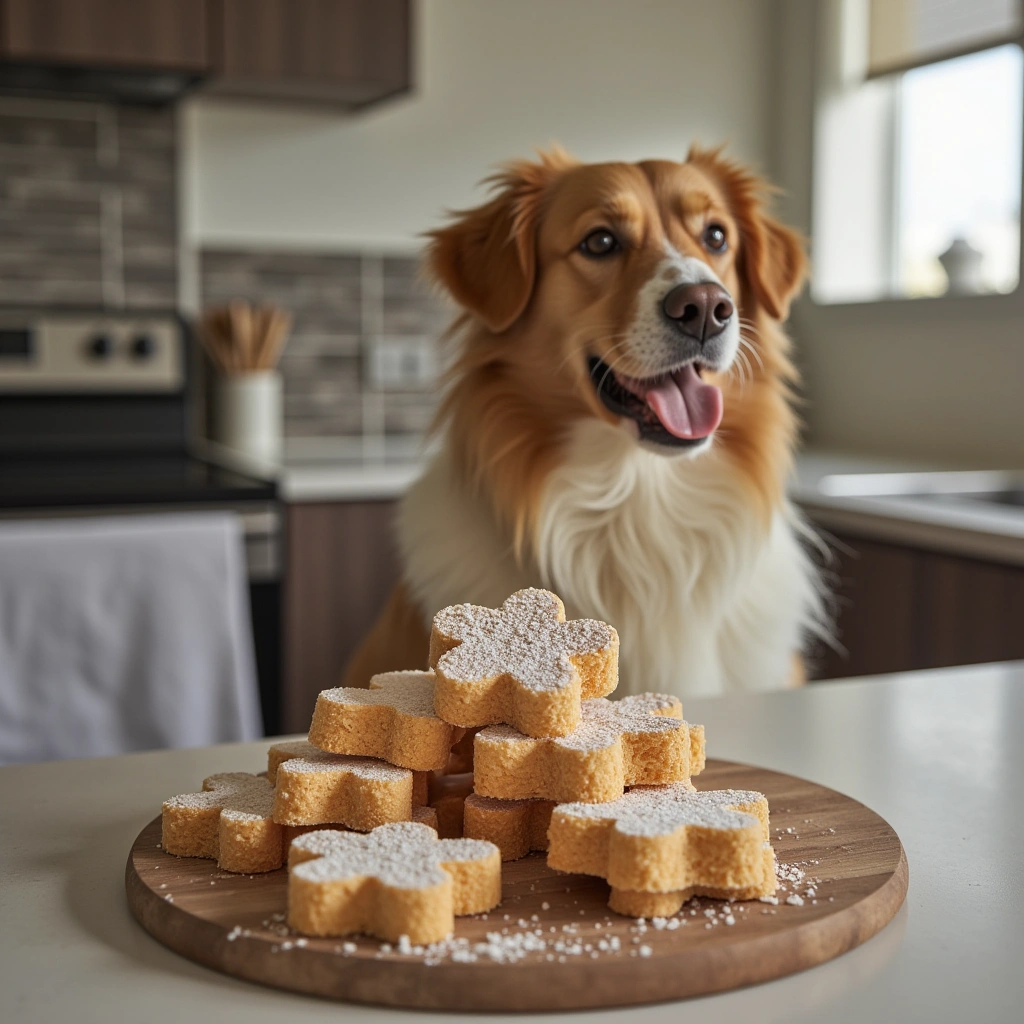
Step 6: Serve and Store
- Once frozen, pop treats out of molds.
- Store treats in an airtight container in the freezer for up to 2 months.
- Serve in moderation, especially on hot days.
Tips for Success
- Use natural ingredients: Avoid artificial additives.
- Portion control: Small treats are better — they prevent overfeeding.
- Customize flavors: Know your dog’s favorites and incorporate them.
- Use small molds: For easy serving and portioning.
- Label your treats: Date and flavor for easy tracking.
Common Mistakes and How to Avoid Them
| Mistake | Solution |
|---|---|
| Using ingredients unsafe for dogs | Always double-check ingredient safety. |
| Filling molds too full | Leave space for expansion during freezing. |
| Not freezing long enough | Freeze for at least 4-6 hours or overnight. |
| Using unclean molds | Wash molds thoroughly to prevent bacterial growth. |
| Ignoring portion sizes | Serve small amounts to prevent overfeeding. |
Creative Variations to Try

Looking to jazz up your frozen treats? Here are some fun ideas:
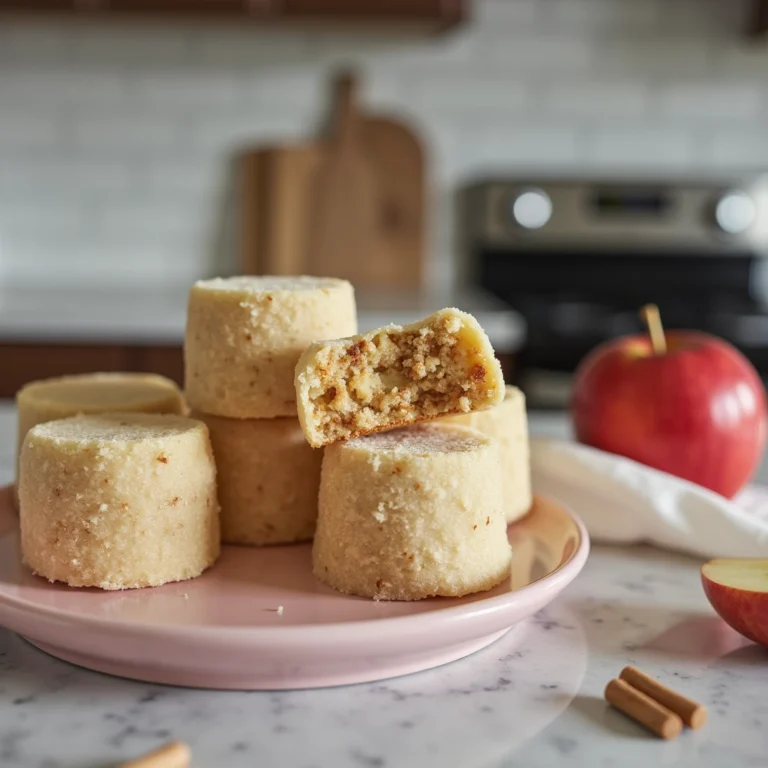
- Pumpkin and Yogurt: Add a spoonful of canned pumpkin (unsweetened) for fiber.
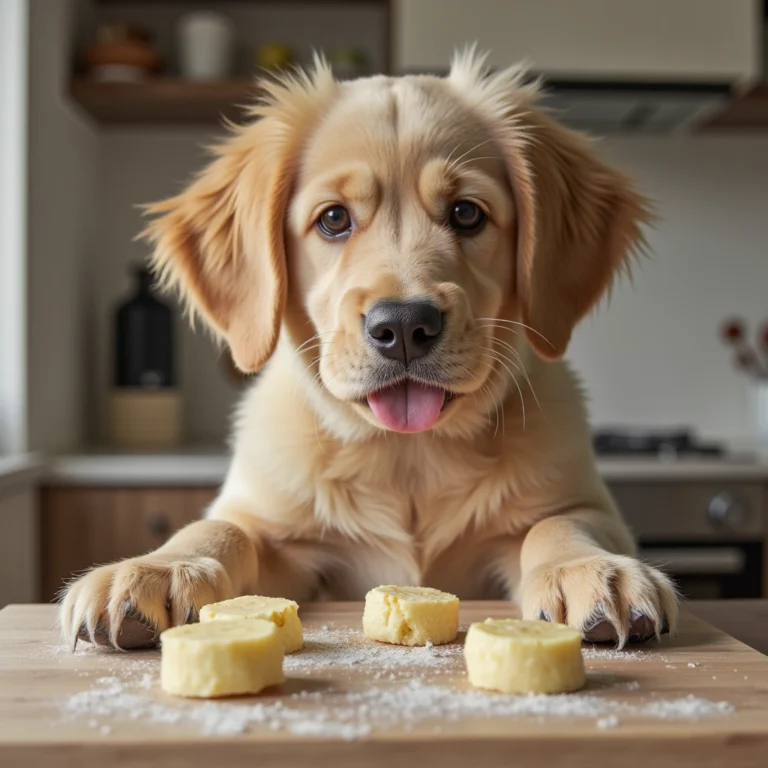
- Sweet Potato Bites: Blend cooked sweet potato with water or broth.
- Coconut and Banana: Use unsweetened shredded coconut with banana slices.
- Herbal Infusions: Add small amounts of dog-safe herbs like parsley or basil for flavor.
Final Thoughts and Action Points
Making frozen dog treats at home is a simple, cost-effective way to keep your pup happy and cool. By choosing healthy ingredients, using proper molds, and freezing thoroughly, you’ll create treats that are both delicious and nutritious. Remember to keep portion sizes in check and always prioritize your dog’s safety.
So, what are you waiting for? Gather your ingredients, pick your favorite recipe, and start freezing! Your furry friend will thank you with wagging tails and happy barks.
Enjoy making these homemade frozen treats for your dog! They’re a fantastic way to show love and keep your pup cool, especially during those scorching summer days. Happy treating!