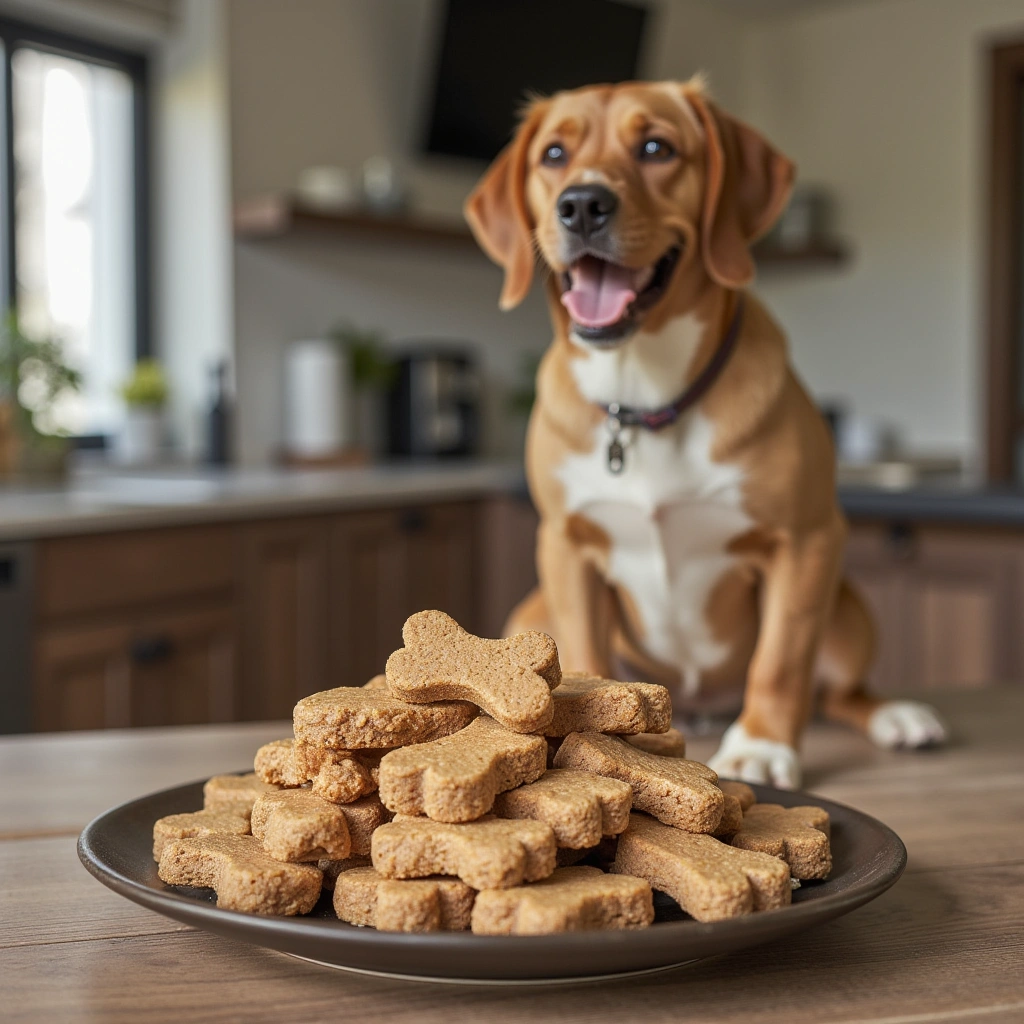
Looking for a fun, healthy way to spoil your furry friend? No-bake dog treats are a fantastic option! They’re easy to whip up, require minimal ingredients, and are free from artificial preservatives and fillers. But before you dive into making your own, let’s explore what makes these treats special, and how you can craft the best ones tailored to your pup’s needs.
What Are No-Bake Dog Treats?
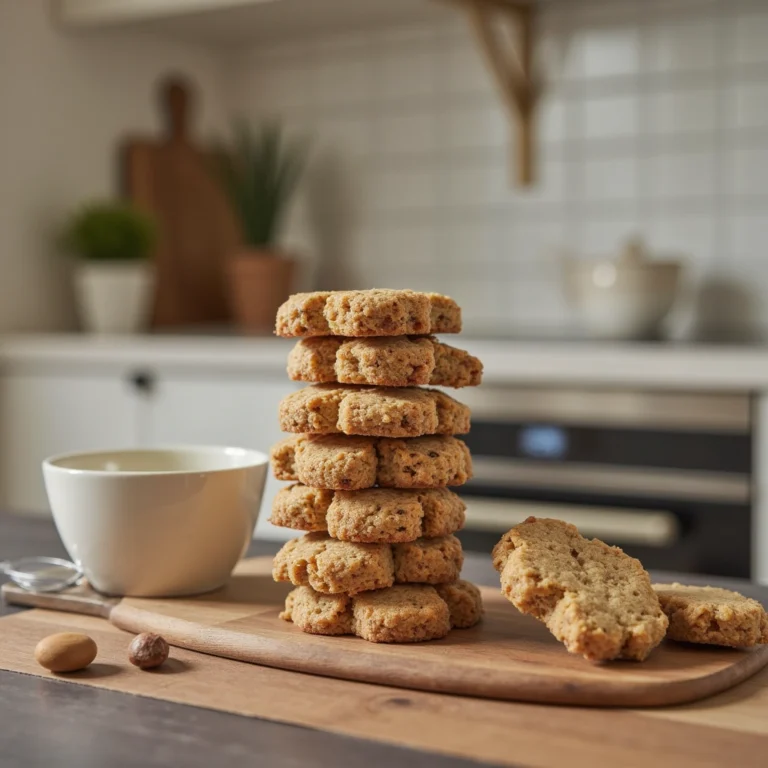
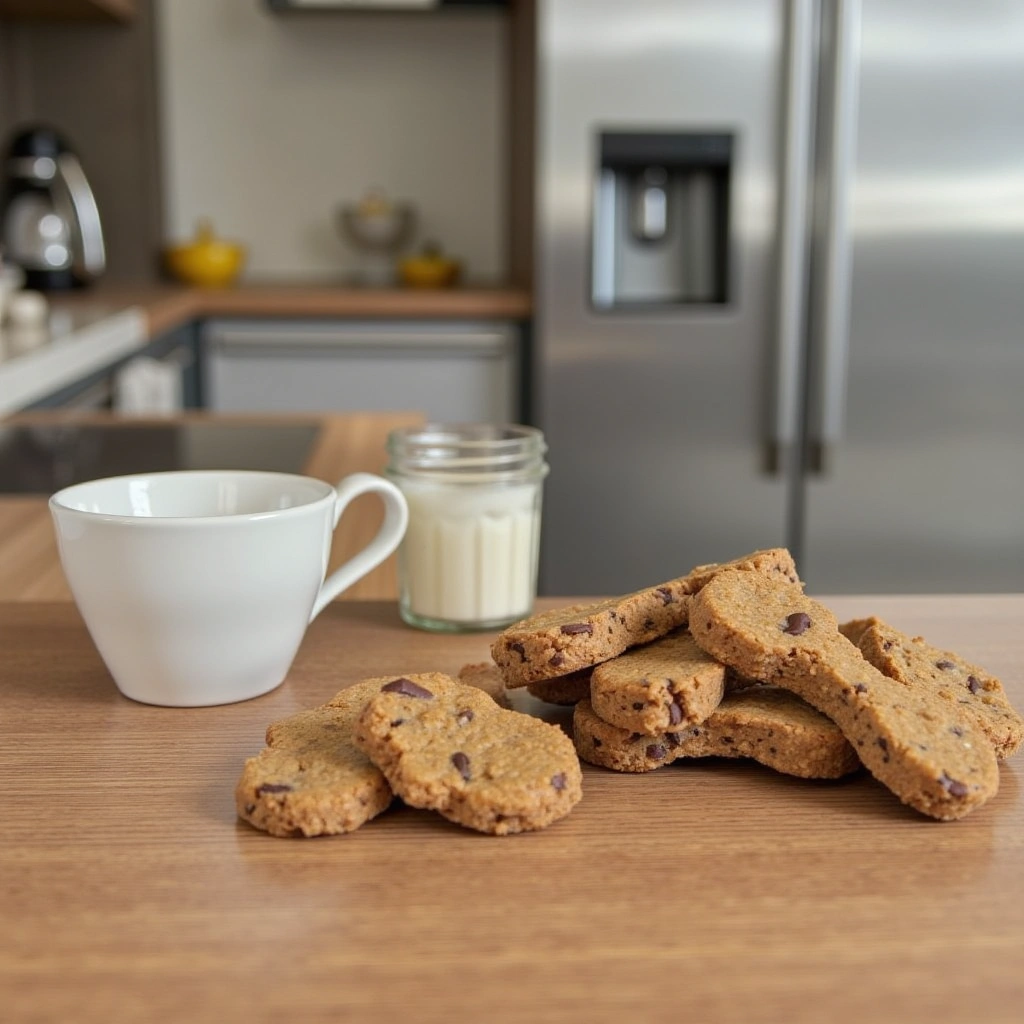
No-bake dog treats are homemade snacks that don’t require baking in the oven. Instead, they typically involve mixing ingredients, shaping them into treats, and then chilling or refrigerating until firm. These treats are perfect for busy pet owners or those looking for healthier options because they often avoid processed ingredients and excess carbs.
Why Choose No-Bake Treats?
- Time-efficient: They take less time since no oven is involved.
- Healthier options: You control the ingredients, avoiding preservatives and artificial flavors.
- Fun to make: Engaging activity for pet owners and kids.
- Customizable: Easily tailor ingredients to your dog’s dietary needs.
Materials Needed for No-Bake Dog Treats
Before jumping into recipes, it’s important to gather your essentials. Here’s a detailed table to help you prepare:
| Material / Ingredient | Quantity | Purpose | Notes |
|---|---|---|---|
| Rolled oats | 1 cup | Base / Fiber | Use gluten-free if needed |
| Peanut butter (xylitol-free) | ½ cup | Binding / Flavor | Check labels to avoid xylitol, toxic to dogs |
| Banana (ripe) | 1 medium | Natural sweetness | Adds moisture and flavor |
| Honey (optional) | 1 tbsp | Natural sweetener | Use sparingly |
| Coconut oil | 2 tbsp | Fat / texture | Ensure dog-friendly, unrefined preferred |
| Water or dog-safe broth | 2-4 tbsp | Adjust consistency | Use for binding if needed |
| Silicone mold or parchment paper | N/A | Shaping | For easy removal |
Additional Tools
- Mixing bowls
- Spoon or spatula
- Measuring cups and spoons
- Refrigerator or freezer
- Cookie cutter (optional)
- Baking sheet (if shaping into bars)
Step-by-Step Guide to Making No-Bake Dog Treats
Follow these straightforward steps to create healthy, homemade dog treats your pup will love.
1. Prepare Your Ingredients
Start by gathering all your ingredients. For a smooth process, measure everything beforehand.
2. Mix the Base
In a large mixing bowl, combine the rolled oats, banana, and peanut butter. Mix well until the ingredients are evenly incorporated. The mixture should be sticky but manageable.
3. Adjust Consistency
If the mixture feels too dry, add water or broth, one tablespoon at a time, until it holds together. If it’s too wet, add a little more oats.
4. Add Optional Ingredients
For extra flavor or health benefits, consider stirring in a teaspoon of turmeric (anti-inflammatory), shredded carrots, or blueberries.
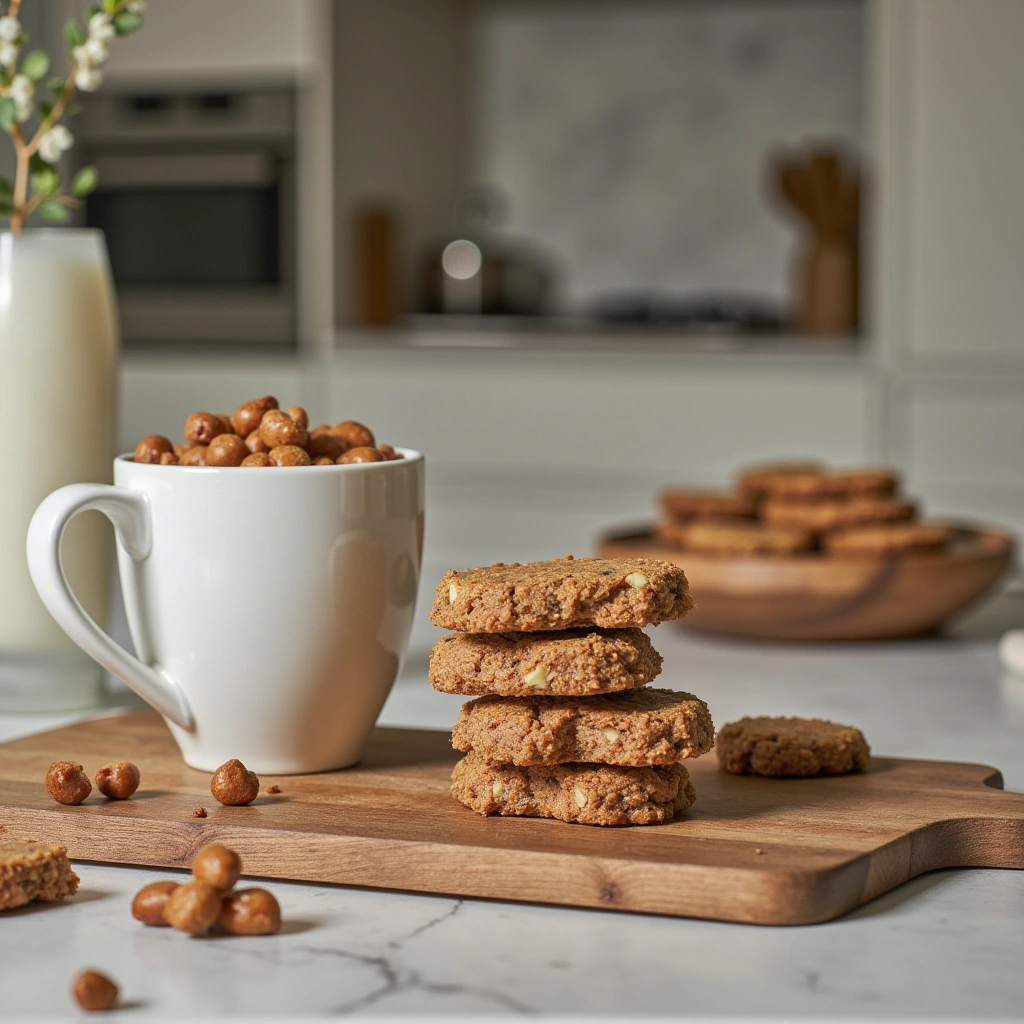
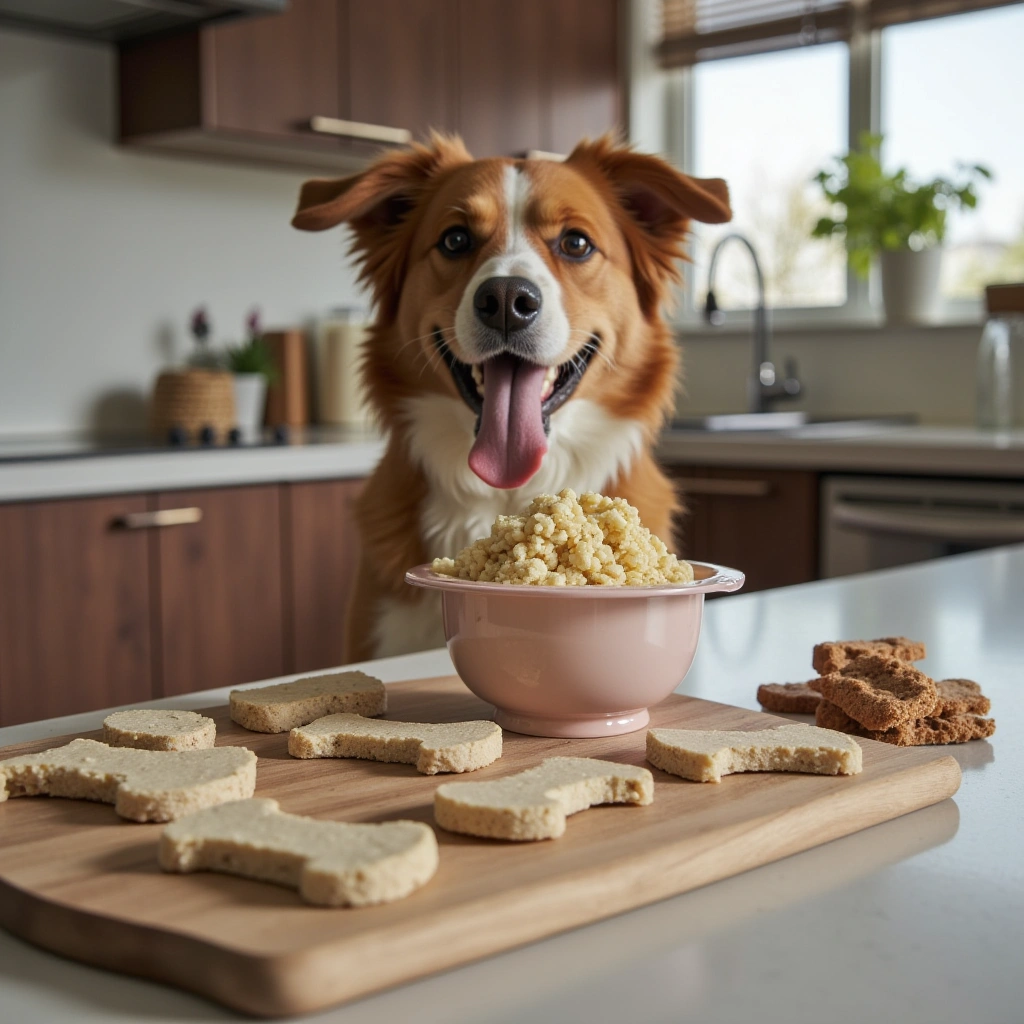
5. Shape the Treats
- Using your hands, roll the mixture into small balls or press it into silicone molds.
- For a more professional look, use cookie cutters to shape the treats into fun shapes.
6. Chill and Set
Place the shaped treats on a parchment-lined tray or in silicone molds. Refrigerate for at least 30 minutes to allow them to firm up. For longer storage, freeze the treats in an airtight container.
7. Serve and Store
Once set, serve a small portion to your dog. Keep the treats in an airtight container in the fridge for up to a week or in the freezer for up to a month.
Tips for Success
- Use dog-safe ingredients: Always double-check that all ingredients are safe for canine consumption.
- Portion control: Remember treats should be given in moderation, especially if they contain honey or fats.
- Experiment with flavors: Incorporate dog-friendly herbs like parsley or basil for added freshness.
- Choose the right molds: Silicone molds come in various shapes—stars, bones, hearts—to make treats more appealing.
Common Mistakes and How to Avoid Them
| Mistake | How to Avoid | Explanation |
|---|---|---|
| Using human ingredients toxic to dogs | Read labels carefully | Xylitol, certain sweeteners, and some spices are harmful |
| Not adjusting consistency | Add small amounts of water or oats | Mixture should be sticky but not wet or dry |
| Overfeeding treats | Limit to 10% of daily calories | Over-treating can lead to weight gain or digestive issues |
| Ignoring allergy considerations | Test ingredients beforehand | Some dogs are allergic to certain ingredients like wheat or nuts |
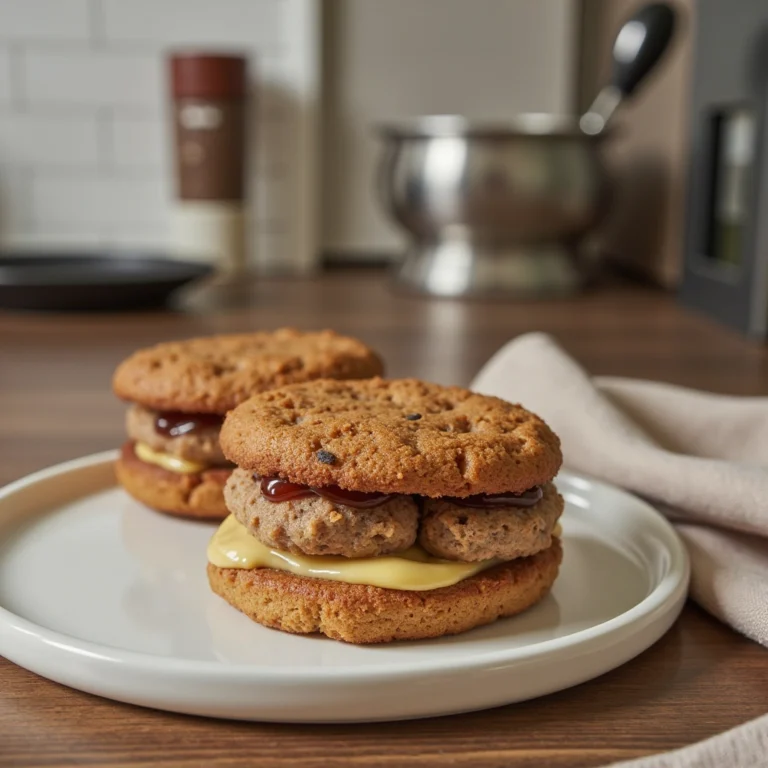
Variations and Customizations
Want to keep things interesting? Here are some fun variations:
- Peanut Butter & Pumpkin Treats: Replace banana with pumpkin puree for added fiber.
- Sweet Potato Bites: Use mashed cooked sweet potato instead of banana.
- Cheesy Treats: Mix in a tablespoon of shredded cheese (dog-safe) for extra flavor.
- Fruity Options: Add blueberries, apple slices (without seeds), or cranberries for antioxidants.
- Crunchy Coating: Roll treats in crushed dog biscuits or dried parsley before chilling.
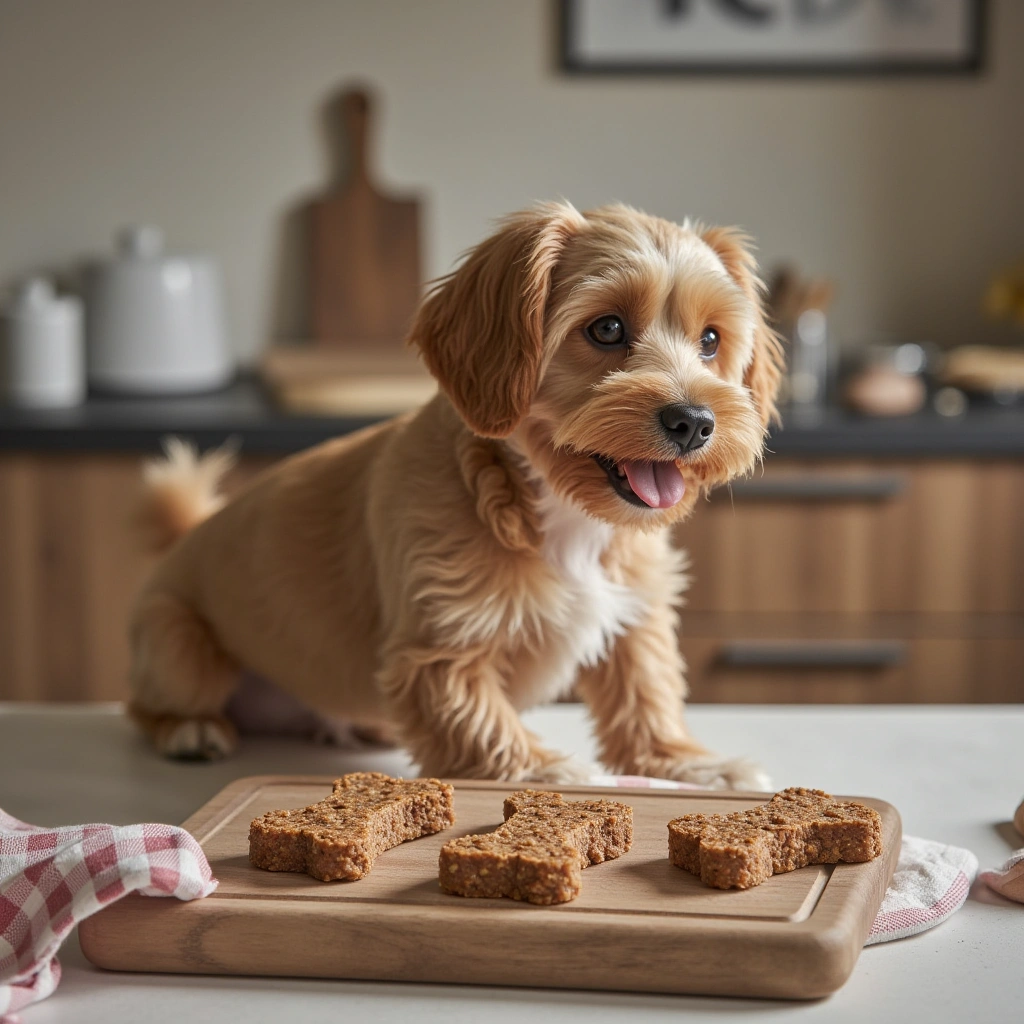
Summary
Making no-bake dog treats is a simple, rewarding way to pamper your pup with healthy snacks. By gathering the right ingredients and following a few easy steps, you can create delicious, nutritious treats that your furry friend will love. Remember to customize recipes based on your dog’s dietary needs and preferences, and always prioritize ingredients that are safe for canine consumption.
So, next time you’re looking for a quick, homemade gift or a healthy snack, give these no-bake treats a try—your dog will thank you! Happy baking (or rather, no-baking)!
Note: Always consult with your veterinarian before introducing new treats into your dog’s diet, especially if your pup has allergies or health concerns.