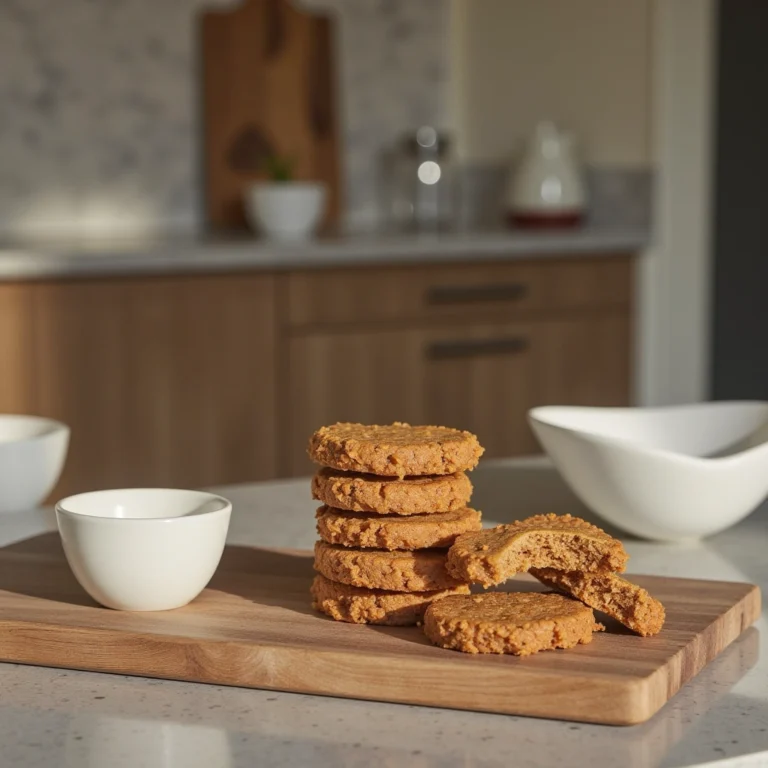
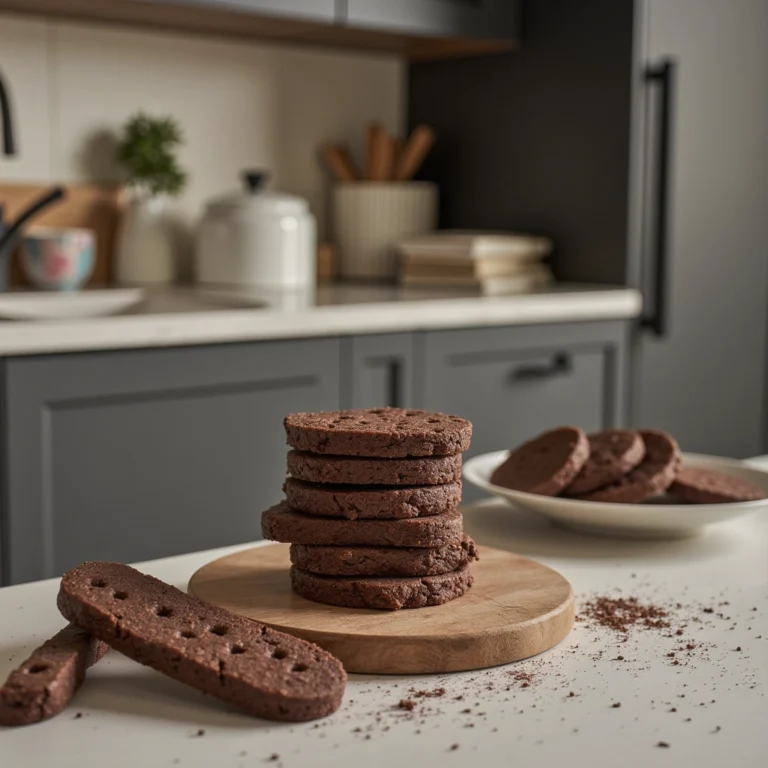
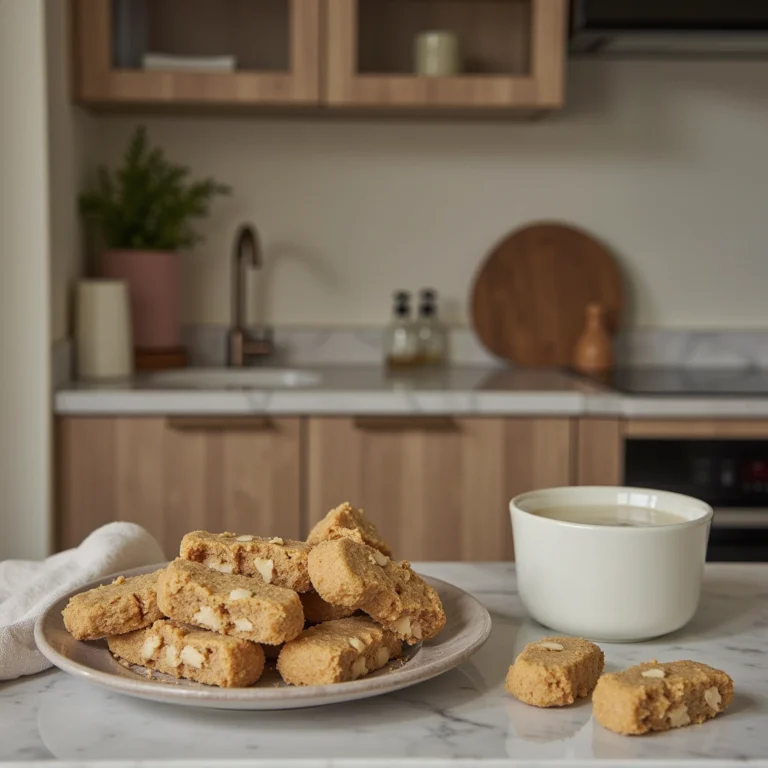
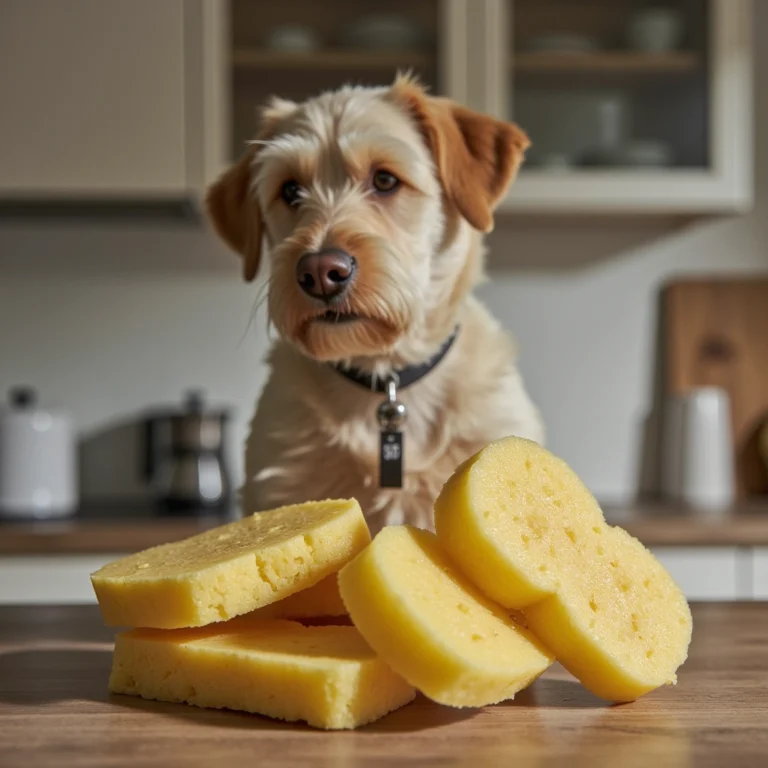
Ever wondered how to spoil your furry friend with homemade treats that are both tasty and nutritious? If you’re tired of store-bought options packed with preservatives and fillers, making your own peer dog treats at home might be the perfect solution. Not only do you get to control what goes into your pup’s snacks, but you also get the joy of bonding through the baking process. Today, I’ll walk you through everything you need to know—step-by-step, with tips and tricks—to create the best peer dog treats that your dog will love.
What Are Peer Dog Treats?
Peer dog treats are treats made primarily from peer (also known as pear) fruit, which is safe and healthy for dogs when prepared properly. Pears are a natural source of fiber, vitamins C and K, and antioxidants, making them an excellent addition to your dog’s diet when used as treats.
Why Use Pears for Dog Treats?
- Natural sweetness: Pears add a sweet flavor without the need for added sugars.
- Rich in nutrients: They provide fiber, vitamins, and antioxidants.
- Low in calories: Perfect for treats, especially if your dog is watching their weight.
- Hydrating: High water content helps keep your dog hydrated.
Note: Always remove the core and seeds from pears before using, as seeds contain trace amounts of cyanide, which can be harmful to dogs.
Key Ingredients and Materials Needed
Creating peer dog treats is simple, and you probably already have many ingredients at home. Here’s what you need:
| Materials Needed | Details | Quantity / Size |
|---|---|---|
| Ripe Pears | Fresh, ripe pears are best for flavor and moisture | 2-3 pears |
| Whole Wheat Flour | Provides structure and fiber | 1 cup |
| Rolled Oats | Adds texture and nutrients | ½ cup |
| Egg | Binds ingredients together | 1 large egg |
| Peanut Butter (unsweetened, xylitol-free) | Adds flavor and healthy fats | 2 tbsp |
| Cinnamon (optional) | For flavor enhancement | ½ tsp |
| Water or Unsweetened Apple Sauce | To adjust dough consistency | As needed |
Step-by-Step Guide to Making Peer Dog Treats
Preparation Tips Before You Start
- Always wash pears thoroughly.
- Remove stems, seeds, and core.
- Use a ripe pear for natural sweetness and easier blending.
- Preheat your oven to 350°F (175°C).
Instructions
-
Prepare the Pears
- Peel the pears to ensure a smooth texture.
- Remove the core and seeds.
- Cut into small chunks for easier blending.
-
Puree the Pears
- Place pear chunks into a blender or food processor.
- Blend until smooth. You should have about ½ to ¾ cup of pear puree.
- Set aside.
-
Mix the Wet Ingredients
- In a large mixing bowl, combine the pear puree, egg, and peanut butter.
- Mix thoroughly until well incorporated.
-
Combine the Dry Ingredients
- In a separate bowl, whisk together the flour, oats, and cinnamon.
- Gradually add the dry mixture into the wet ingredients.
- Mix until a dough forms. If the dough is too sticky, add more flour; if too dry, add a splash of water or apple sauce.
-
Knead the Dough
- Turn the dough onto a floured surface.
- Knead gently until uniform.
-
Shape the Treats
- Roll out the dough to about ½ inch thickness.
- Use cookie cutters or cut into small squares or strips suitable for your dog’s size.
-
Bake
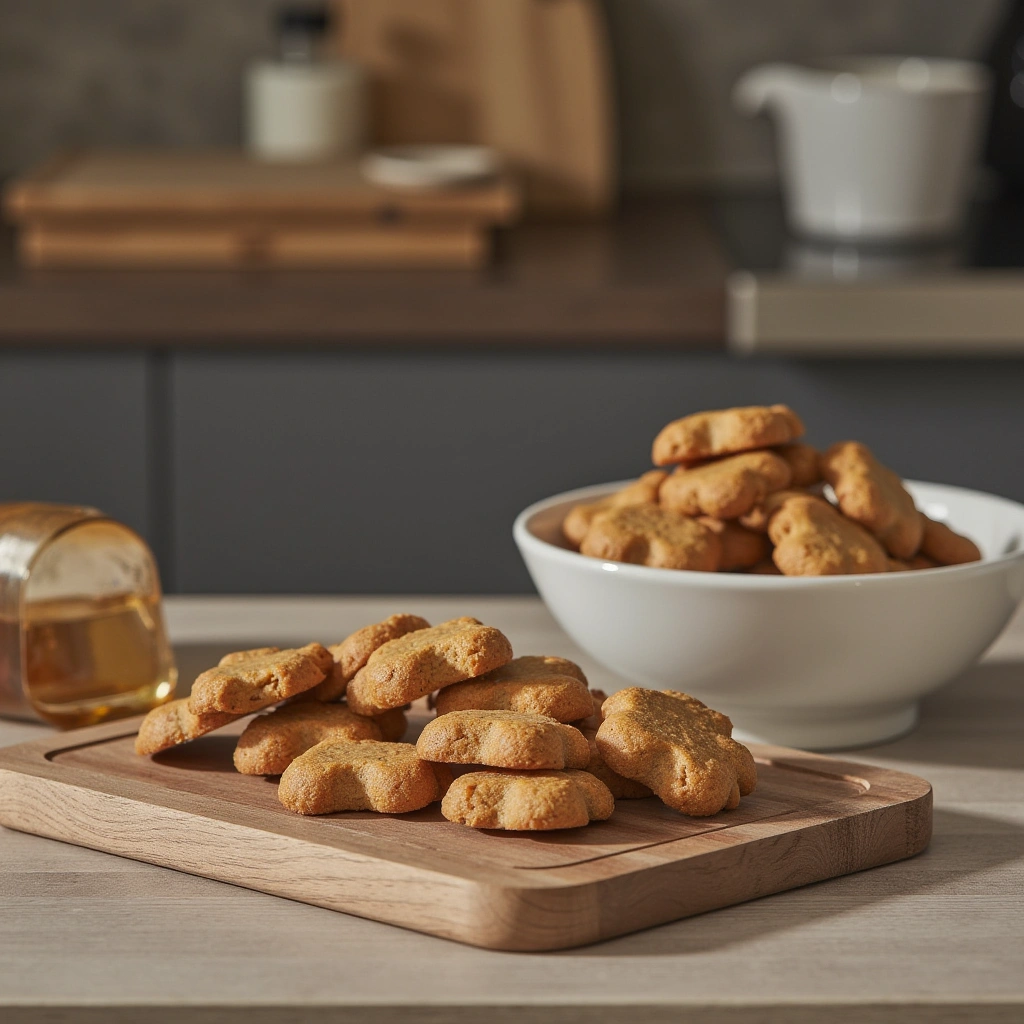
- Place the cut treats onto a parchment-lined baking sheet.
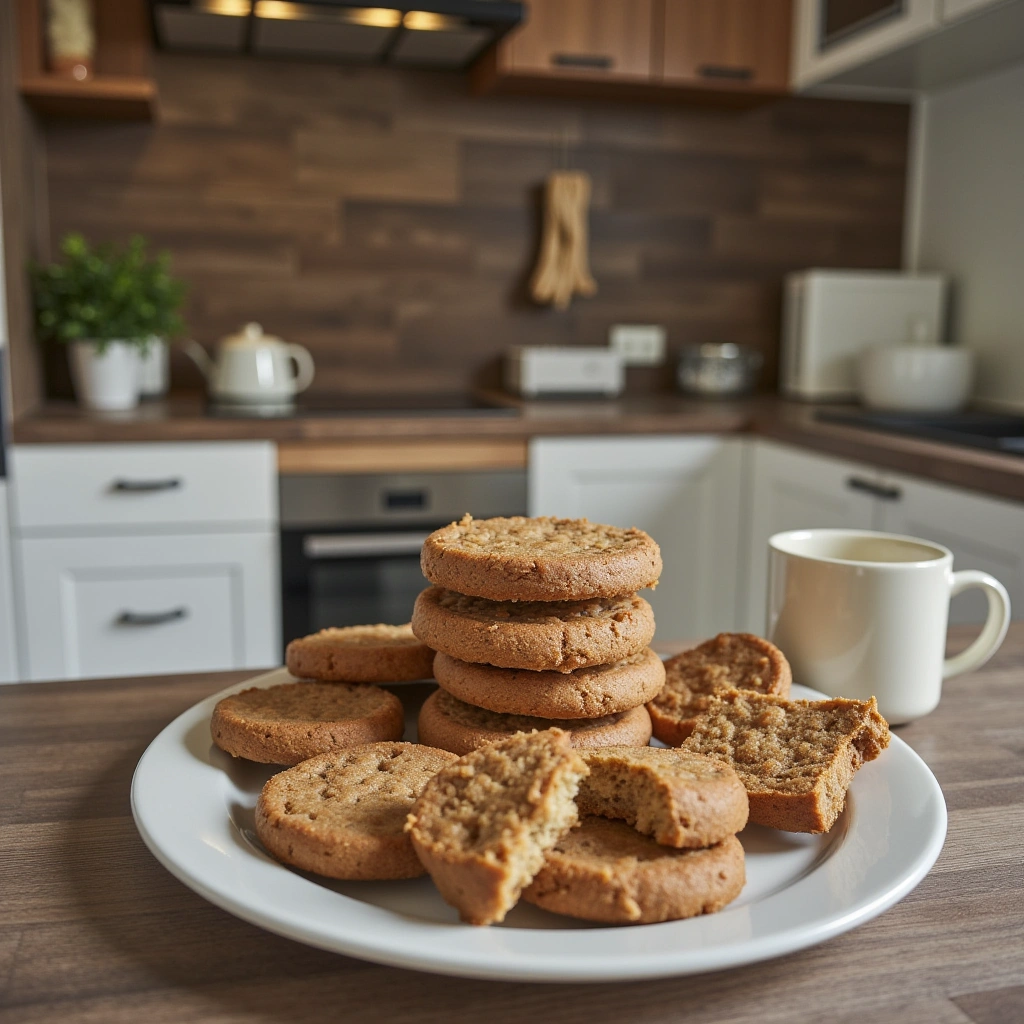
- Bake for 15-20 minutes or until golden brown.
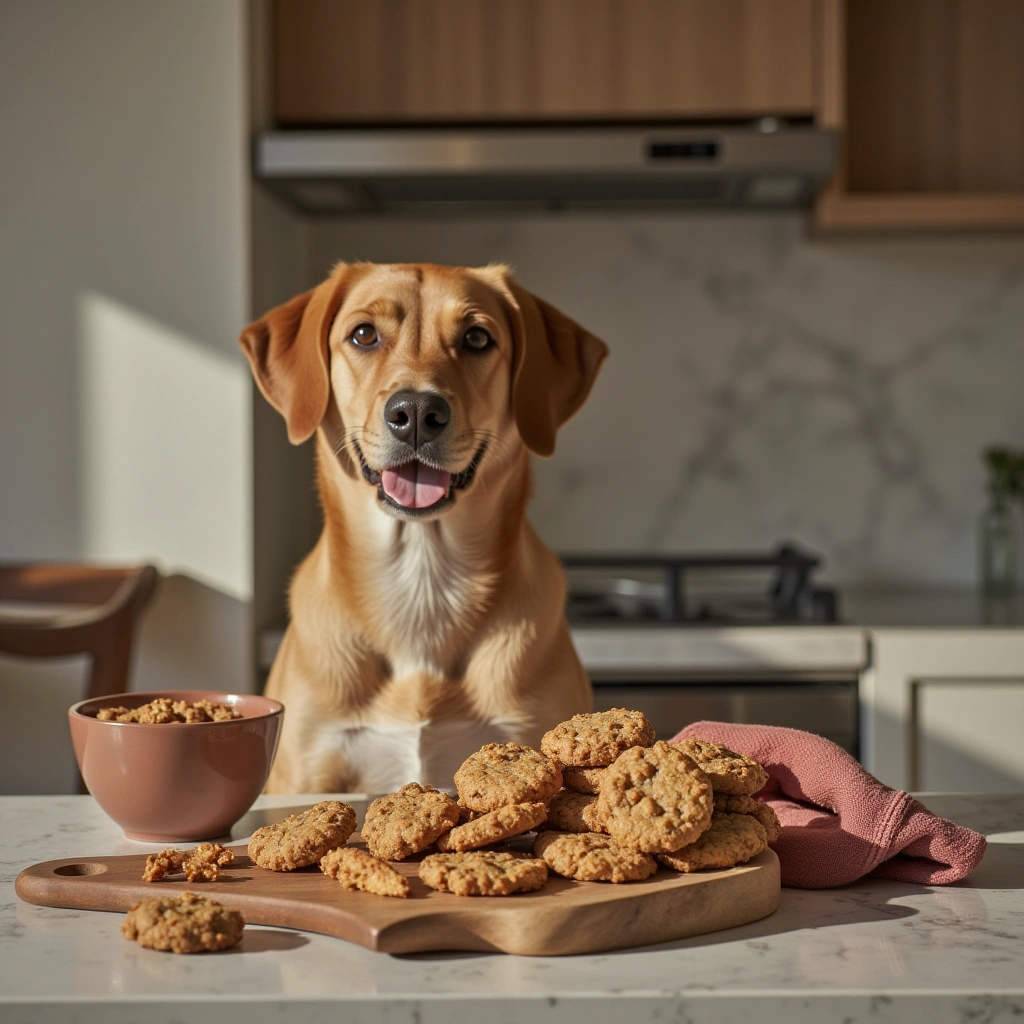
- Let treats cool completely before giving to your dog.
-
Storage
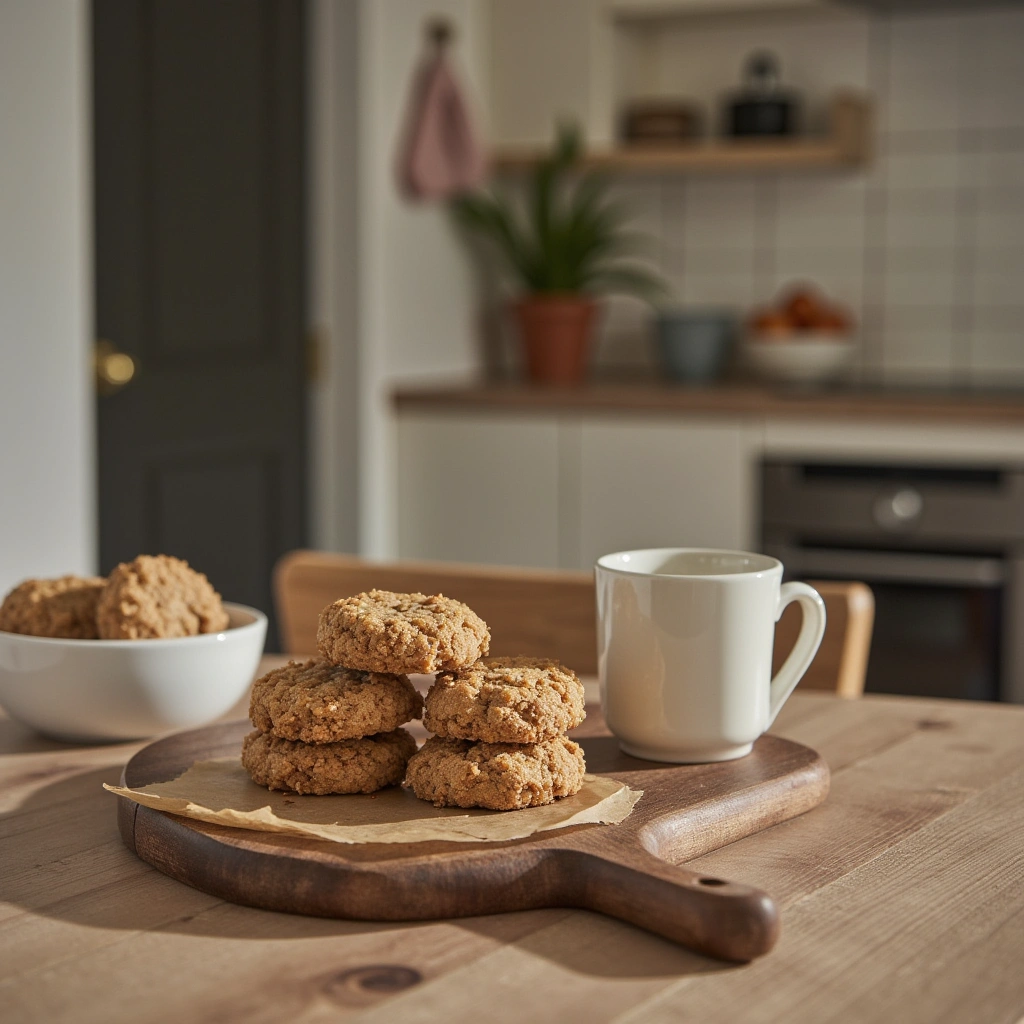
- Store treats in an airtight container.
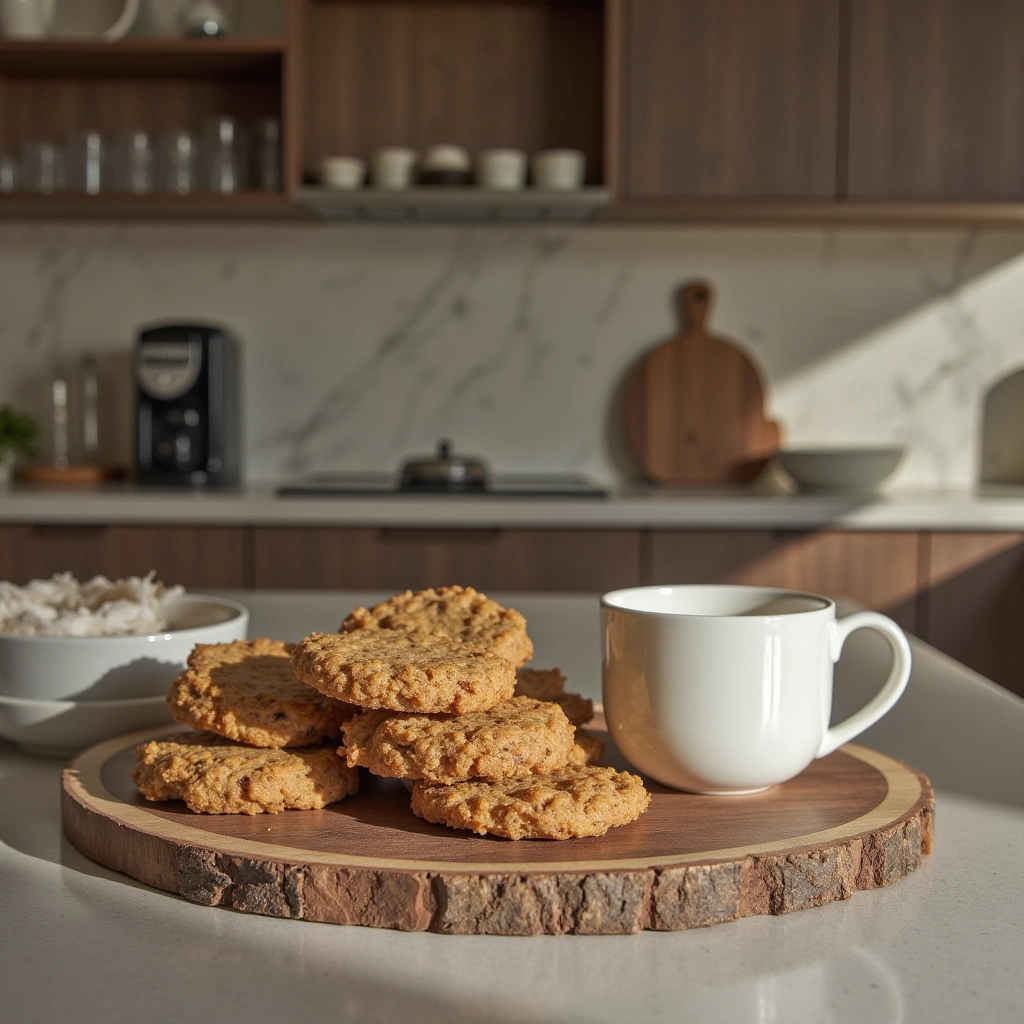
- They can last up to a week at room temperature or up to two weeks refrigerated.
- For longer shelf life, freeze treats.
Tips for Success
- Use ripe pears: They blend easily and provide maximum flavor.
- Adjust texture: If the dough is too sticky, add more flour; too dry, add a little water or apple sauce.
- Customization: Add dog-safe ingredients like shredded carrots, blueberries, or parsley for variation.
- Size matters: Make treats appropriately sized for your dog’s breed to prevent choking.
- Testing: Always give a small treat first to check for any adverse reactions.
Common Mistakes and How to Avoid Them
| Mistake | Solution |
|---|---|
| Using unripe pears | Wait until pears are ripe for better flavor and easier blending |
| Not removing seeds and core | Seeds contain trace cyanide; always remove them |
| Overbaking treats | Keep an eye on the oven; overbaked treats can become hard and unappealing |
| Making treats too large | Cut treats into manageable sizes based on your dog’s size |
| Not storing properly | Keep treats in airtight containers to prevent mold and spoilage |
Variations and Add-Ins
Want to spice things up? Here are some safe and tasty variations:
- Carrot Pear Treats: Add ¼ cup shredded carrots for extra crunch and nutrients.
- Blueberry Pear Treats: Mix in 2 tbsp fresh or dried blueberries.
- Banana Pear Treats: Replace some pear puree with mashed banana for added flavor.
- Herbal Touch: Add a pinch of parsley or mint for fresh breath.
Summary and Action Points
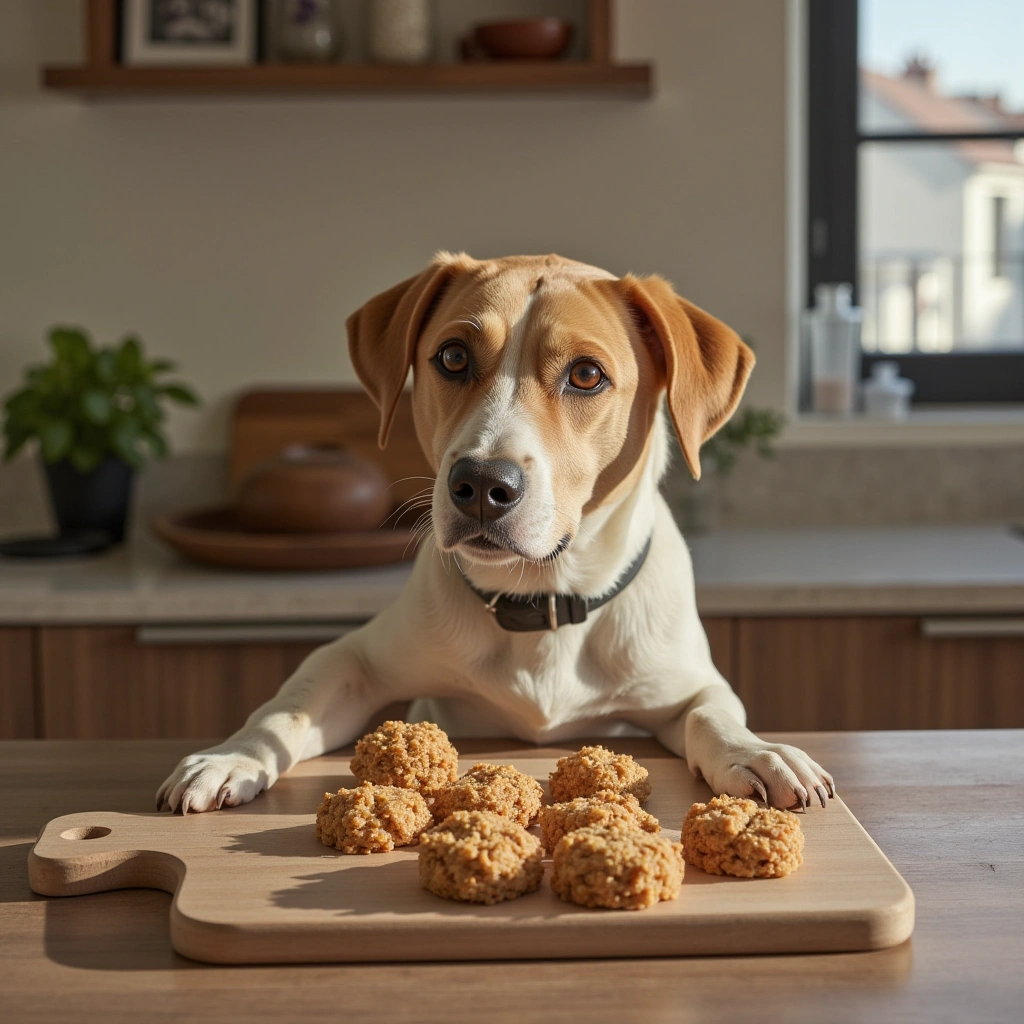
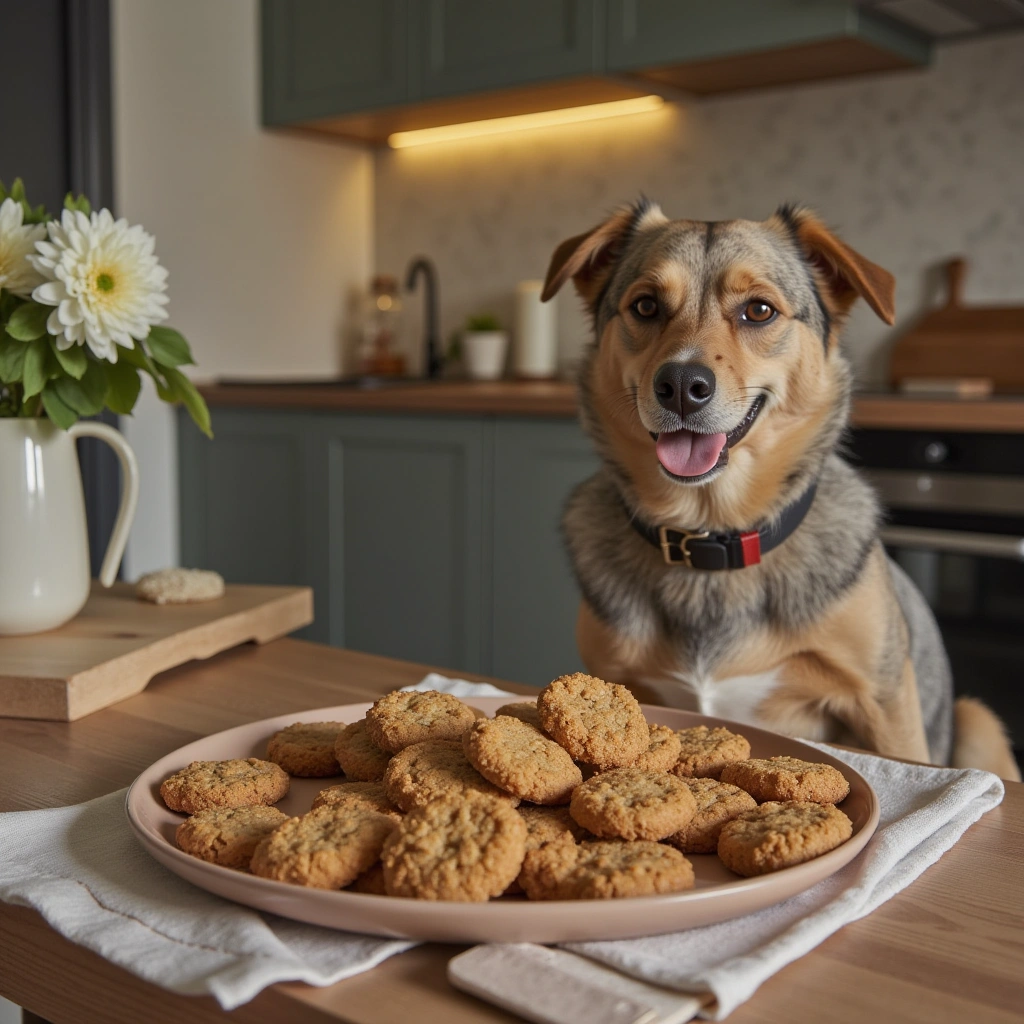
Homemade peer dog treats are a fantastic way to reward your pup with wholesome, natural snacks. With simple ingredients, minimal prep, and a straightforward process, you can whip up a batch in under 30 minutes. Remember to always prioritize your dog’s safety by removing seeds and choosing healthy ingredients. Feel free to experiment with different add-ins to keep treats exciting and nutritious.
Next time you’re looking for a healthy, delicious treat you can make at home, give this peer-based recipe a try. Your dog will thank you with wagging tails and happy barks!
Happy baking and happy dog!