Are you tired of buying expensive dog treats filled with questionable ingredients? Want to whip up a wholesome, tasty snack your furry friend will love—using just a few common ingredients? If so, you’re in the right place! Today, I’ll guide you through making easy, healthy, and delicious peanut butter banana dog treats with only three ingredients. These treats are not only super simple but also packed with natural goodness, making them perfect for your pup’s snack time.
In this article, I’ll cover everything you need to know—from ingredient selection to baking tips—so you can create treats that are safe, nutritious, and loved by your dog. Plus, I’ll share some handy tips, common pitfalls to avoid, and variations to customize these treats to your dog’s preferences.
Why Choose Homemade Dog Treats?

Many store-bought treats contain artificial preservatives, fillers, and flavors that might not be ideal for your dog’s health. Making your own treats allows you to control what goes in, ensuring your pup gets wholesome, natural ingredients. Plus, it’s a fun, bonding activity that can be tailored to your dog’s taste and dietary needs.
The Simple 3-Ingredient Peanut Butter Banana Dog Treats

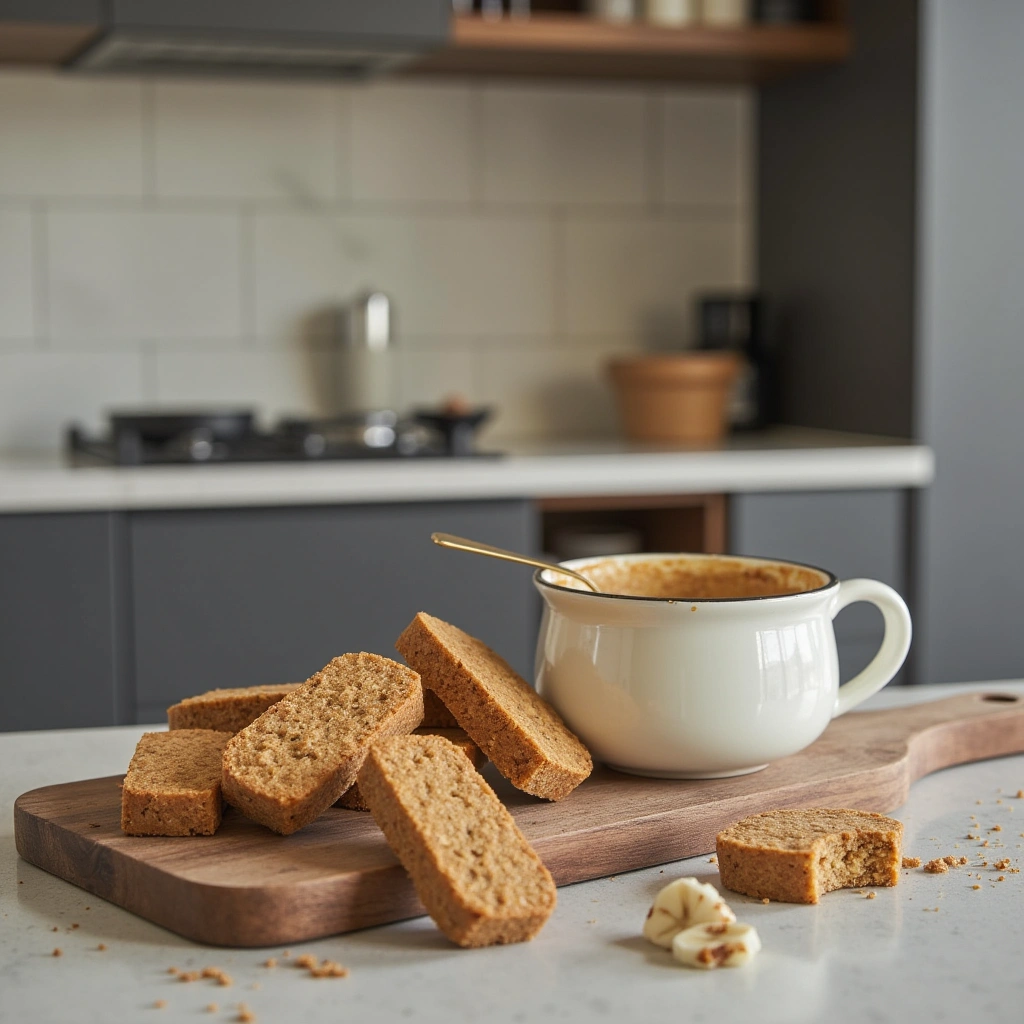
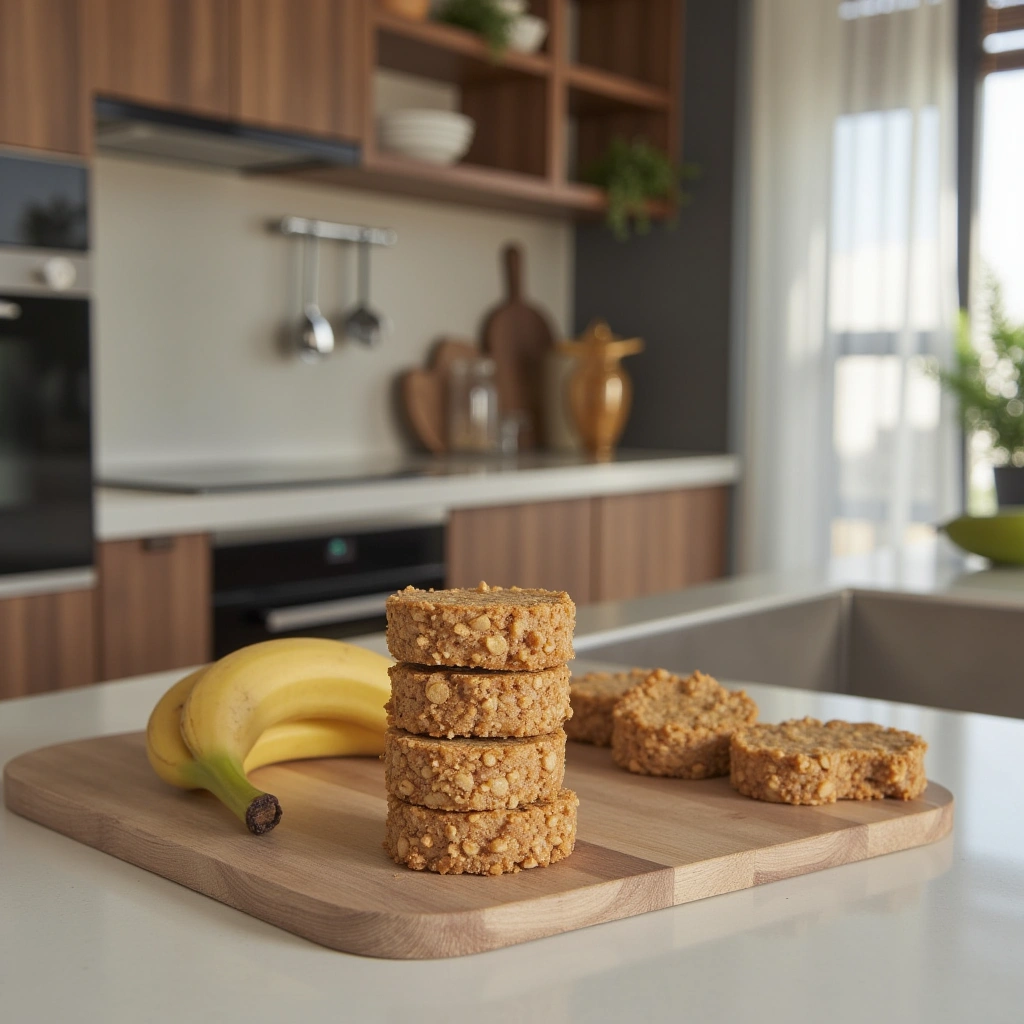
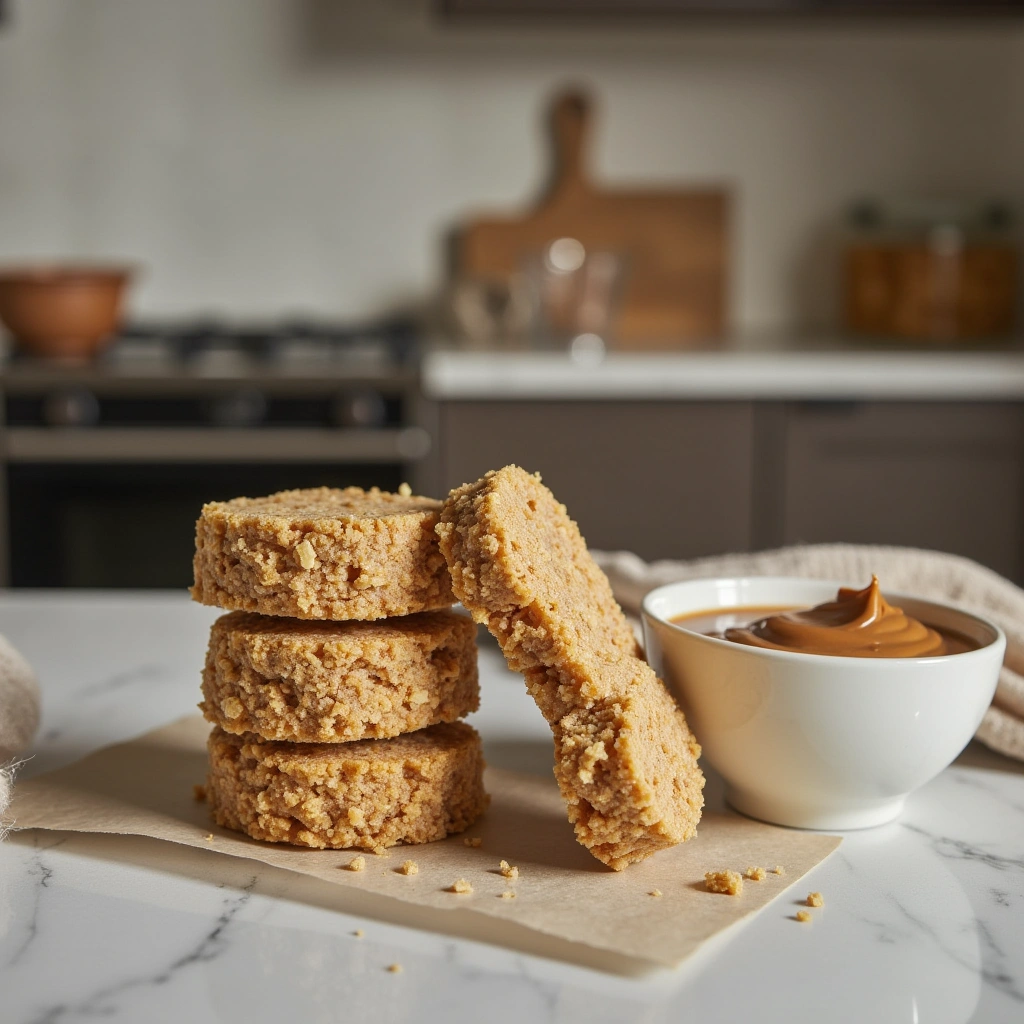
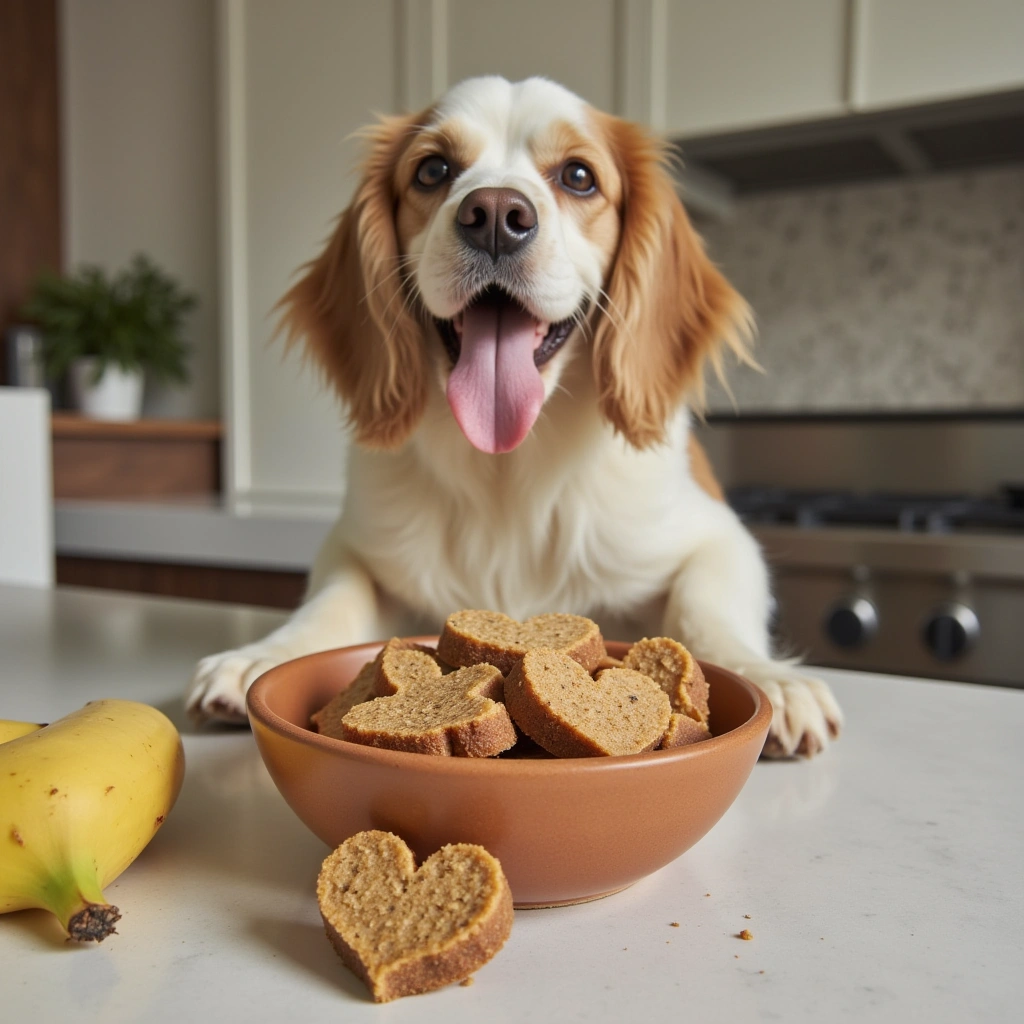
These treats combine the natural sweetness of bananas, the creamy richness of peanut butter, and a base ingredient to hold it all together. They’re quick to prepare, require minimal effort, and are free from harmful additives.
Ingredients and Materials Needed
Before diving into the recipe, let’s gather everything you need. Using quality ingredients ensures your treats are nutritious and safe.
Materials Needed
| Item | Quantity | Notes |
|---|---|---|
| Ripe Bananas | 2 large | Fresh and soft for easy mashing |
| Natural Peanut Butter | 1/2 cup | Ensure it contains xylitol-free, no added sugar or salt |
| Rolled Oats (optional) | 1 cup | For added texture and binding (can be skipped for grain-free treats) |
| Baking Sheet | 1 | For baking or chilling treats |
| Parchment Paper | As needed | Prevents sticking |
| Mixing Bowls | 2 | For preparing ingredients |
| Food Processor or Blender | 1 | Optional, for smoother dough |
Key Terms and Definitions

- Xylitol: A sugar substitute toxic to dogs; always check labels to ensure peanut butter is xylitol-free.
- Rolled Oats: Whole oats that are flattened, providing fiber and texture.
- Binding Agent: An ingredient that holds the mixture together during baking or setting.
- Parchment Paper: Non-stick paper used to line baking sheets.
Step-by-Step Instructions

Follow these straightforward steps to create your dog’s delicious treats:
Step 1: Prepare Your Ingredients
- Peel the bananas and mash them thoroughly in a bowl until smooth. A fork works fine, but for a smoother consistency, you can use a food processor.
- Measure out the peanut butter and oats (if using).
Step 2: Mix the Ingredients
- In a large mixing bowl, combine the mashed bananas and peanut butter.
- If you’re adding oats for extra texture and fiber, stir them in now.
- Mix everything until well combined. The dough should be sticky but manageable. If it’s too wet, add a bit more oats; if too dry, add a little more banana or peanut butter.
Step 3: Shape the Treats
- Line your baking sheet with parchment paper.
- Either roll the dough into small balls or flatten it and cut into shapes with cookie cutters.
- For a more uniform shape, use a cookie scoop or your hands to form small disks.
Step 4: Baking or Chilling
- Baking Method:
- Preheat your oven to 350°F (175°C).
- Place the shaped treats on the lined baking sheet.
- Bake for 12-15 minutes until slightly golden around the edges.
- Let cool completely before serving.
- No-Bake Method:
- Place the treats on a parchment-lined tray.
- Freeze for about 1-2 hours until firm.
- Store in an airtight container in the refrigerator.
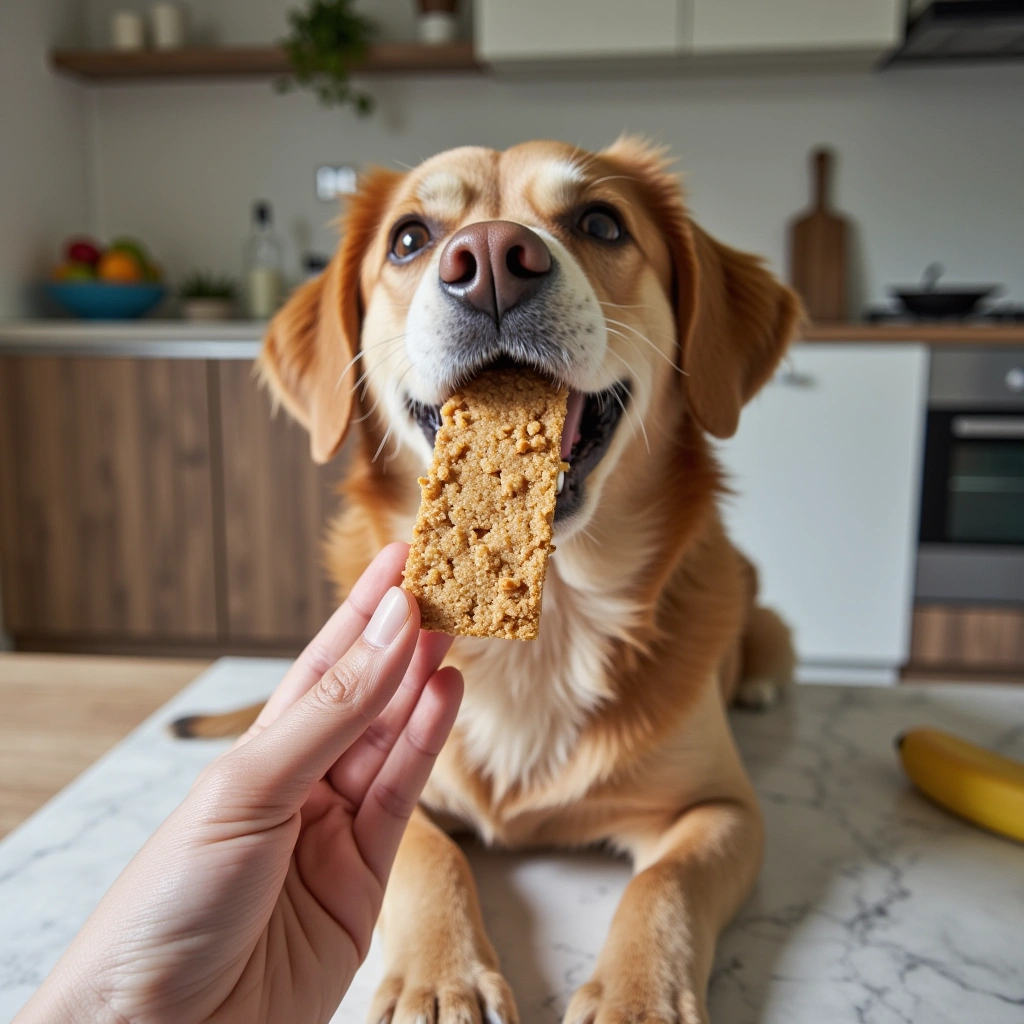
Step 5: Serve and Store
- Always check that treats are cooled completely before giving to your dog.
- Store in an airtight container at room temperature for up to 5 days or in the fridge for up to 2 weeks.
- For longer storage, freeze the treats and thaw as needed.
Tips for Success
- Use Natural Ingredients: Always opt for natural peanut butter without added sugars or salts.
- Adjust Consistency: If the dough is too sticky, add oats; if too dry, add more banana or peanut butter.
- Uniform Size: Use a cookie scoop for evenly-sized treats, ensuring uniform baking.
- Gradual Baking Time: Keep an eye on treats in the oven to prevent burning.
- Test for Safety: Always introduce new treats gradually and observe your dog for any adverse reactions.
Common Mistakes and How to Avoid Them
| Mistake | Solution |
|---|---|
| Using peanut butter with xylitol | Check labels carefully; xylitol is toxic to dogs. |
| Overbaking treats | Keep an eye on the oven; treats can burn quickly. |
| Not cooling treats before serving | Hot treats can cause burns; always cool completely. |
| Adding ingredients that are unsafe | Avoid chocolate, raisins, or artificial additives. |
Variations and Customizations

Want to switch things up? Here are some ideas:
- Add a Touch of Honey: For a sweeter flavor, add 1 teaspoon of honey (ensure your dog isn’t allergic).
- Incorporate Carrots or Apples: Finely grated carrots or apples can add crunch and extra nutrients.
- Use Coconut Oil: Swap part of the peanut butter for a teaspoon of coconut oil for added health benefits.
- Top with Dog-Friendly Toppings: Use small pieces of cooked sweet potato or blueberries as toppings.
Summary and Action Points
Making homemade dog treats with just three ingredients—banana, peanut butter, and oats—is simple, economical, and safe for your furry friend. Remember to choose quality ingredients, follow the proper steps for shaping and baking or chilling, and always prioritize your dog’s safety by avoiding harmful additives.
Next time you want to pamper your pup, whip up a batch of these wholesome treats. They’re sure to become a favorite in your household—and your dog will thank you for the healthy snack!
Now that you know how to make these tasty peanut butter banana dog treats, why not try customizing them with your dog’s favorite flavors? Happy baking—and here’s to happy, healthy pups!